Get Ready Run Everything in BareMetal
Setting up you development environment will only work if you've completed the previous tutorial Account Best-Practice Setup
Don't Panic
This is going to feel like a lot.
You'll need the right environment to deploy BareMetal features. There is some setup required, but the good news is once it's done it'll see you through to the end.
Perhaps you're just getting to know the ropes and aren't ready to deploy anything yet. Tagging along is just fine. We worked hard to make all the scripts readable.
While you may not need to know everything about the tools like TypeScript and the Cloud Development Kit (CDK) right away, having a basic understanding can be very beneficial, especially if you want to customize or modify your implementation in the future.
Quick Start
If you've done something like this before, here are the basics. Each tutorial relies on at least these. Additional requirements are listed in each tutorial as needed.
- You have an AWS account and have created a privileged IAM user,
baremetal. - You have created credentials for the
baremetaluser and have stored them on your computer. - You have installed the latest AWS command-ine tools, CLI.
- You have installed the latest AWS CDK CLI.
Step-by-Step
So the quick start was a bit ambitious. Try this instead.
Install the Tools with a Package Manger
You have a couple of good options. You can use a package manager or install by hand. We recommend a package manager and the one we use is homebrew.
Using homebrew
This won't work on Windows, only macOS and Linux. You'll need to follow the "Otherwise..." instructions on Windows.
Things will be easier if you use a package manager, especially homebrew. You can use it to install the tools you'll need. In any case, we link to each tool's installation instructions at the official docs. You can install the tools however you like, but you might want to go with the homebrew version because it's easy to do and easy to stay up to date.
brew install git node yarn typescript awscli aws-cli
Otherwise, Install by Hand
Install git. You'll need this to access and download the BareMetal source code that's at the foundation of repeatable implementations of the architectures.
Install a current version of node. This is one of the tools that is likely to be installed already but may not be up to date.
Install yarn the package manager for JavaScript and TypeScript. The code for each BareMetal tutorial requires you to run but not necessarily understand what's going on. And running the code will download all the required dependencies for the infrastructure-as-code.
Now TypeScript. This is the language the BareMetal scripts are written in because that's the source language the infrastructure-as-code is written in.
Install the latest version of the AWS CLI.
Install AWS Cloud Development Kit, CDK CLI. All the BareMetal scripts use CDK and you can't get going without this.
Prepare your Environment
You will need to access AWS accounts with the AWS CLI.
There are lots of ways to configure the AWS CLI and the right credentials. Lots! The easiest way to do this is the method using long-term credentials. Long-term credentials are not recommended for the long term. We will show you more secure and robust ways as we develop a better foundation for identity.
If you want a simple version, follow the version that follows with the exact screenshots and clicks you need.
Log in as baremetal
In the AWS Console, log in as the baremetal user, not the root user. We definitely don't want to create credentials for the root user. That's a serious security antipattern.
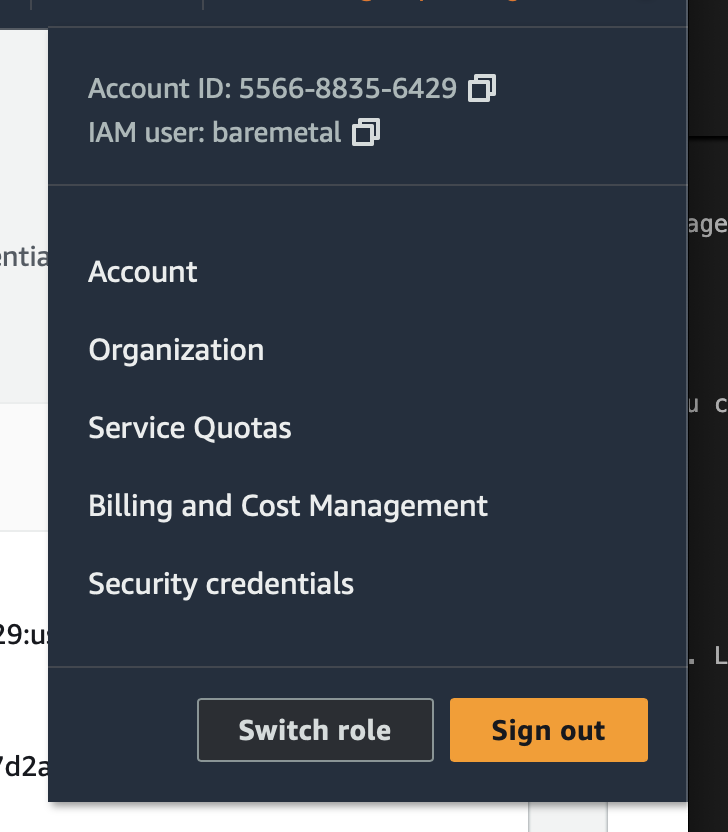
After you log in, click "Security credentials" from the top-right menu in the AWS Console UI.

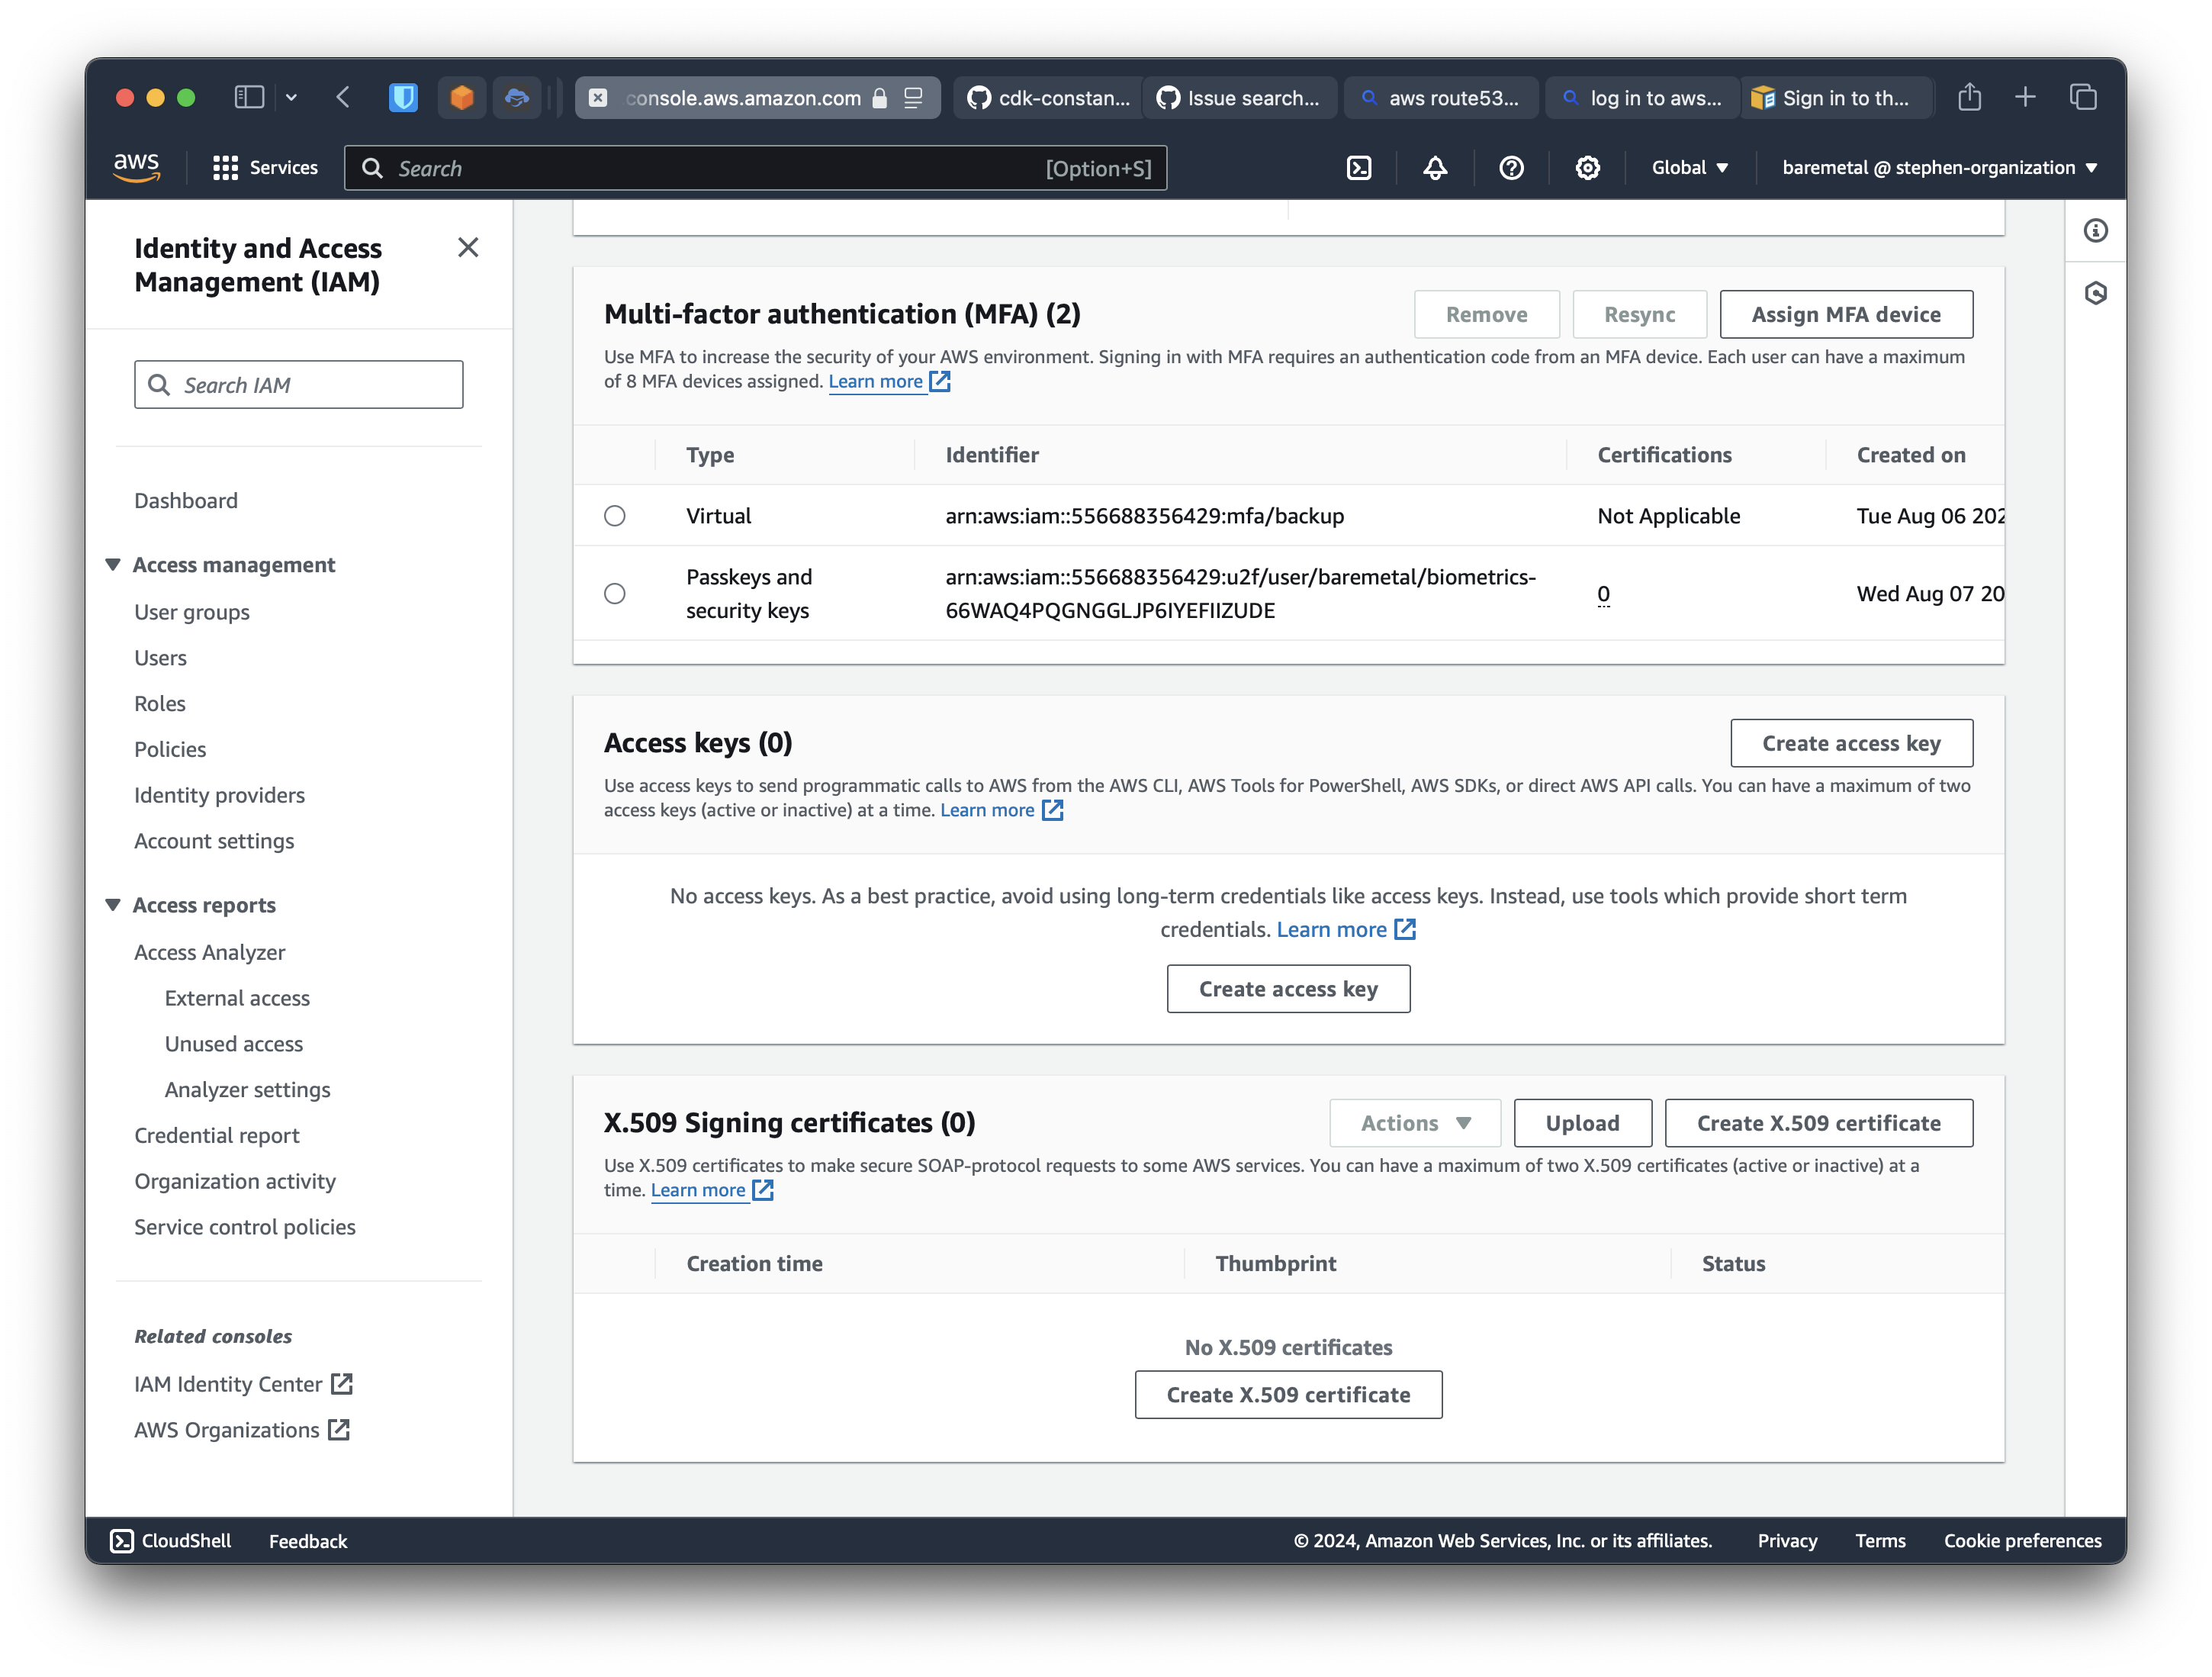
Scroll down to Access Keys.

Click "Create access key".
Select "Command Line Interface (CLI)", read "Alternatives recommended", and check the box that you want to proceed anyway.
We will come back to the recommendations in a future tutorial dedicated to the topic.
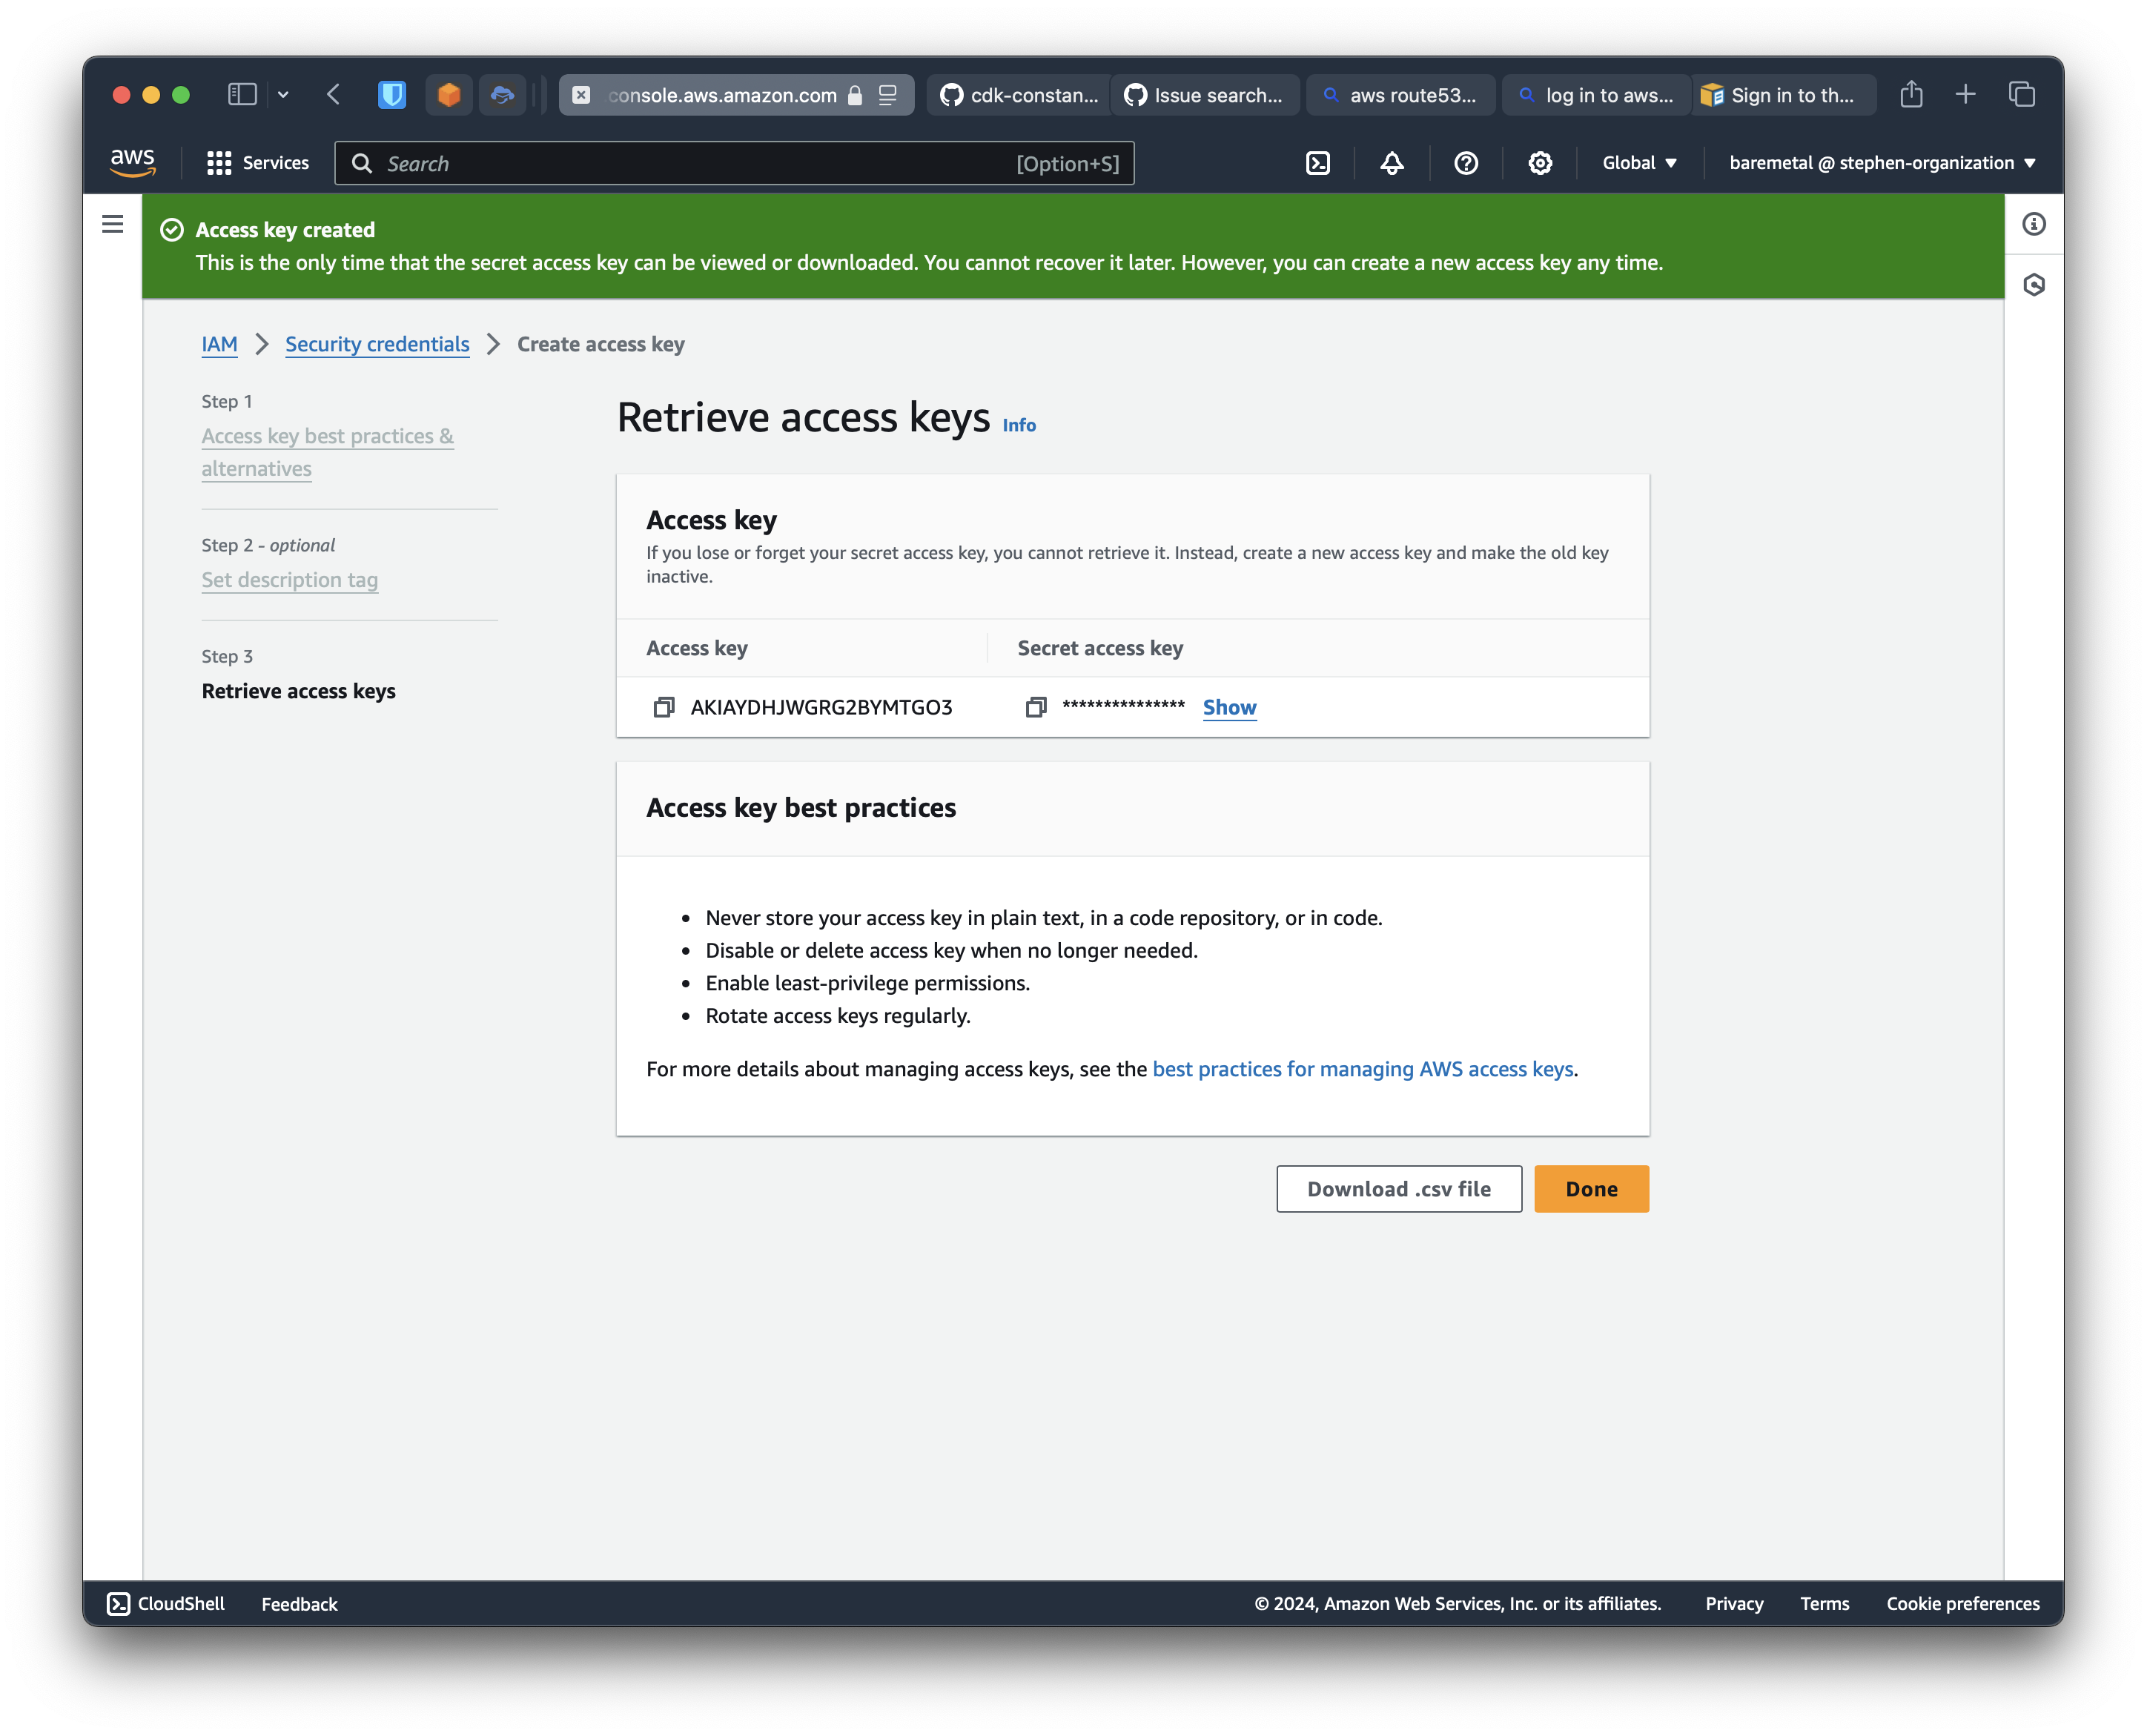
Complete the UI and see this.

Don't close this page.
Set up the CLI
Finally.
Assuming you have installed the AWS command-line tool, enter aws configure in a terminal and enter the keys but copying from the page you didn't close as follows.
You can set the default region and CLI output format if you like. We like us-east-1 and json.
$ aws configure
AWS Access Key ID [None]: AKIAYDHJWGRG2BYMTGO3
AWS Secret Access Key [None]: ABC-super-secret-XYZ
Default region name [None]: us-east-1
Default output format [None]: json
This will store credentials in a file ~/.aws/credentials, which you can verify as follows.
$ cat ~/.aws/credentials
[default]
aws_access_key_id = AKIAYDHJWGRG2BYMTGO3
aws_secret_access_key = ABC-super-secret-XYZ
Test things out
Now you have the AWS CLI set up with credentials, you can run a simple command. Try listing the AWS S3 Buckets in your account. You may not have any yet.
aws s3 ls
Now try creating one
aws s3 mb s3://thenameofyourbucket
Names of S3 buckets are globally unique. And you can't have the bucket called thenameofyourbucket because I got there first. Just try something long and random, like a UUID.
Now list your S3 buckets again and you'll see it.
aws s3 ls
Why didn't that Work?
Some things to look for
- You did not create an
baremetaluser - You did not create CLI access keys for the
baremetaluser - You did not initialize the AWS CLI with access keys for the
baremetaluser - We botched these instructions