Same Thing With Pictures
These are the SSO integration instructions you're looking for.
Assumptions
See the general assumptions in "About BareMetal tutorials". [link]
In addition
- You have an Azure account
- An Azure AD tenant in that account and permissions to configure it.
- An Azure P2 trial license [link]
Enable AWS SSO
In the AWS Console, find the Single Sign-On page.
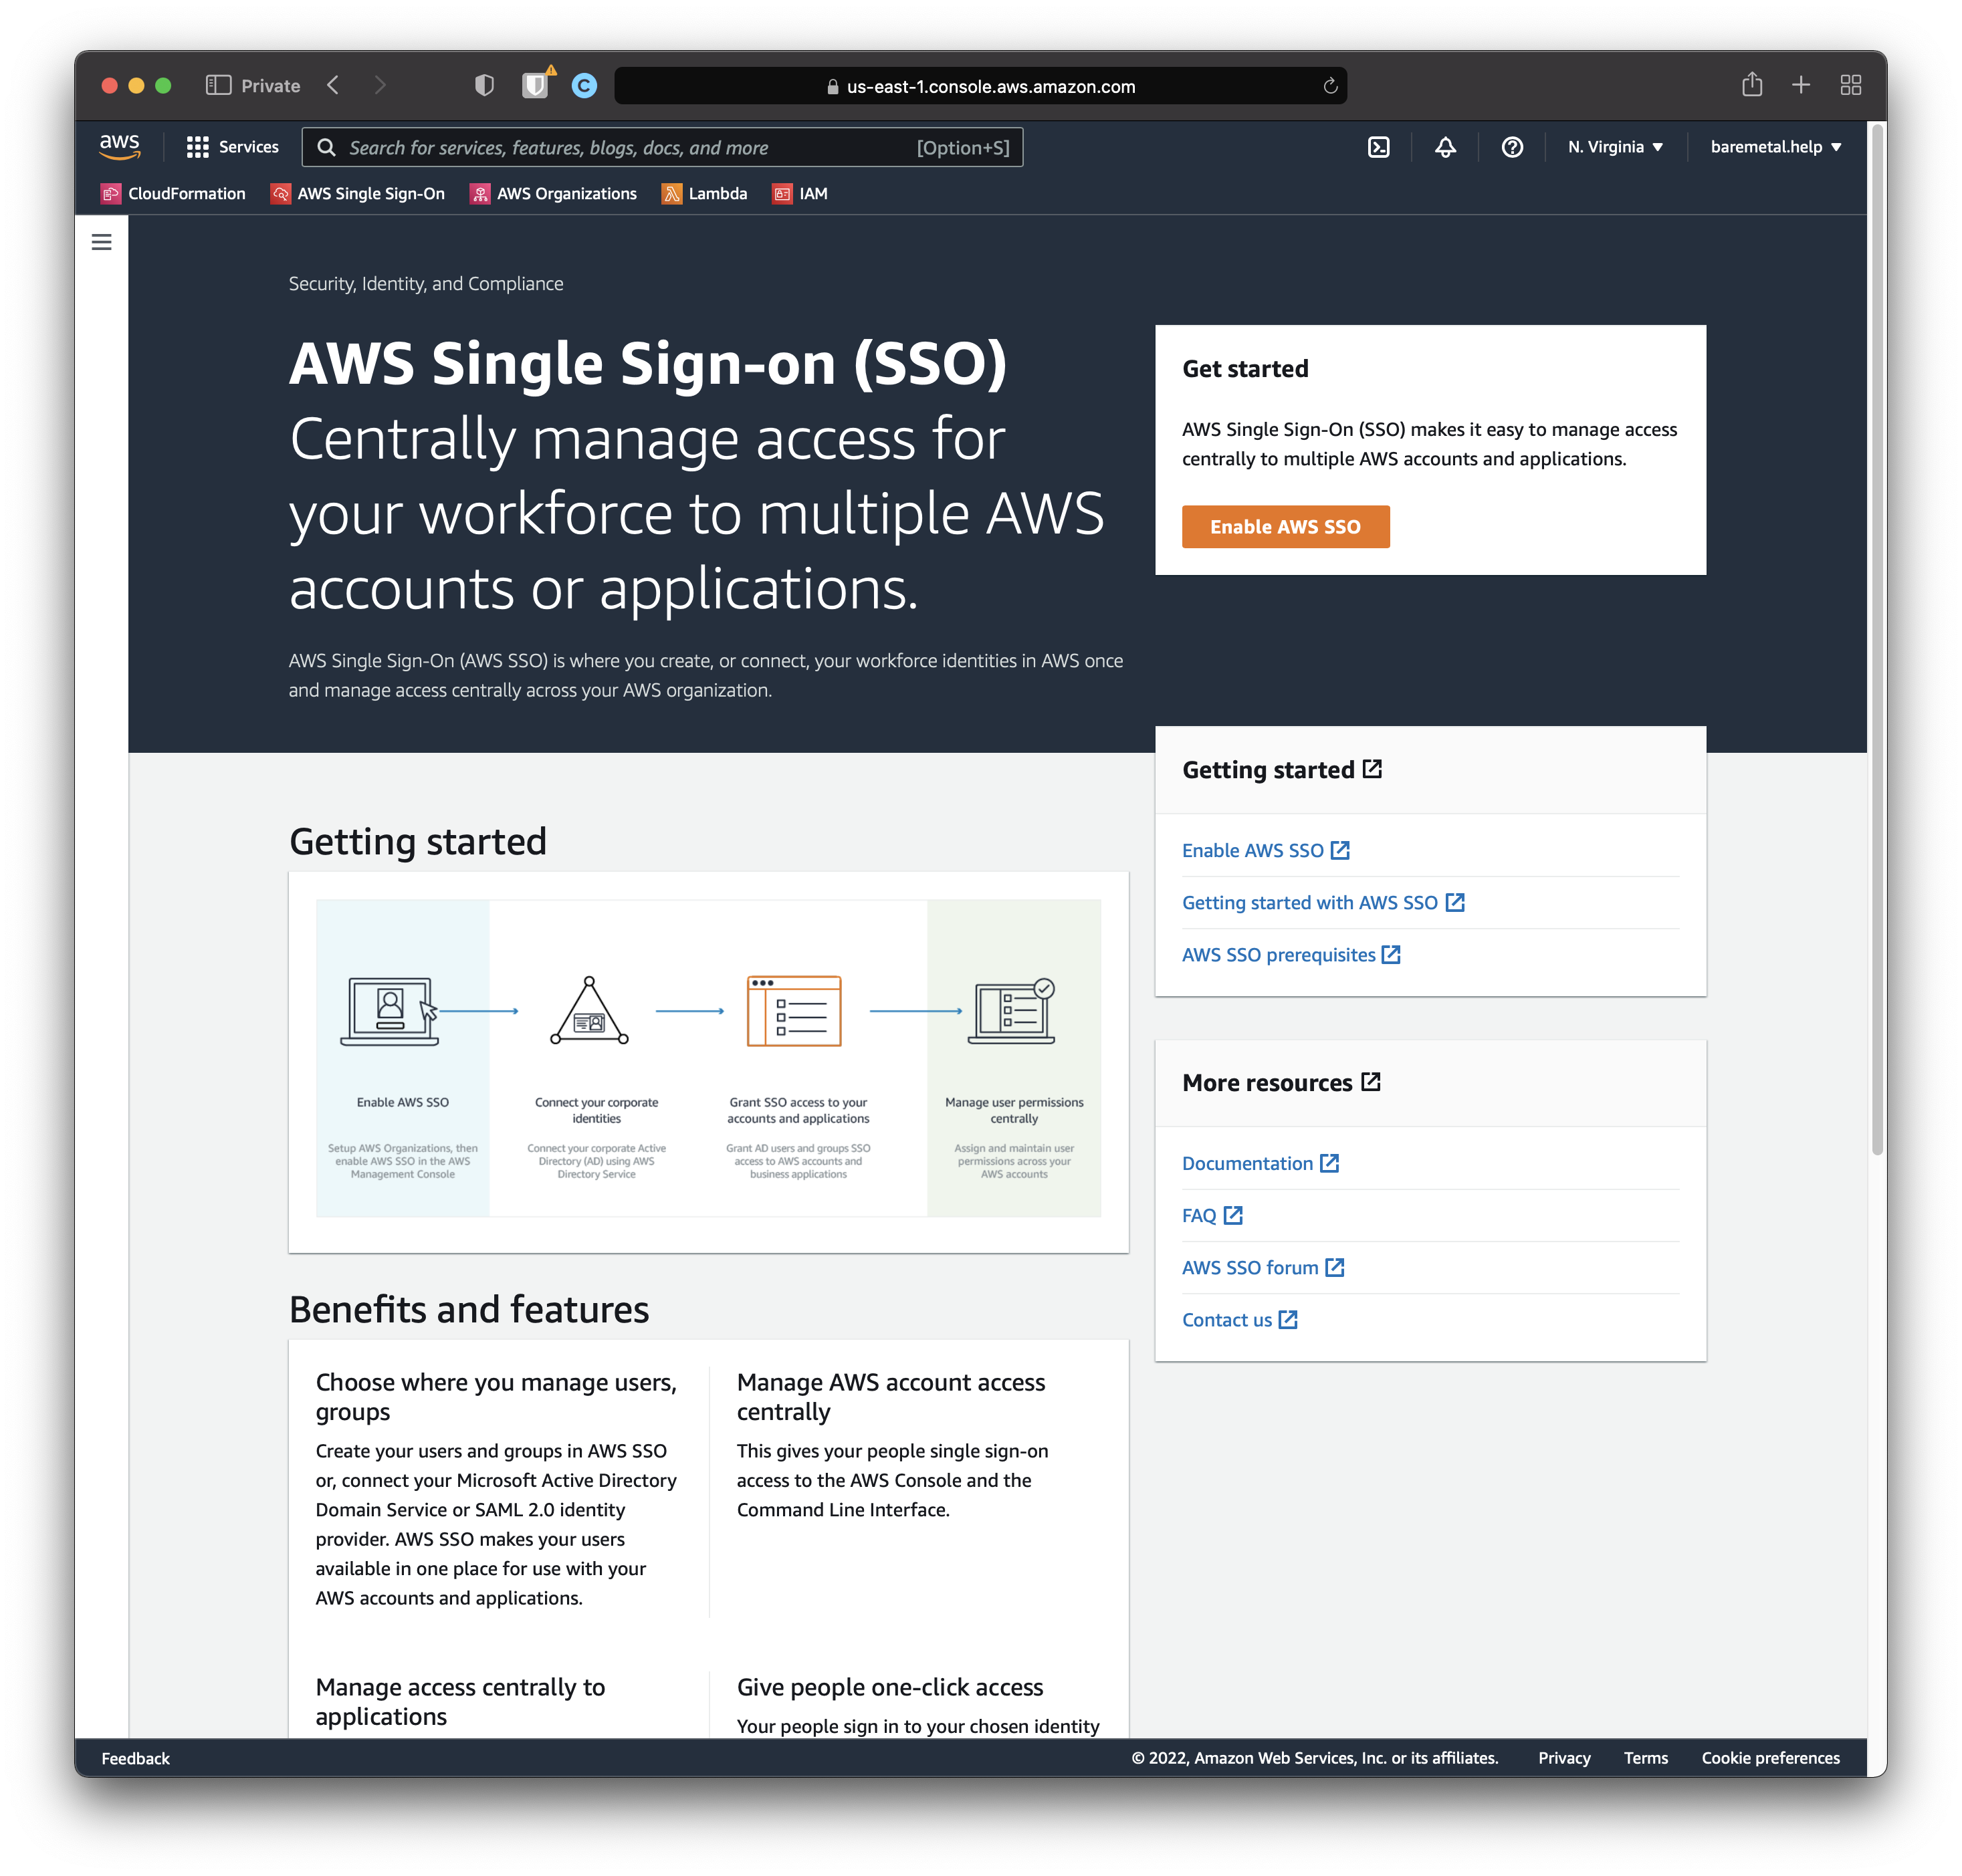
Click "Enable AWS SSO".
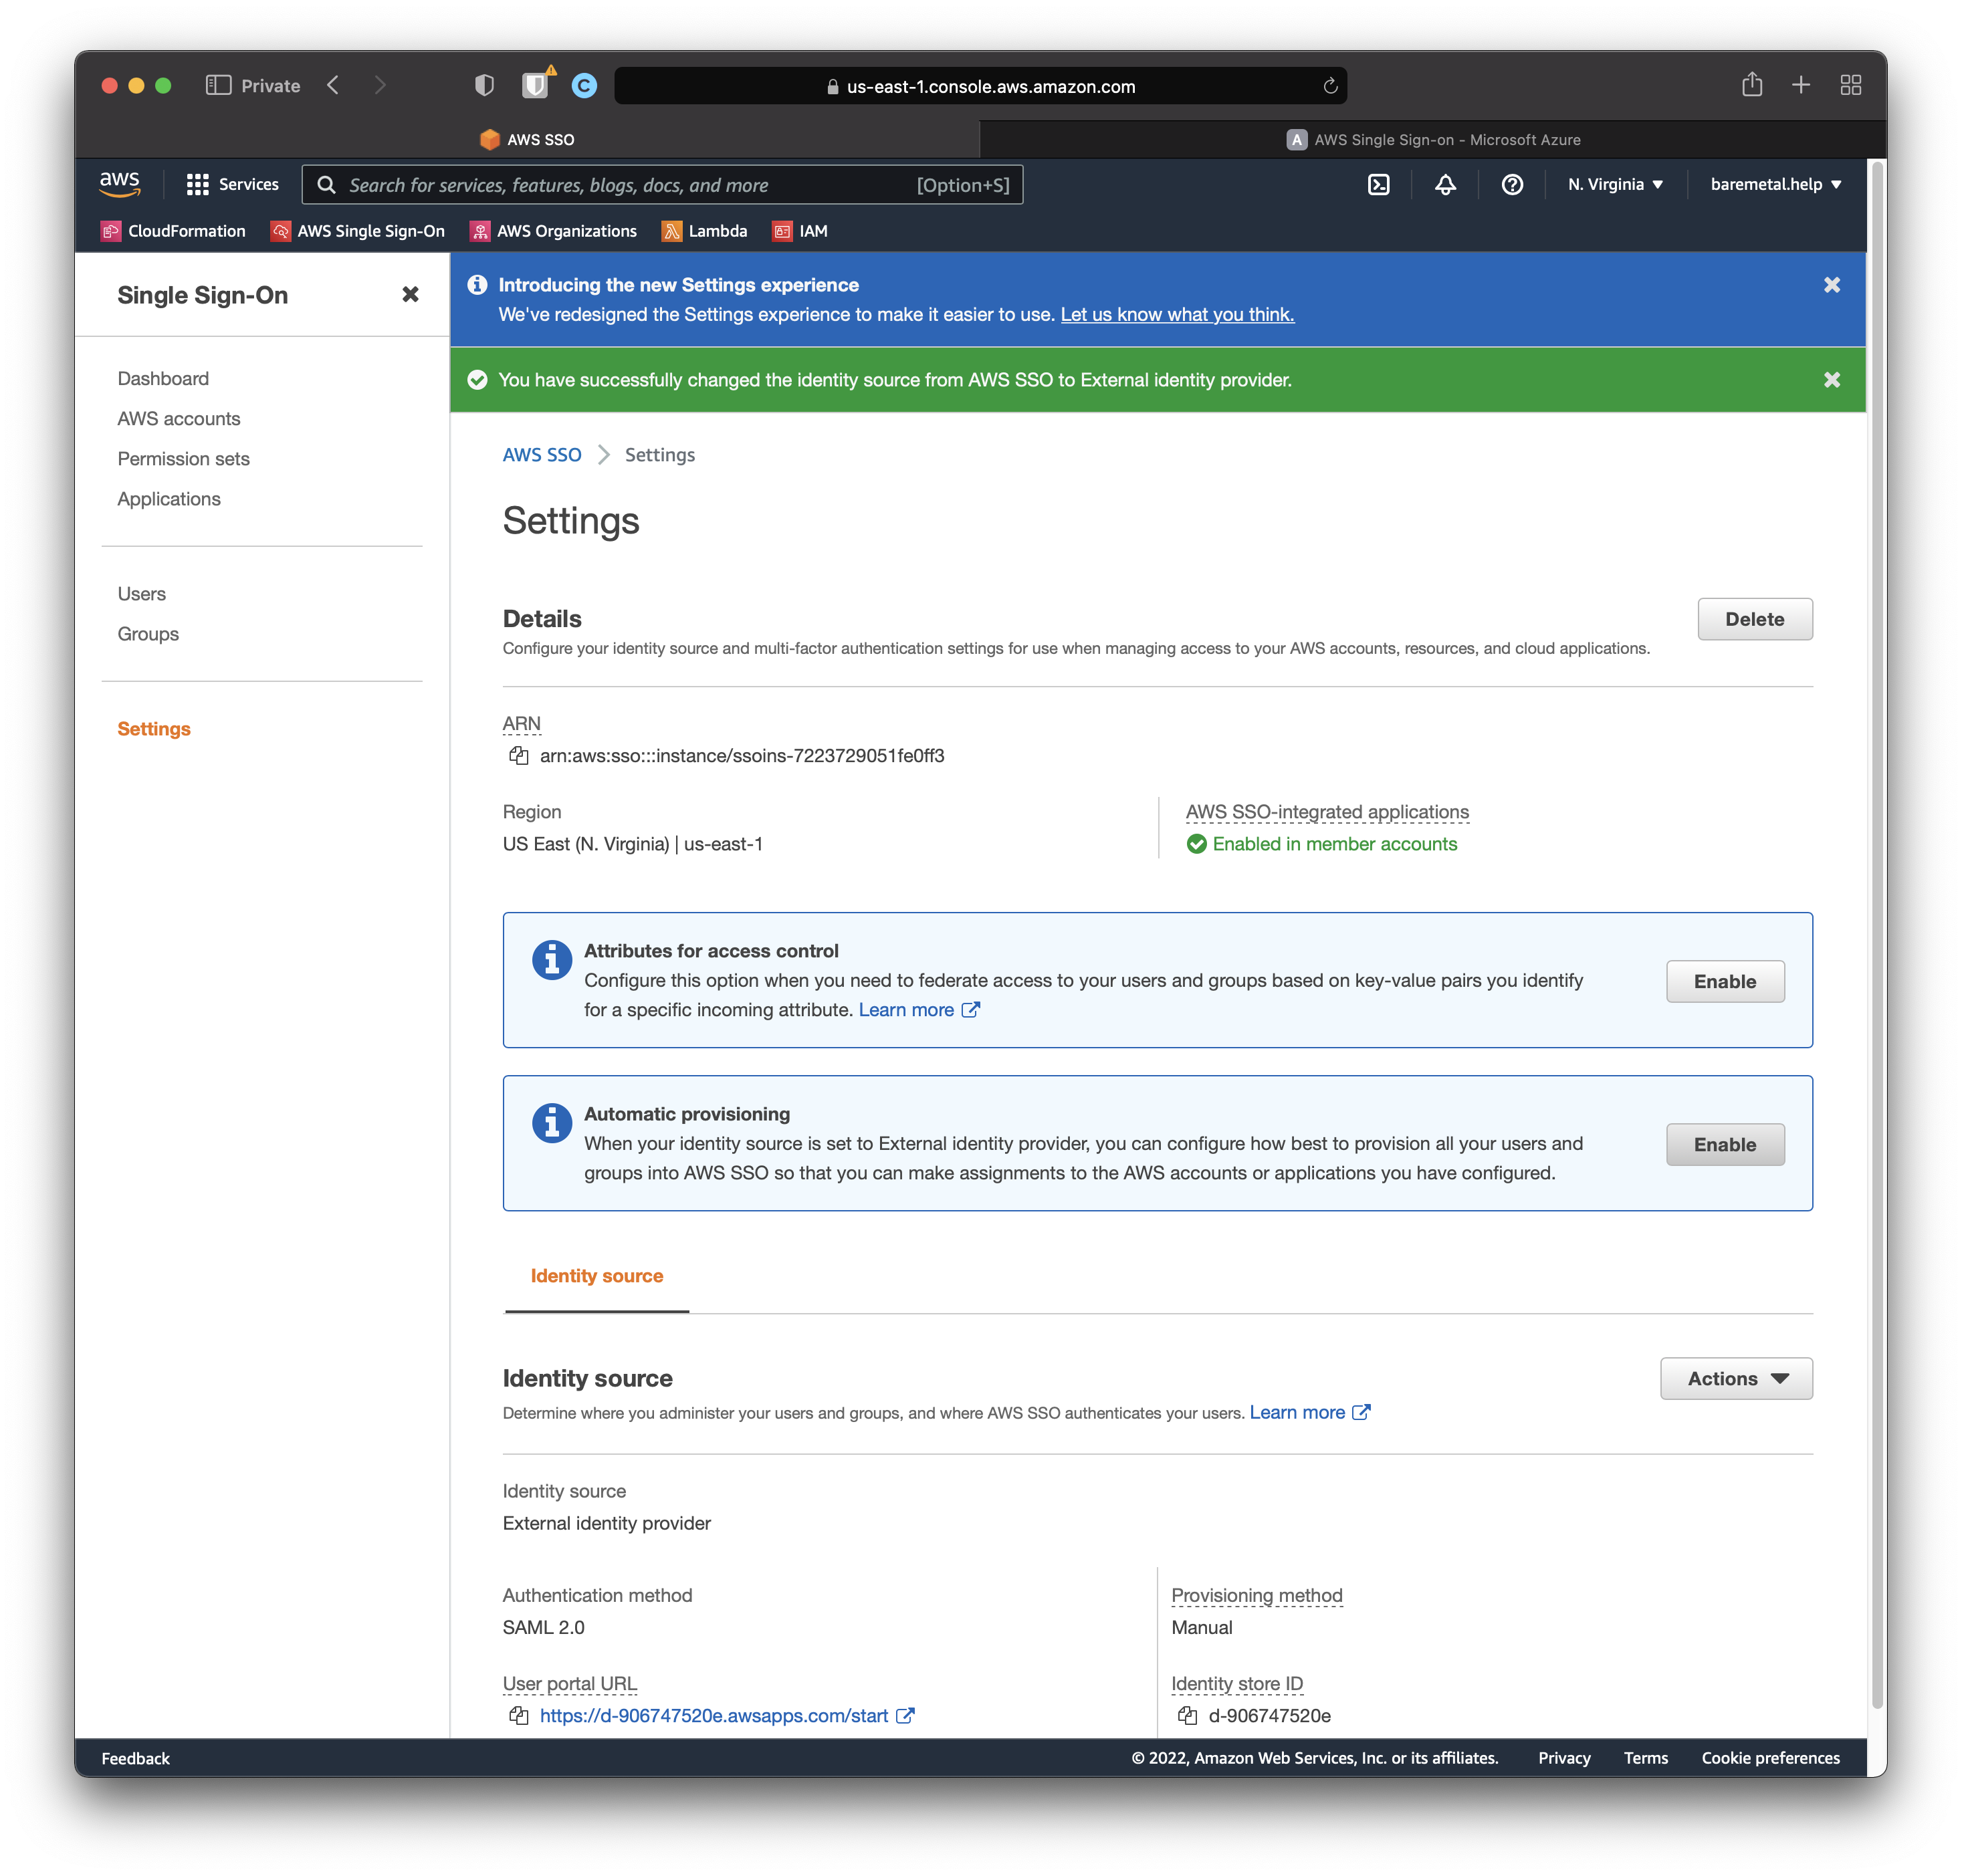
AWS SSO enabled OK
It may take a minute or two, but success looks like this.
Create Initial AD Tenant
Follow these instructions.
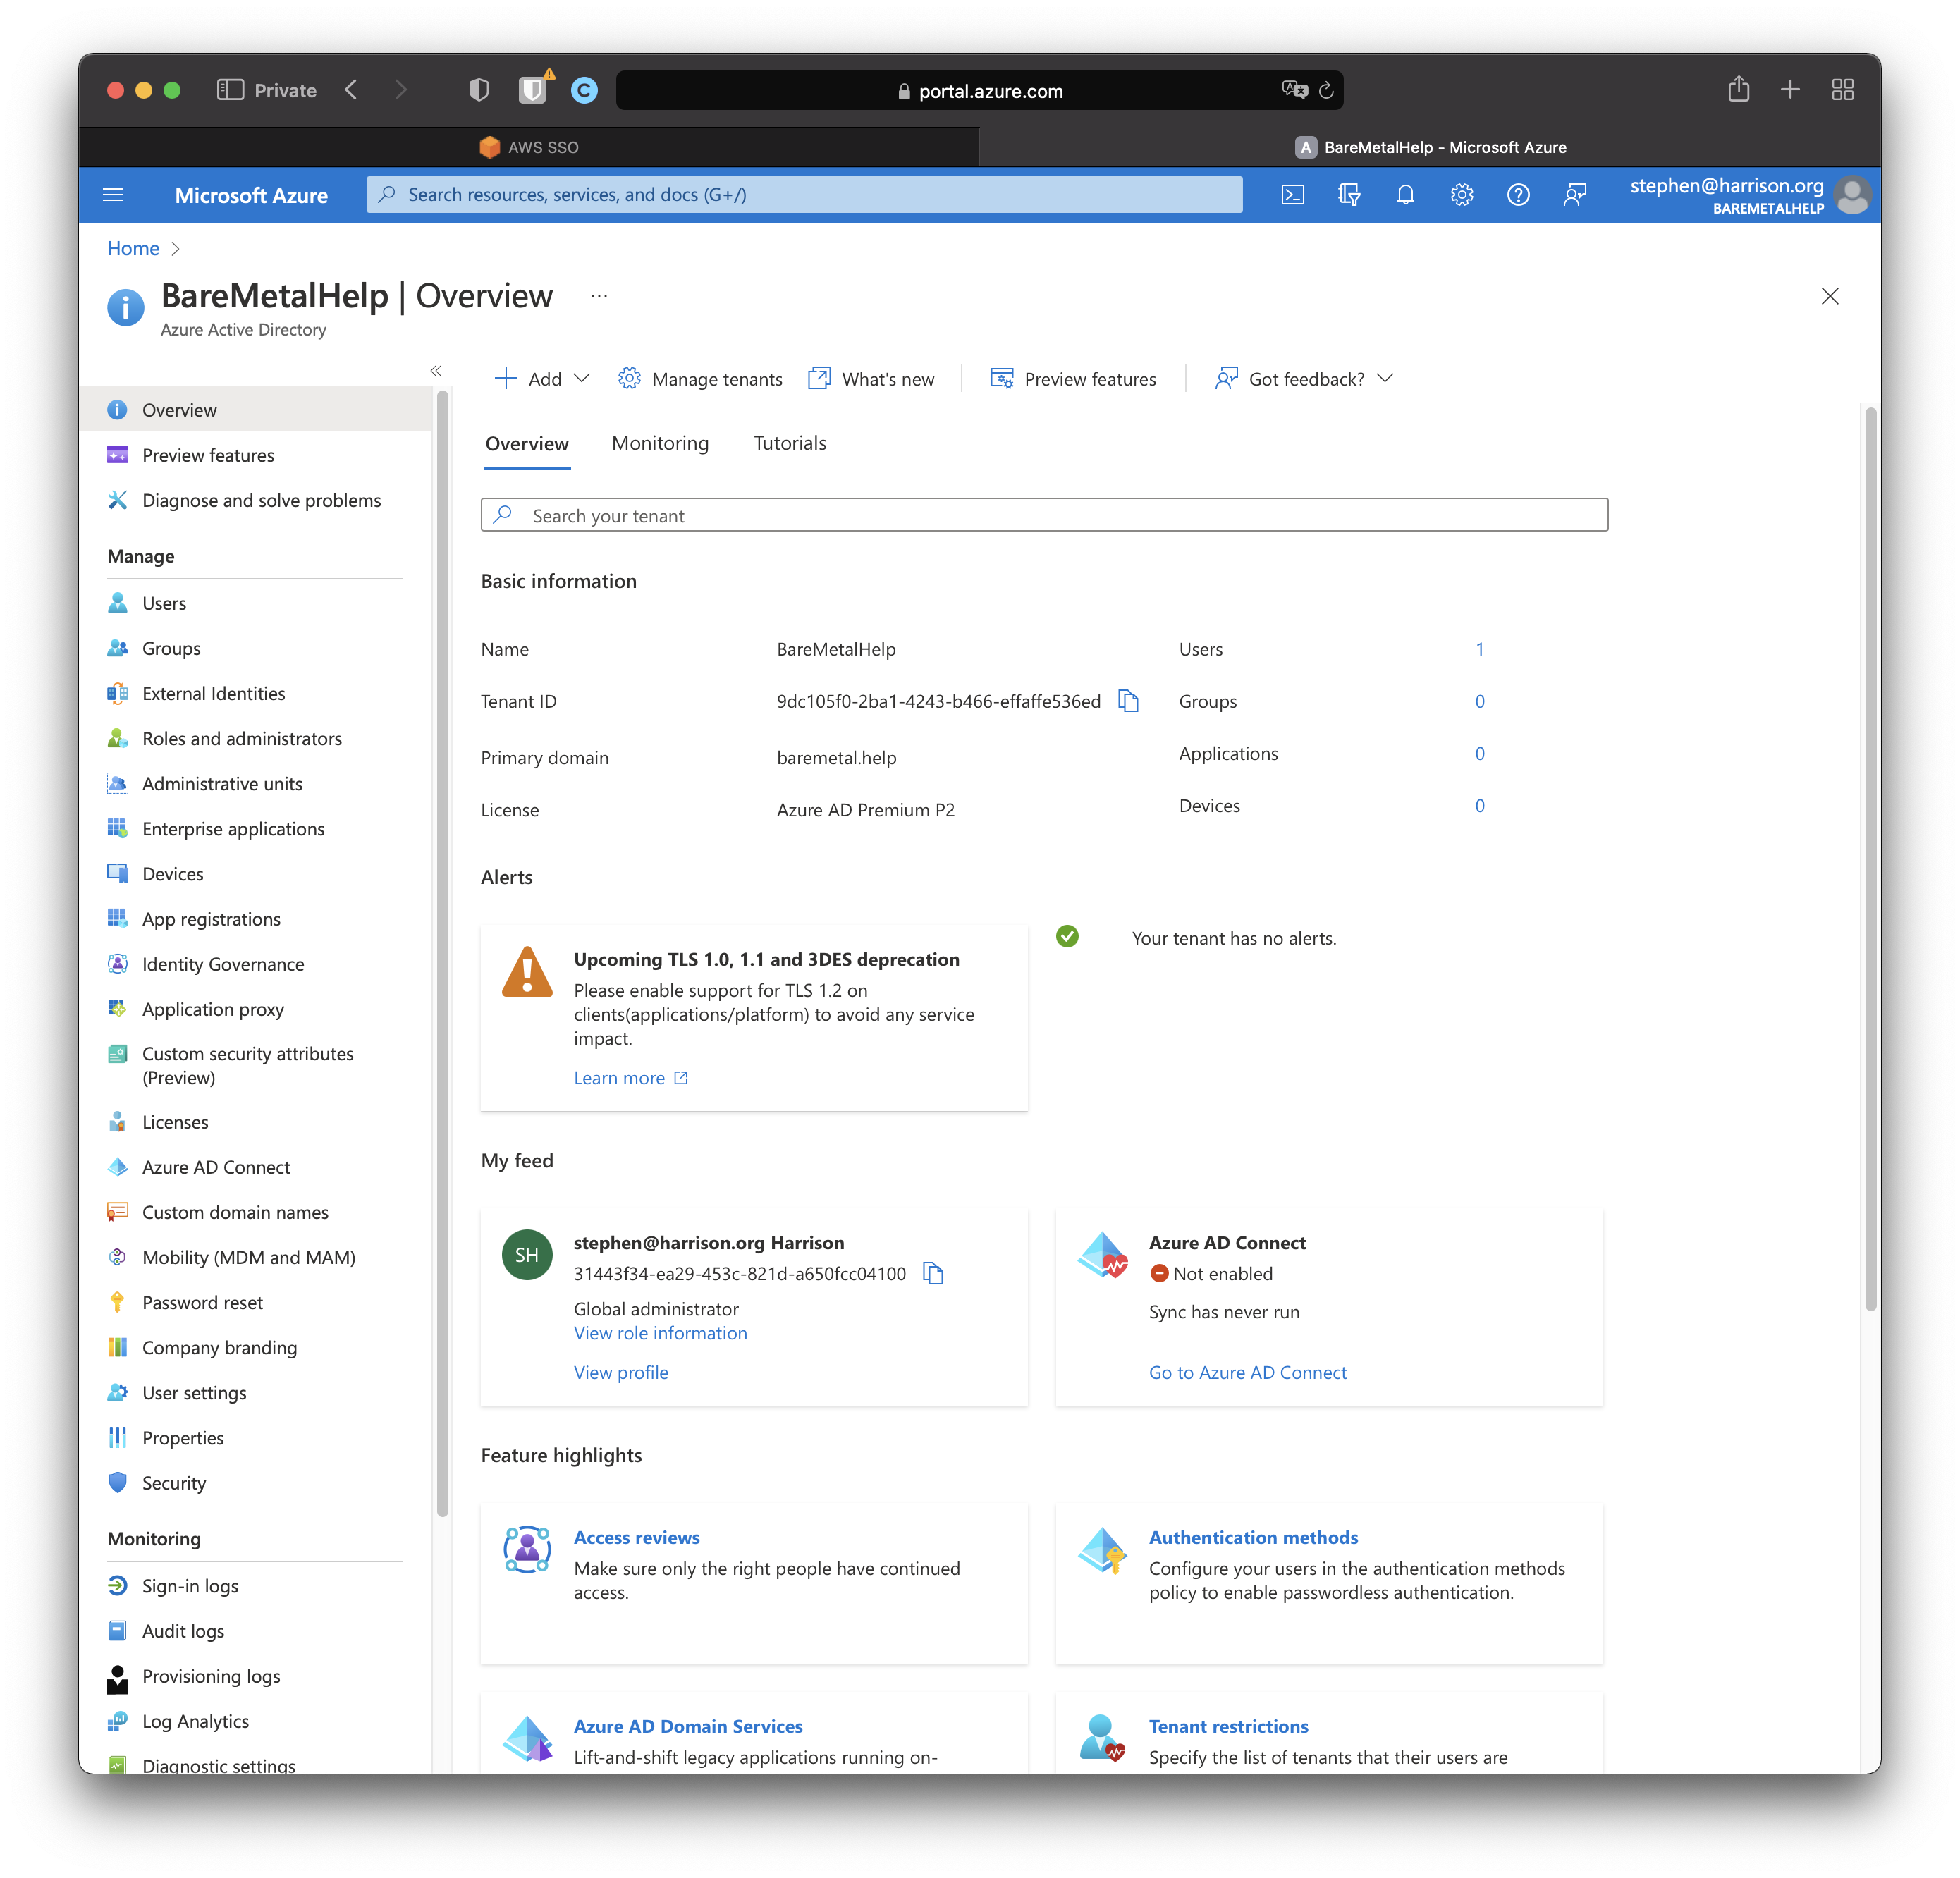
Click "Enterprise applications"
Create New Enterprise Application
An Enterprise Application is the feature you add to integrate with AWS SSO. You can't do any of the rest of this tutorial without this feature.
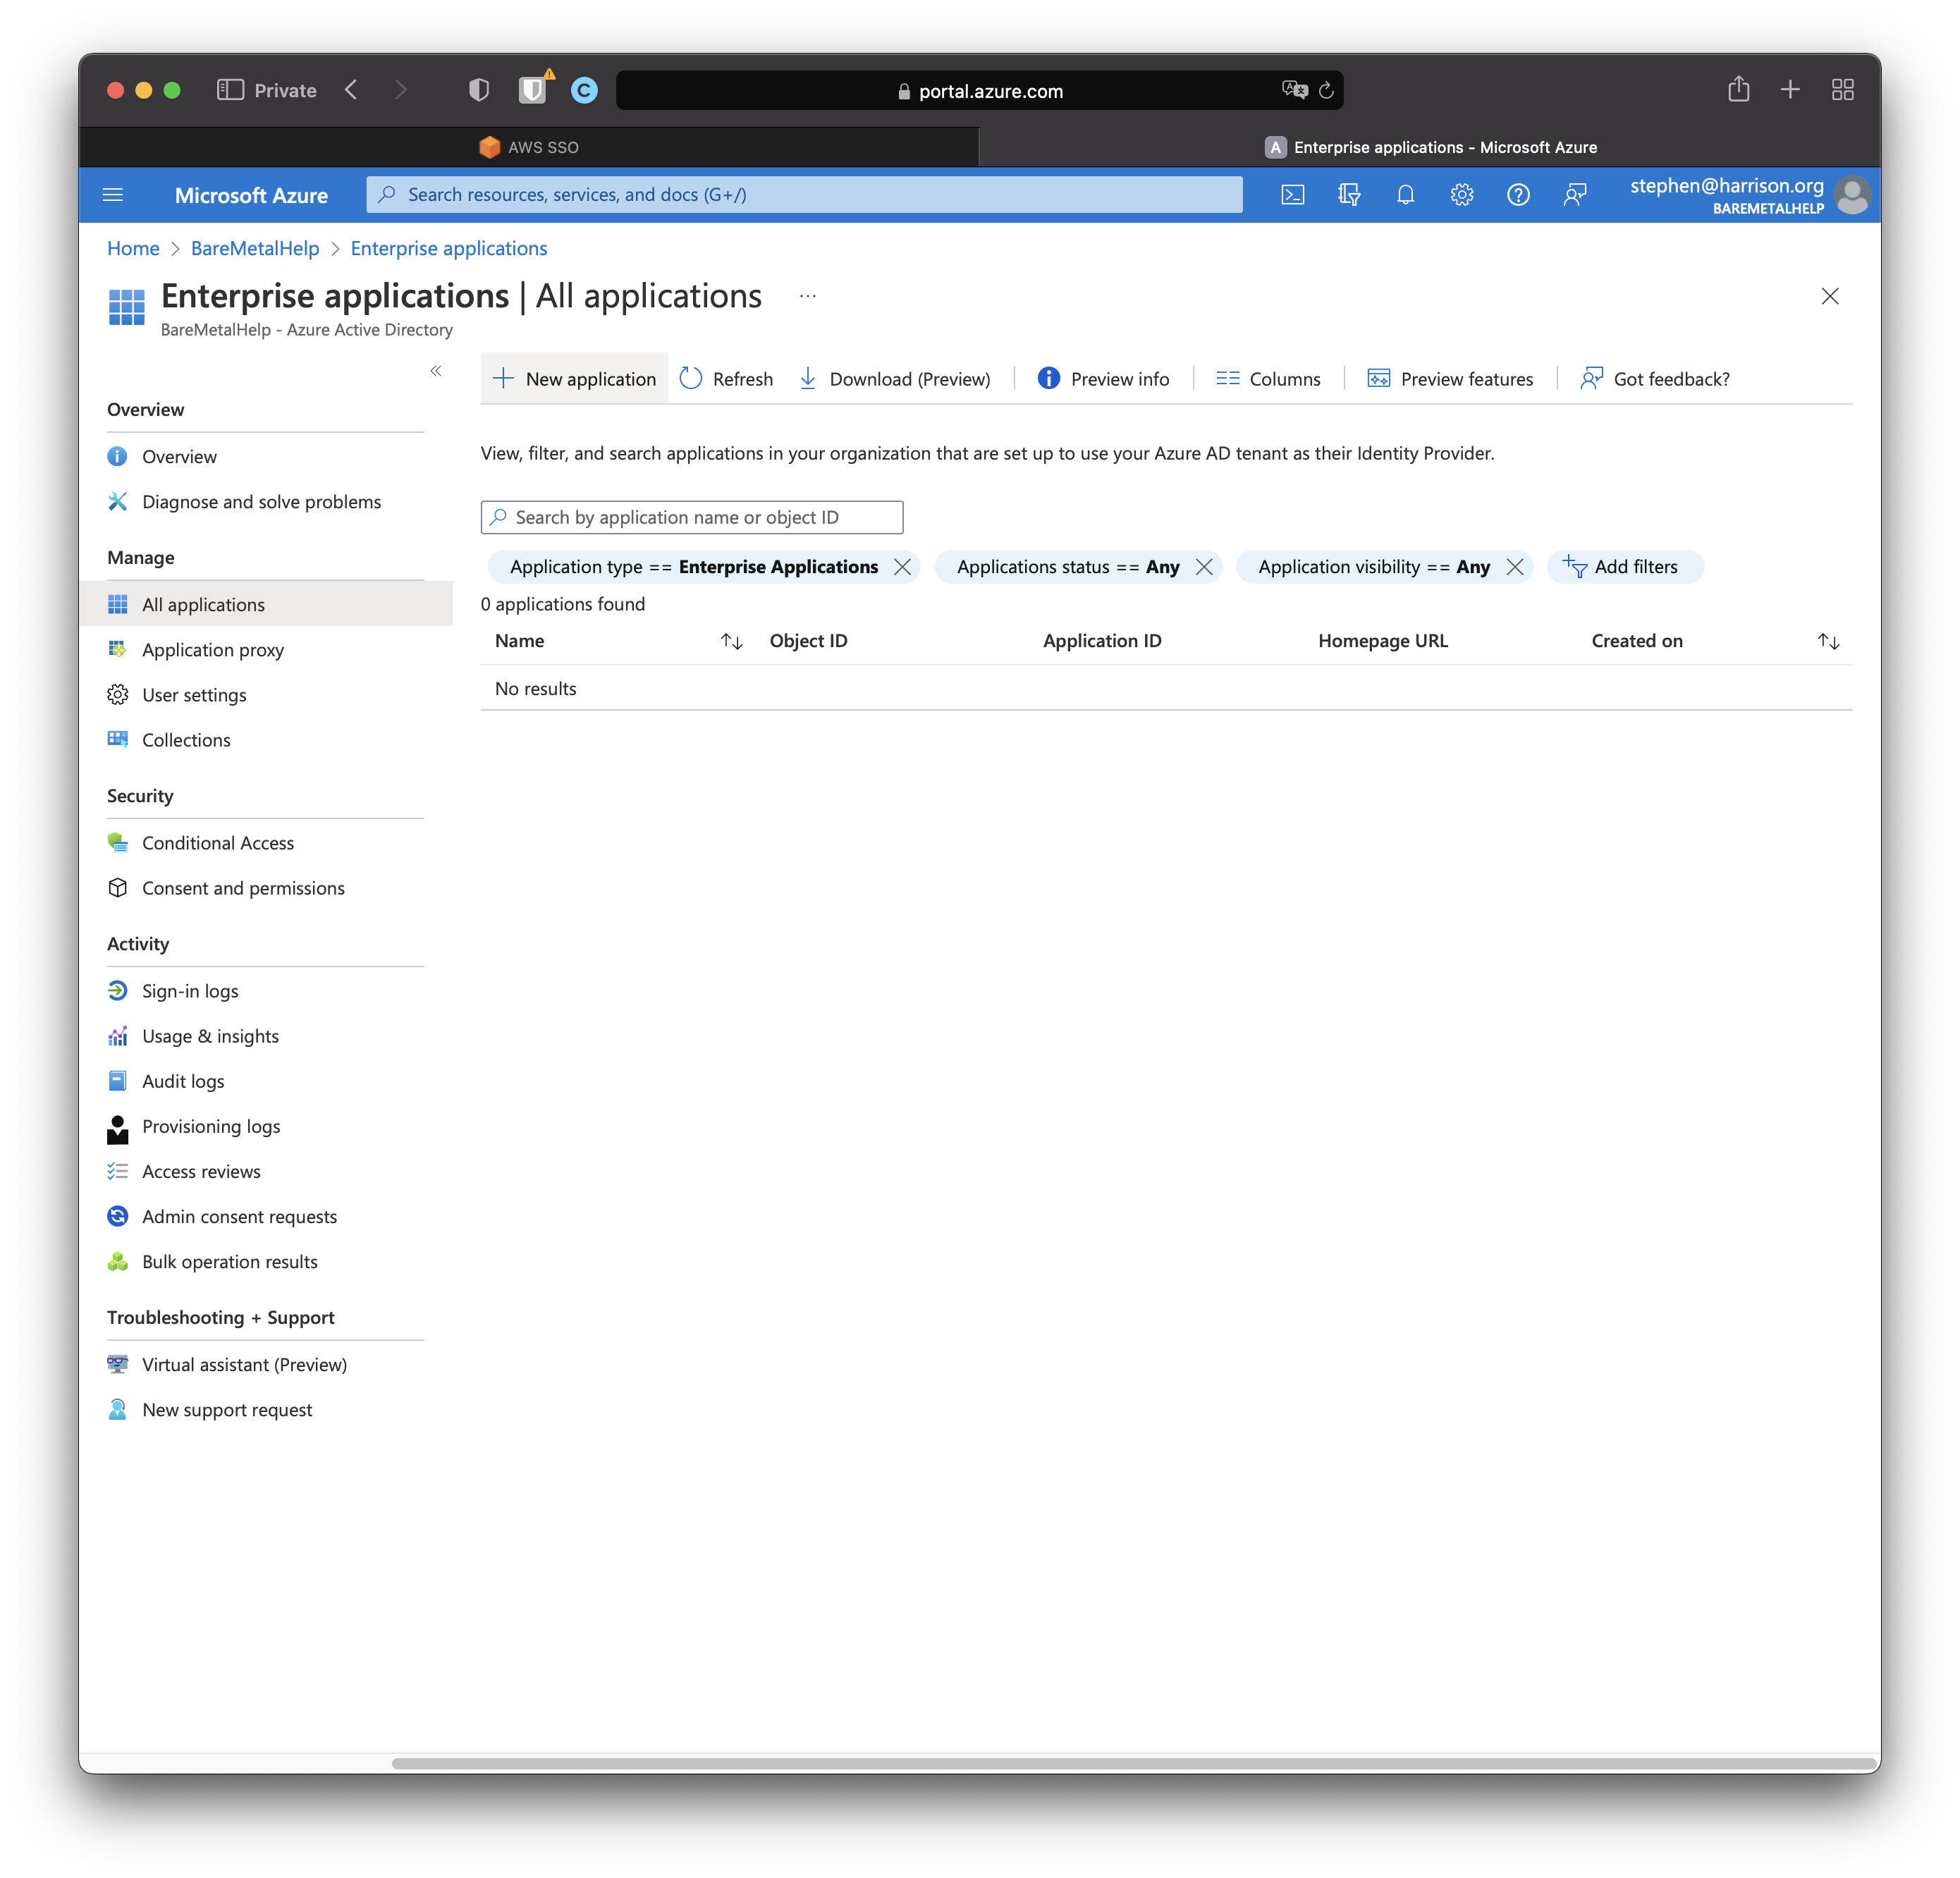
Click "+ New application"
Search for "aws"
You'll see AWS show up twice. There's a legacy application and then the one that works. Pick the one that works.
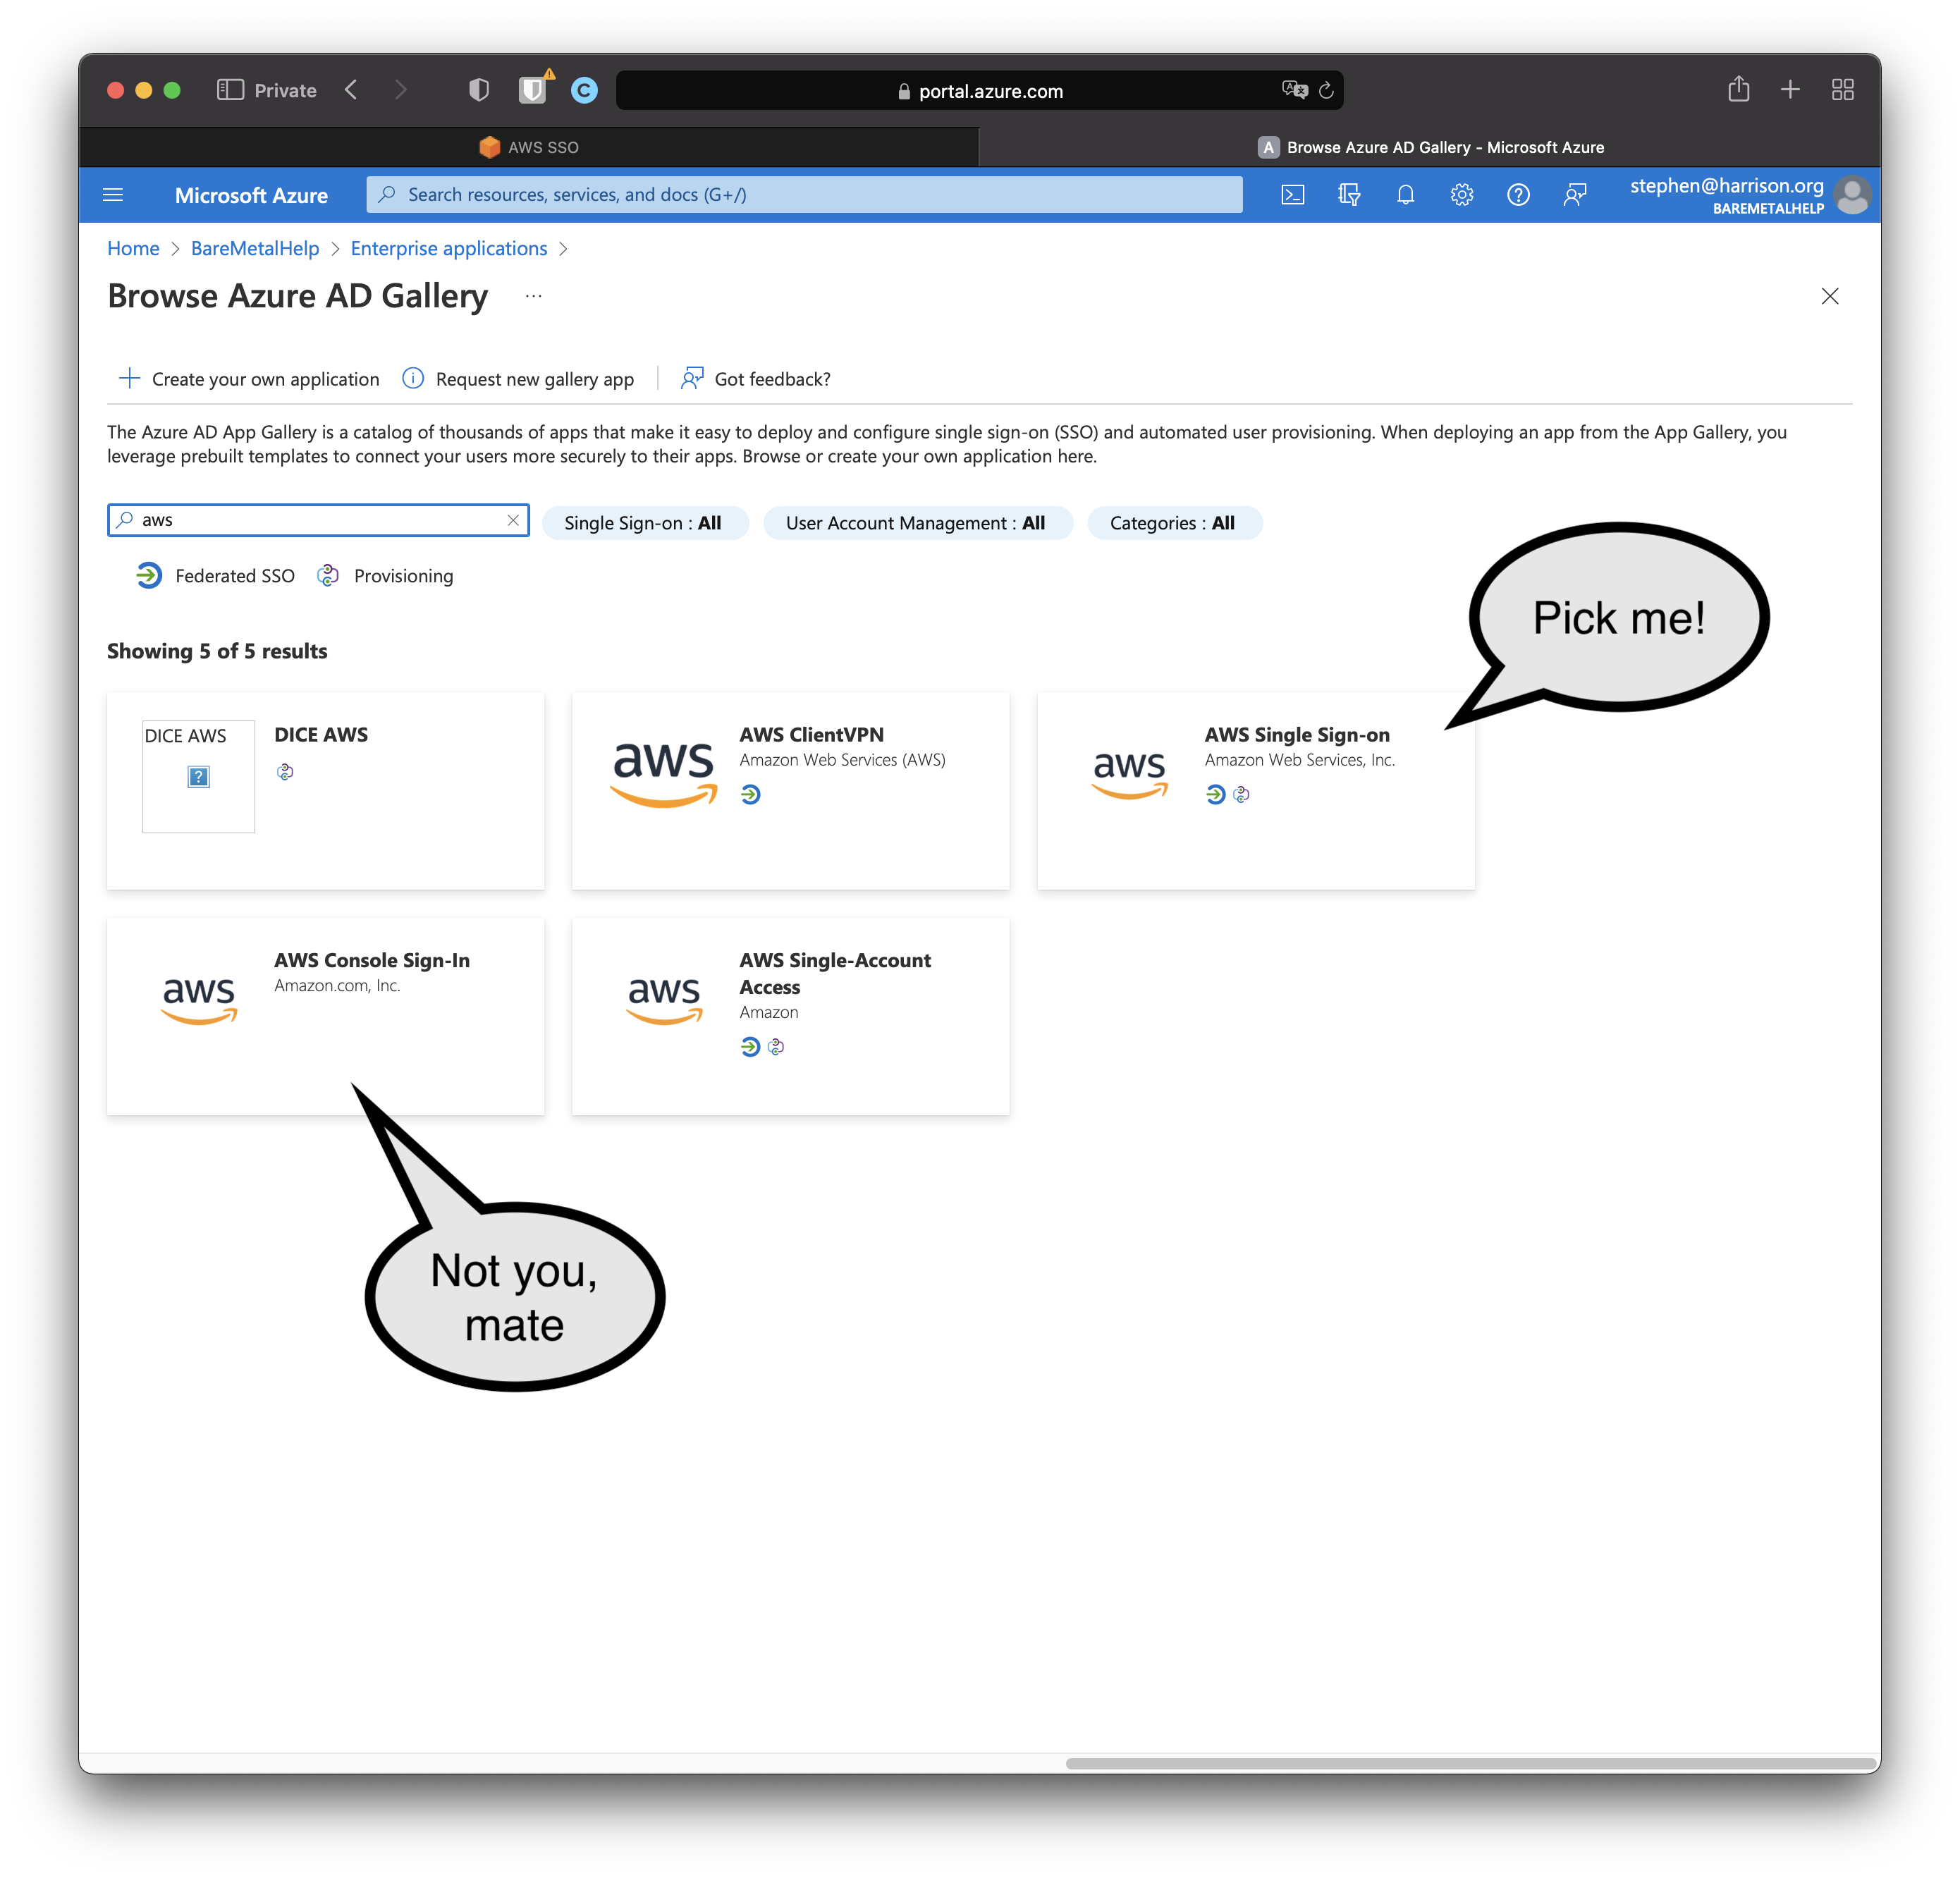
Click "AWS Single Sign-on"
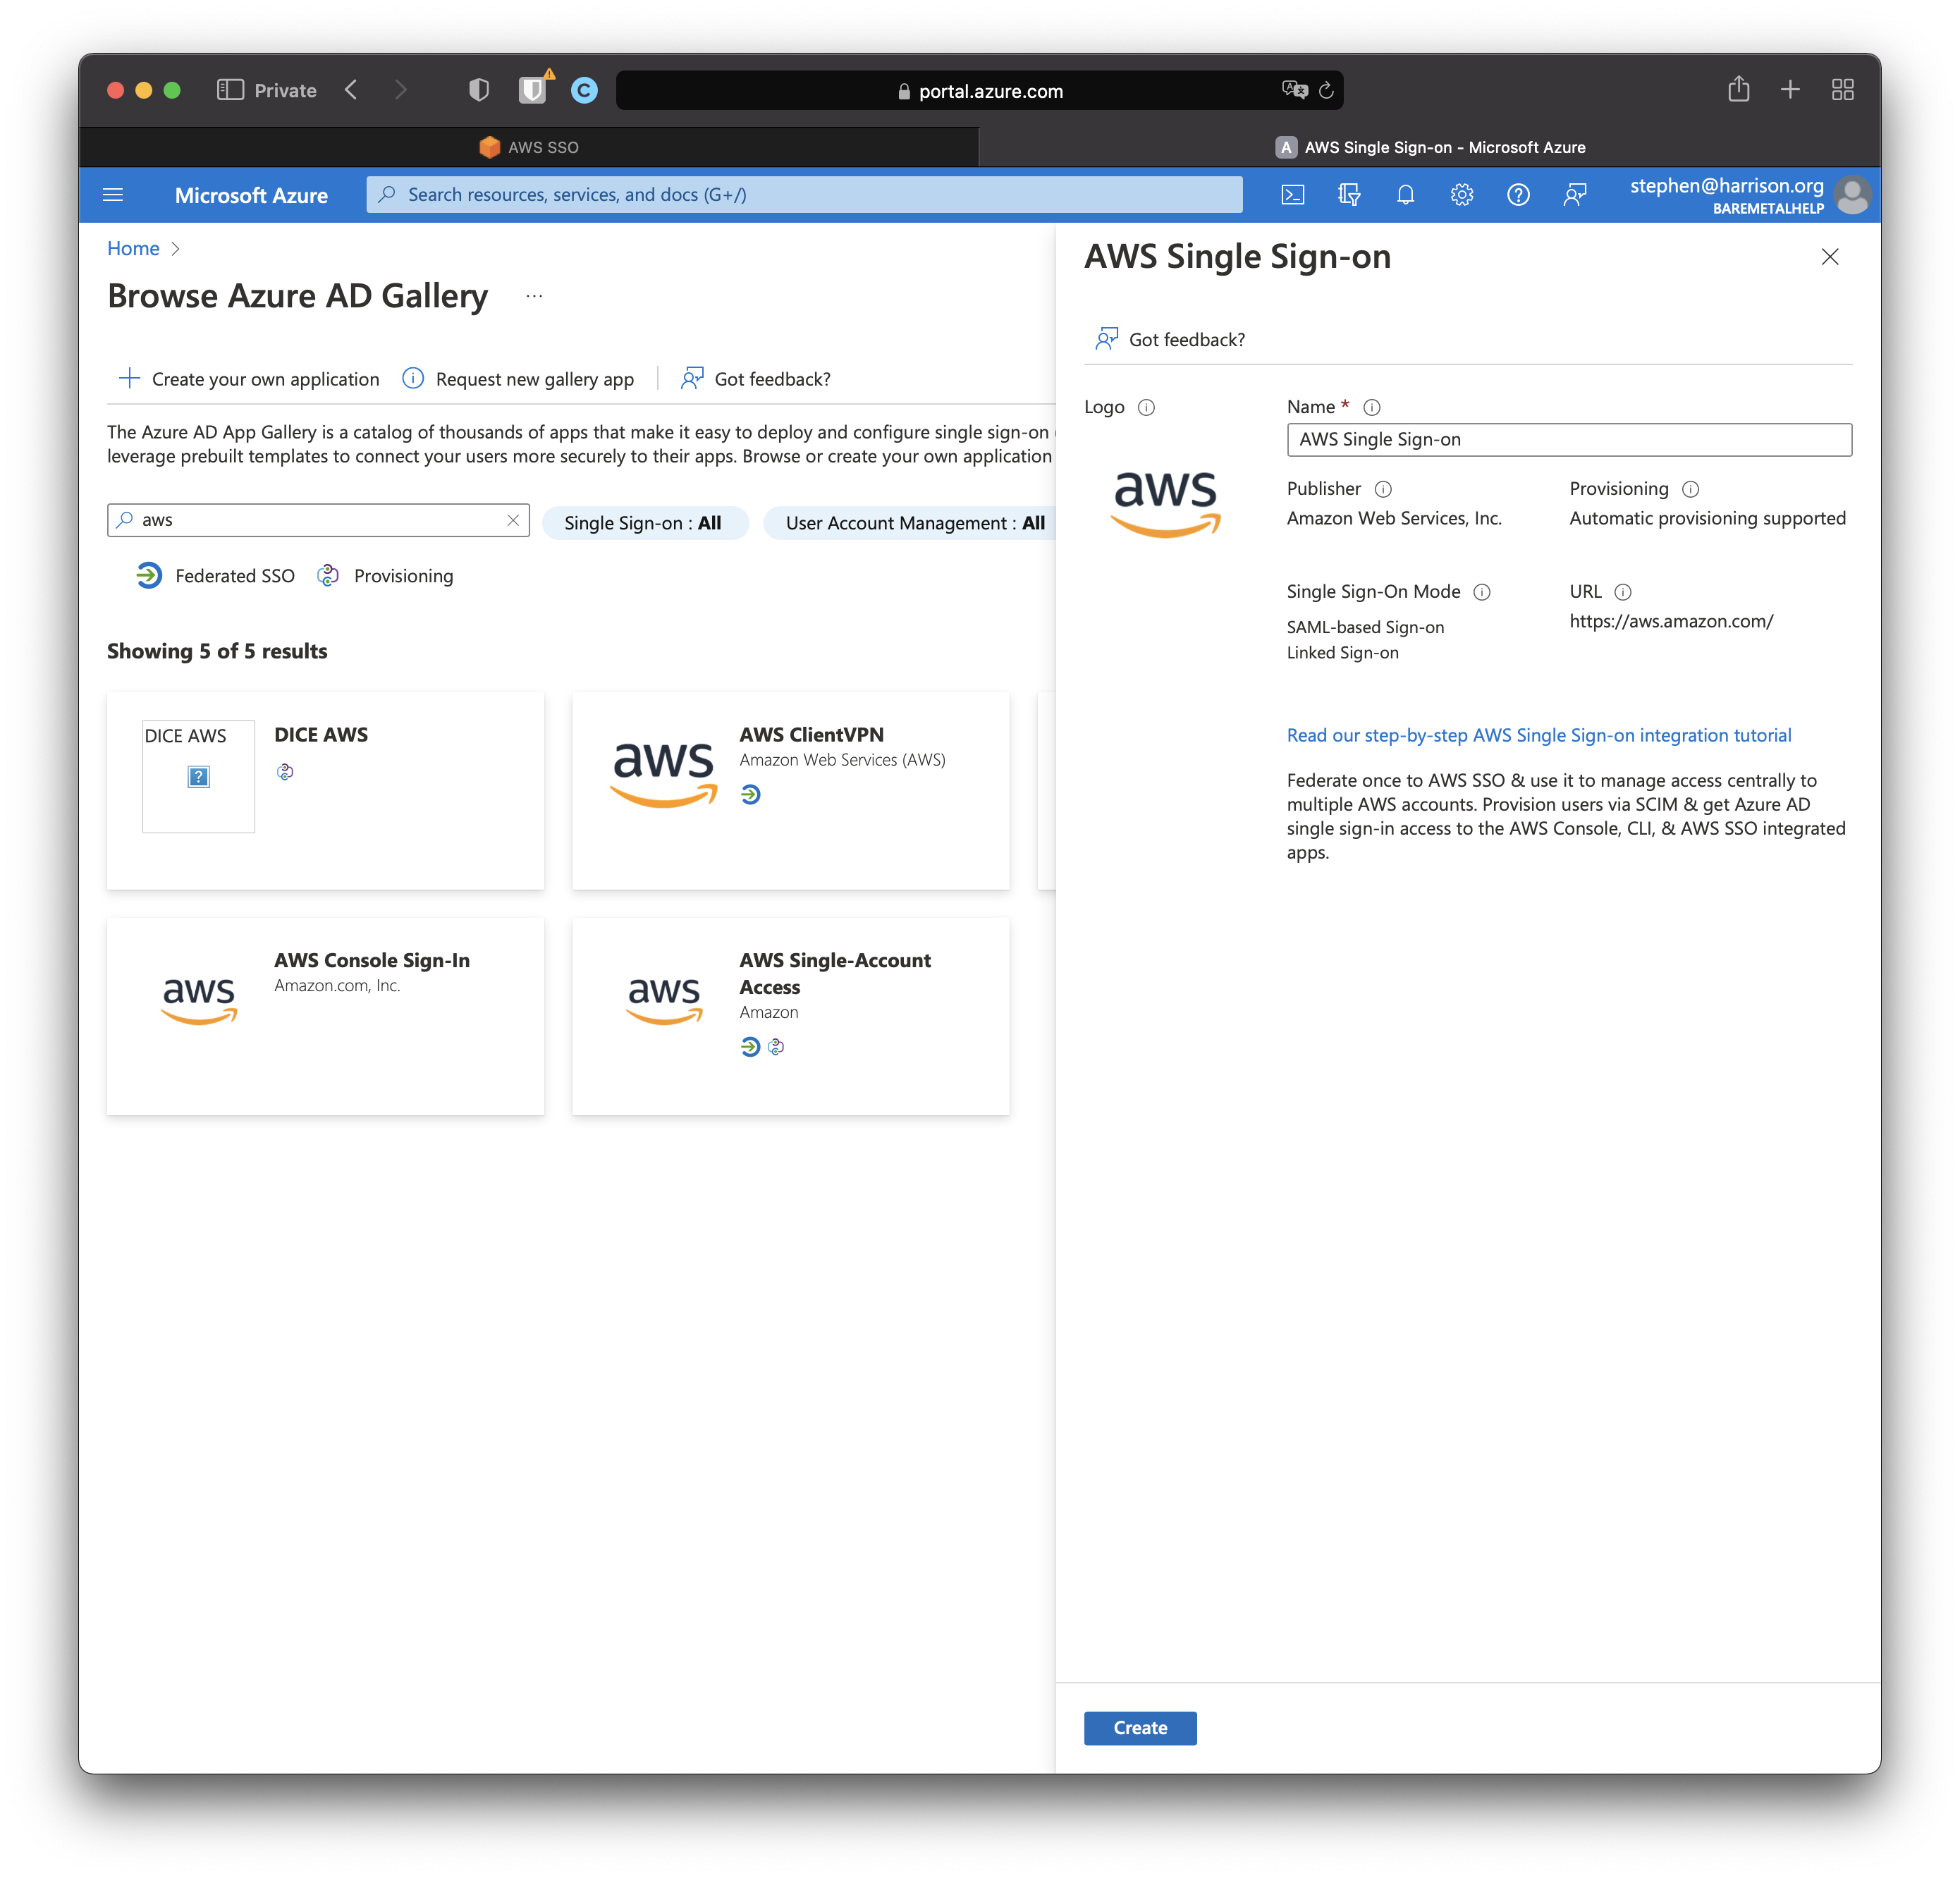
Click "Create". It'll take a minute or two.
AD Enterprise Application created OK
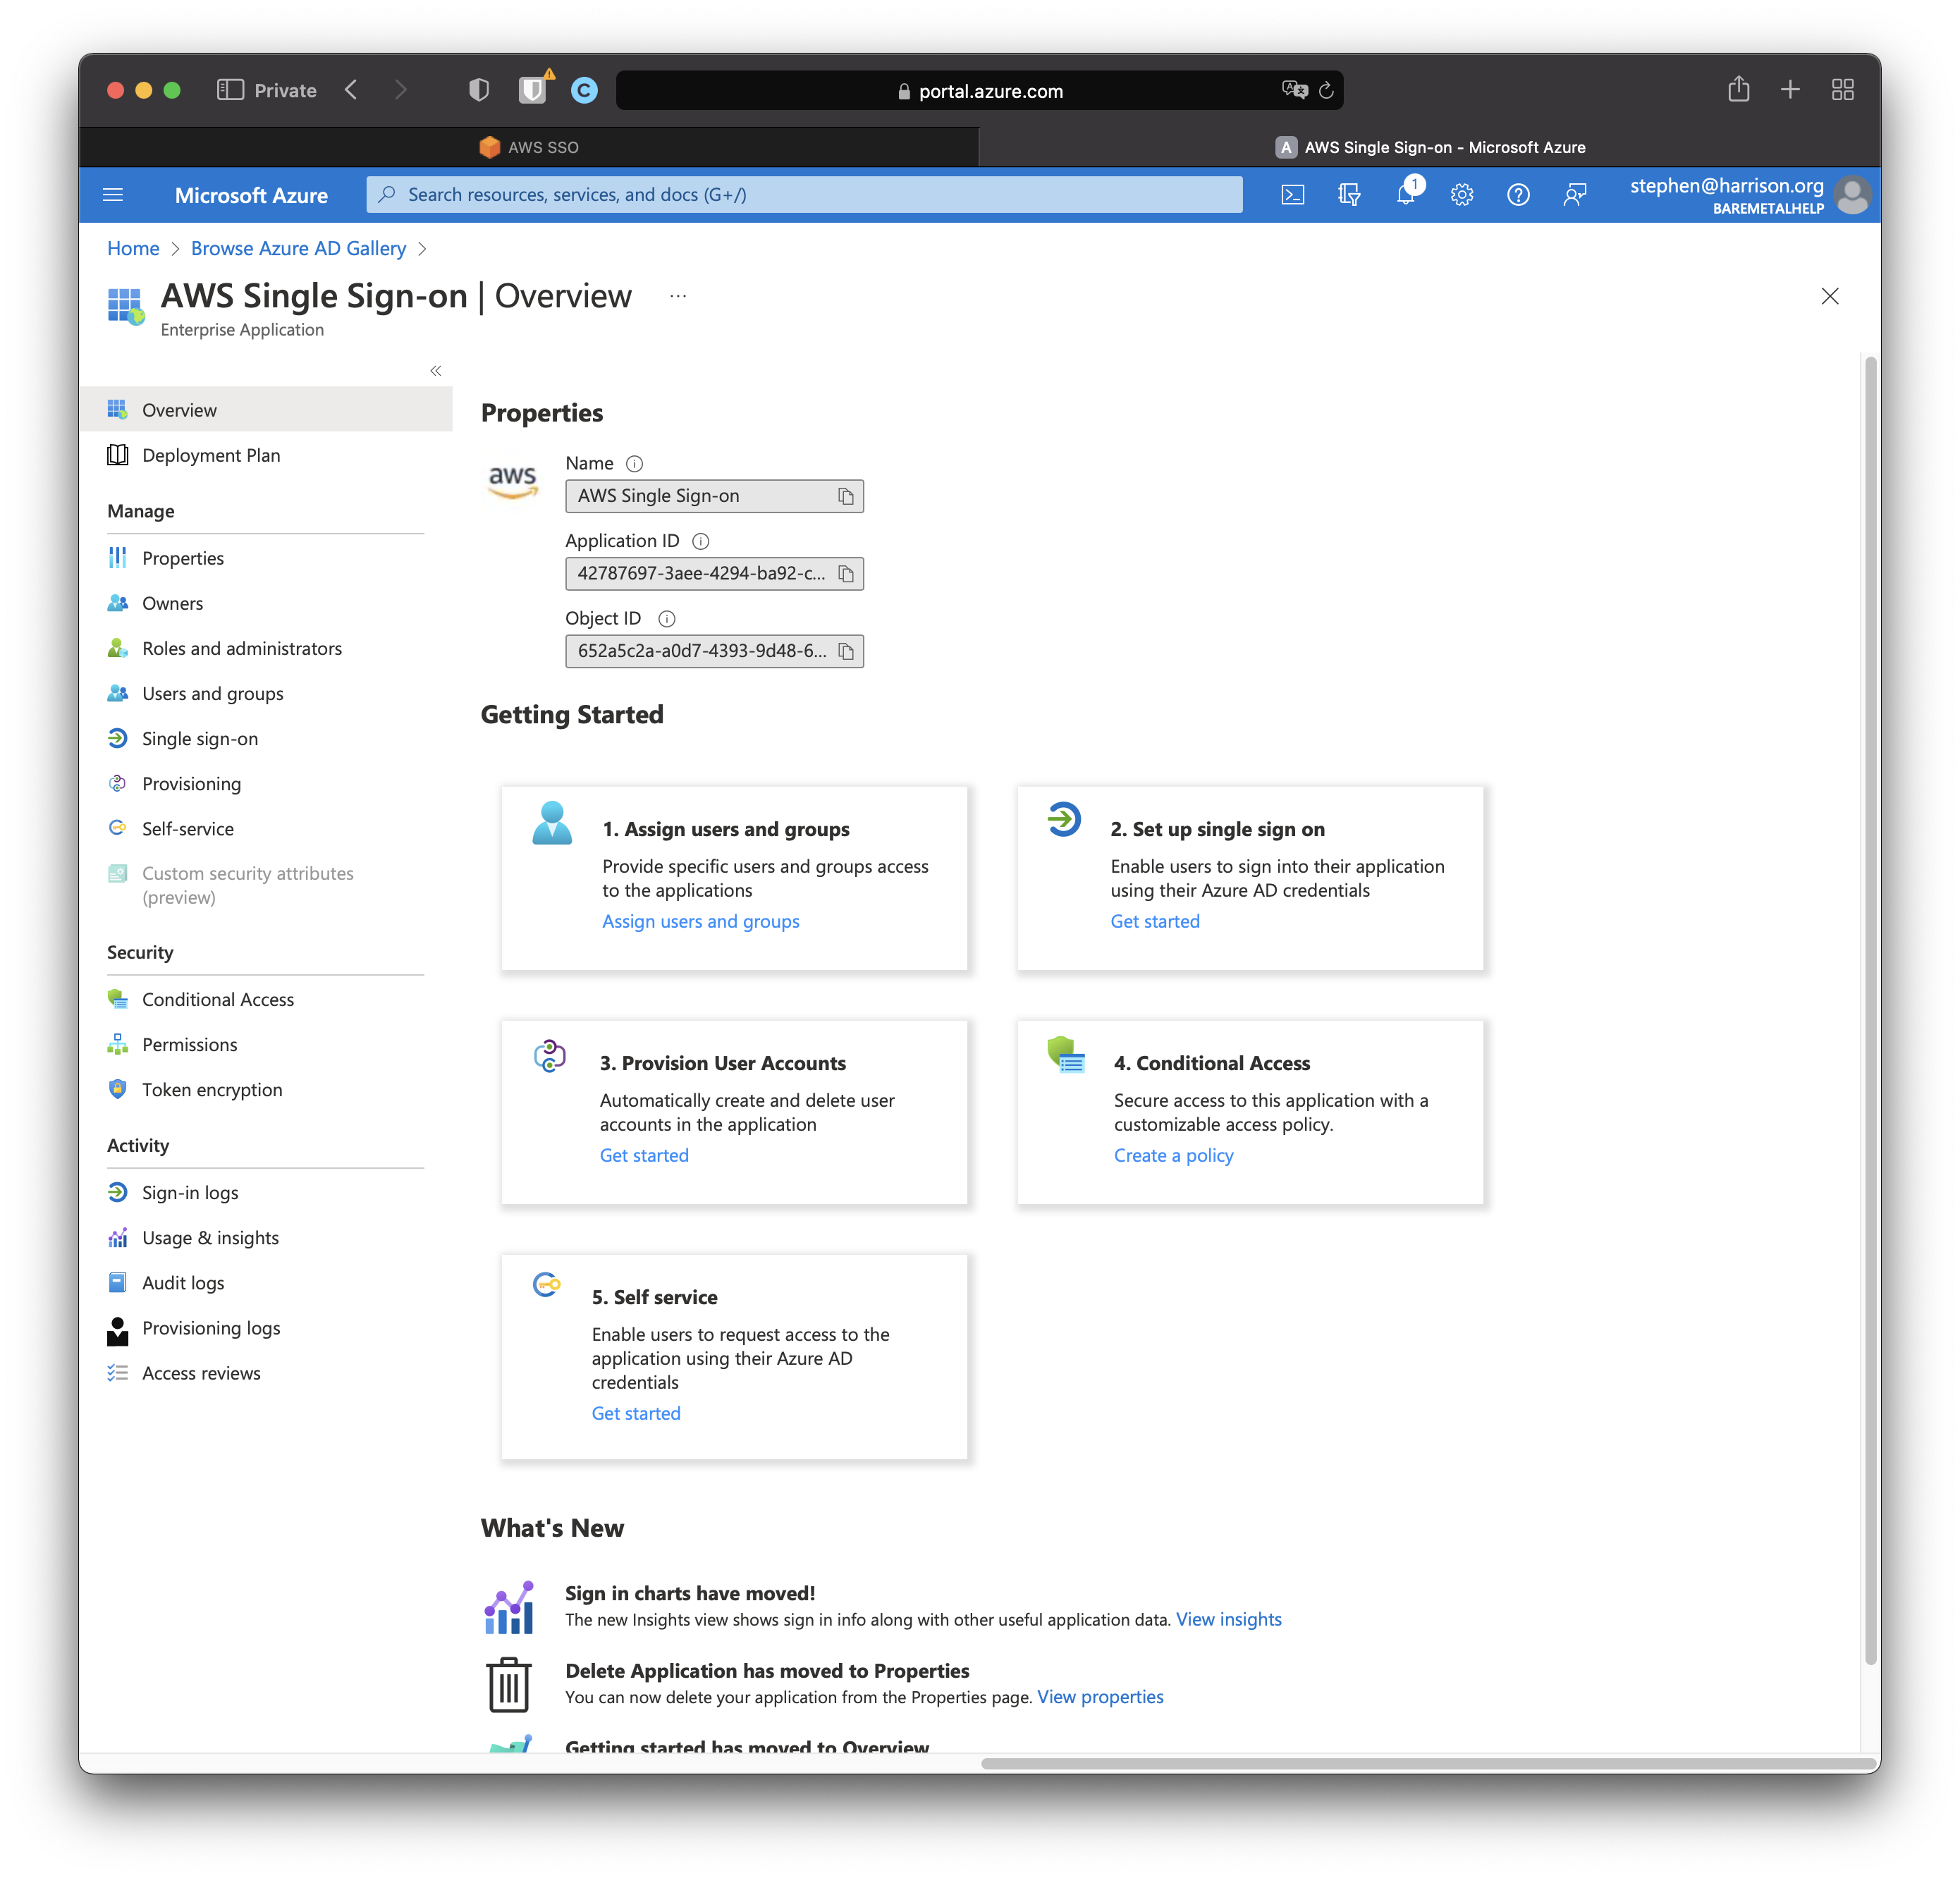
TBD: Errors and fixes
Set Up Single Sign-On in AD
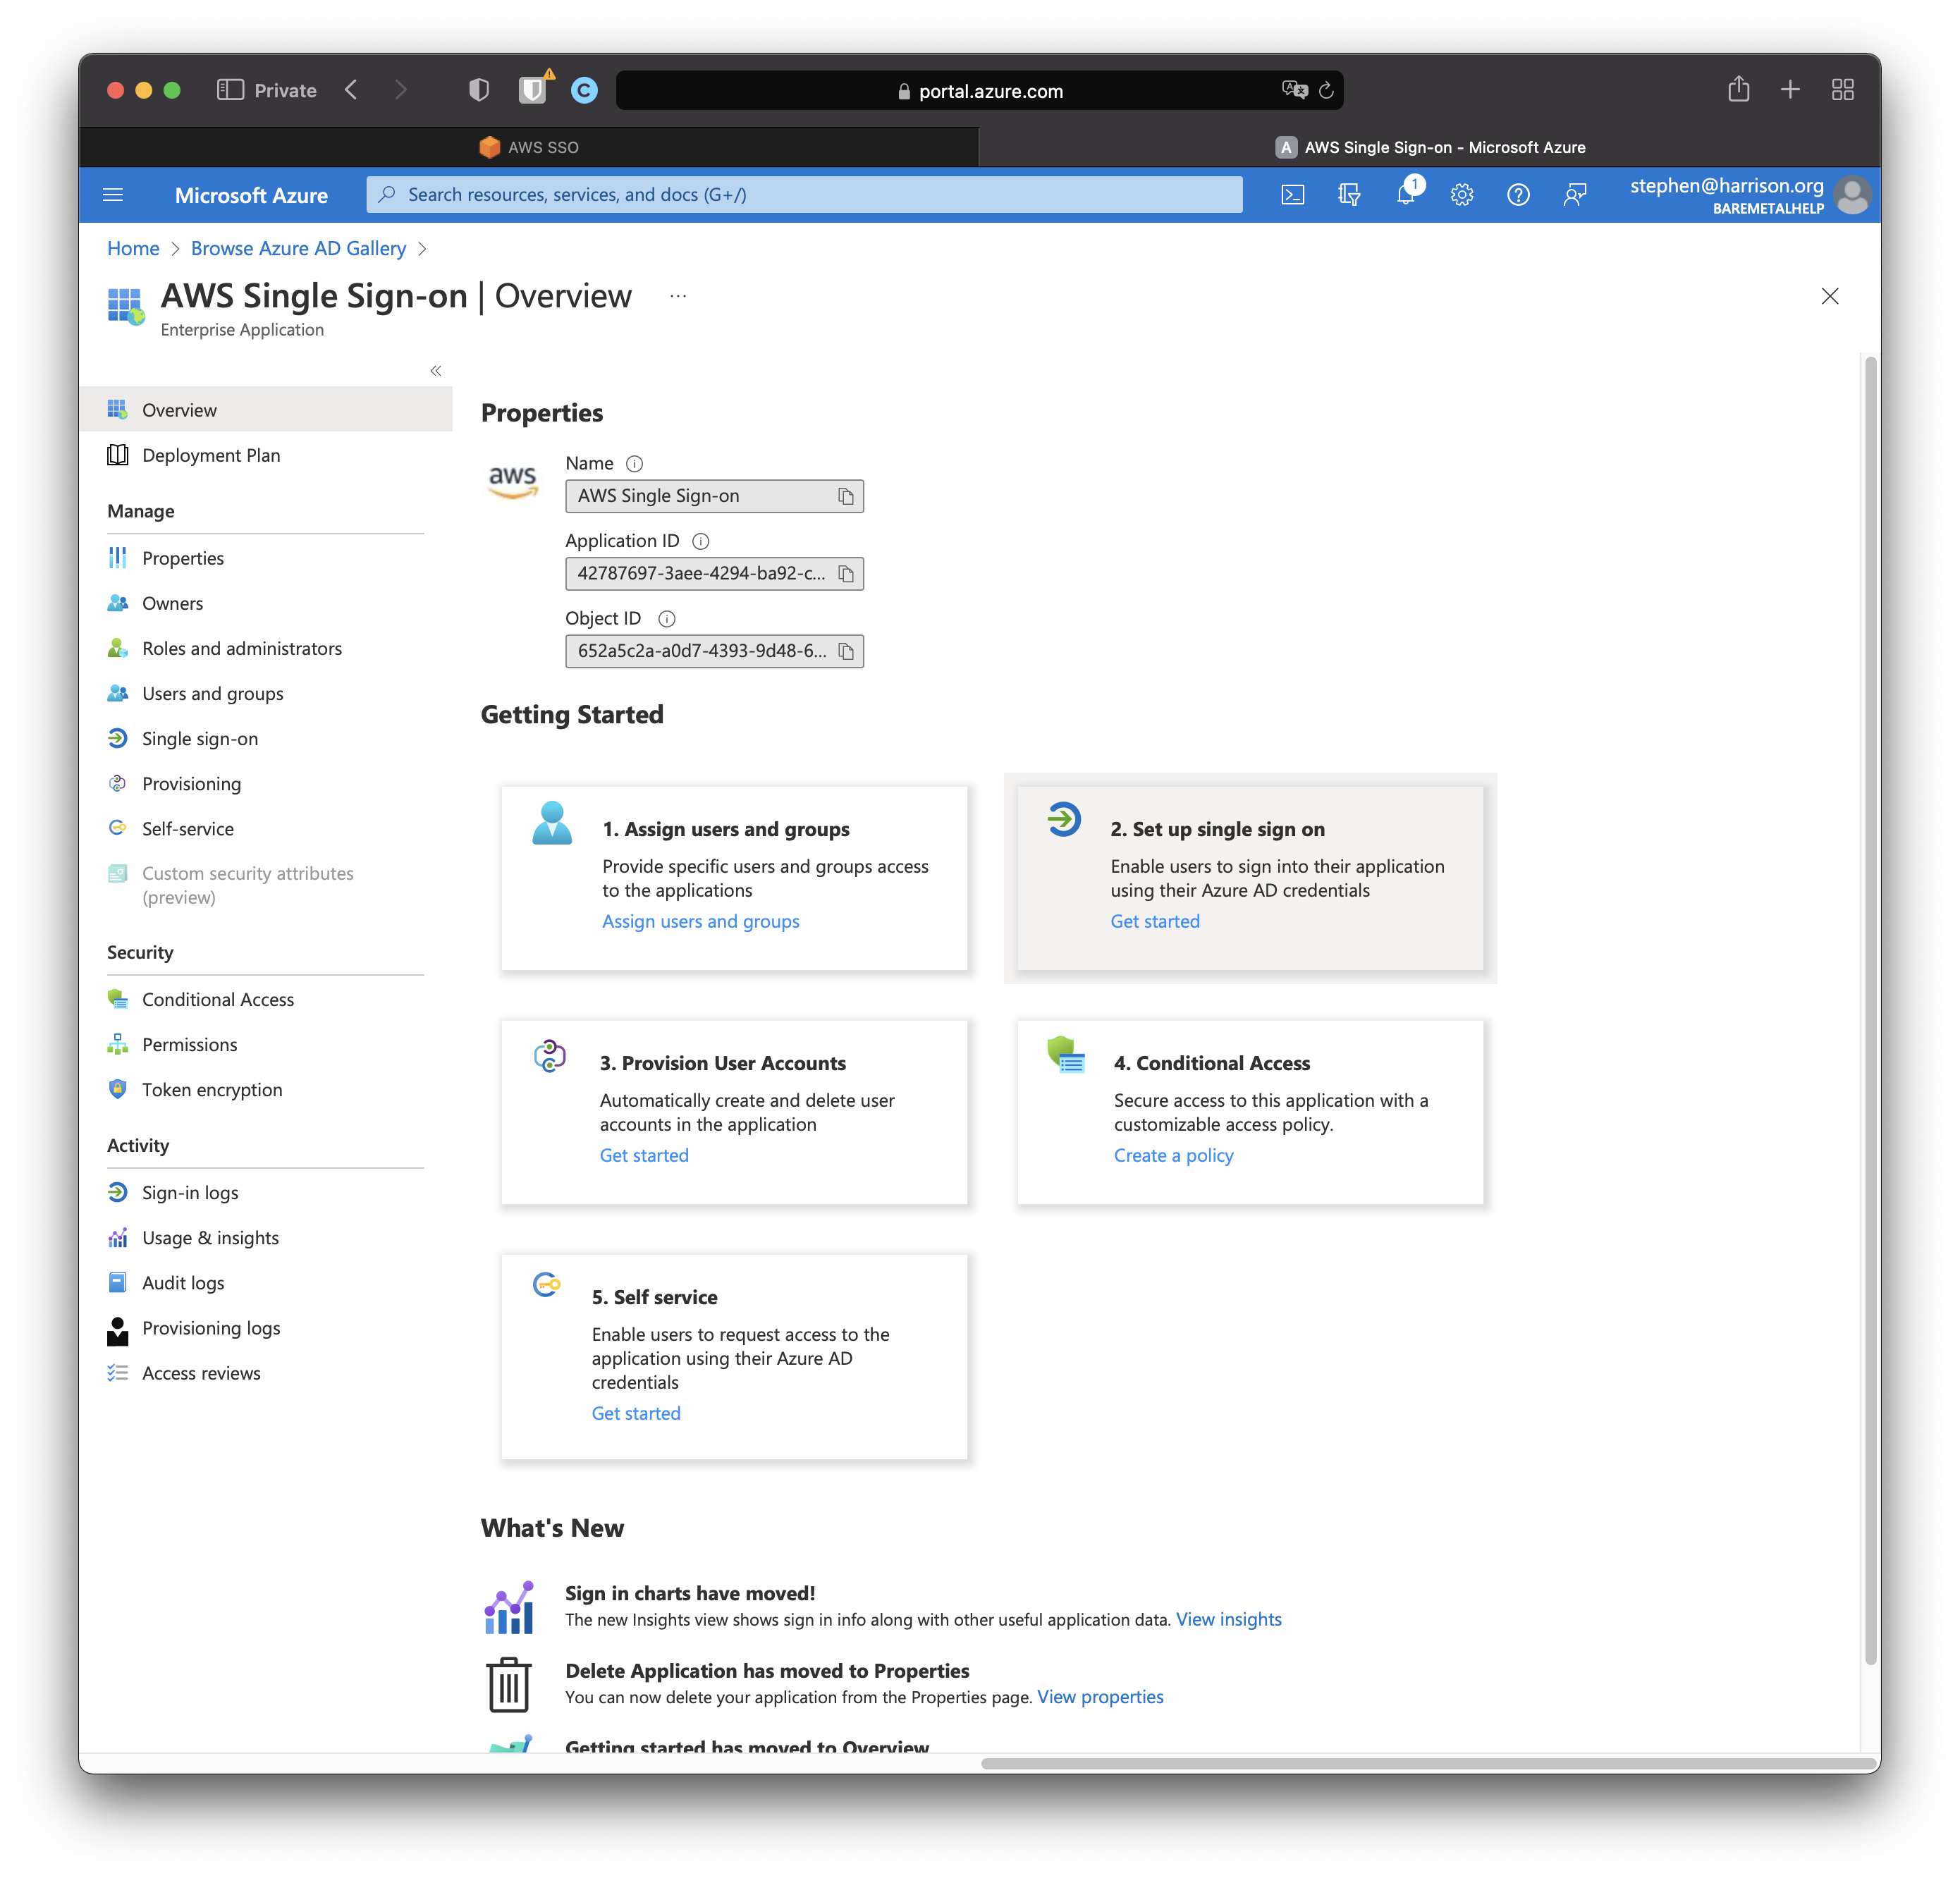
Click "Set up single sign on". Click "SAML".
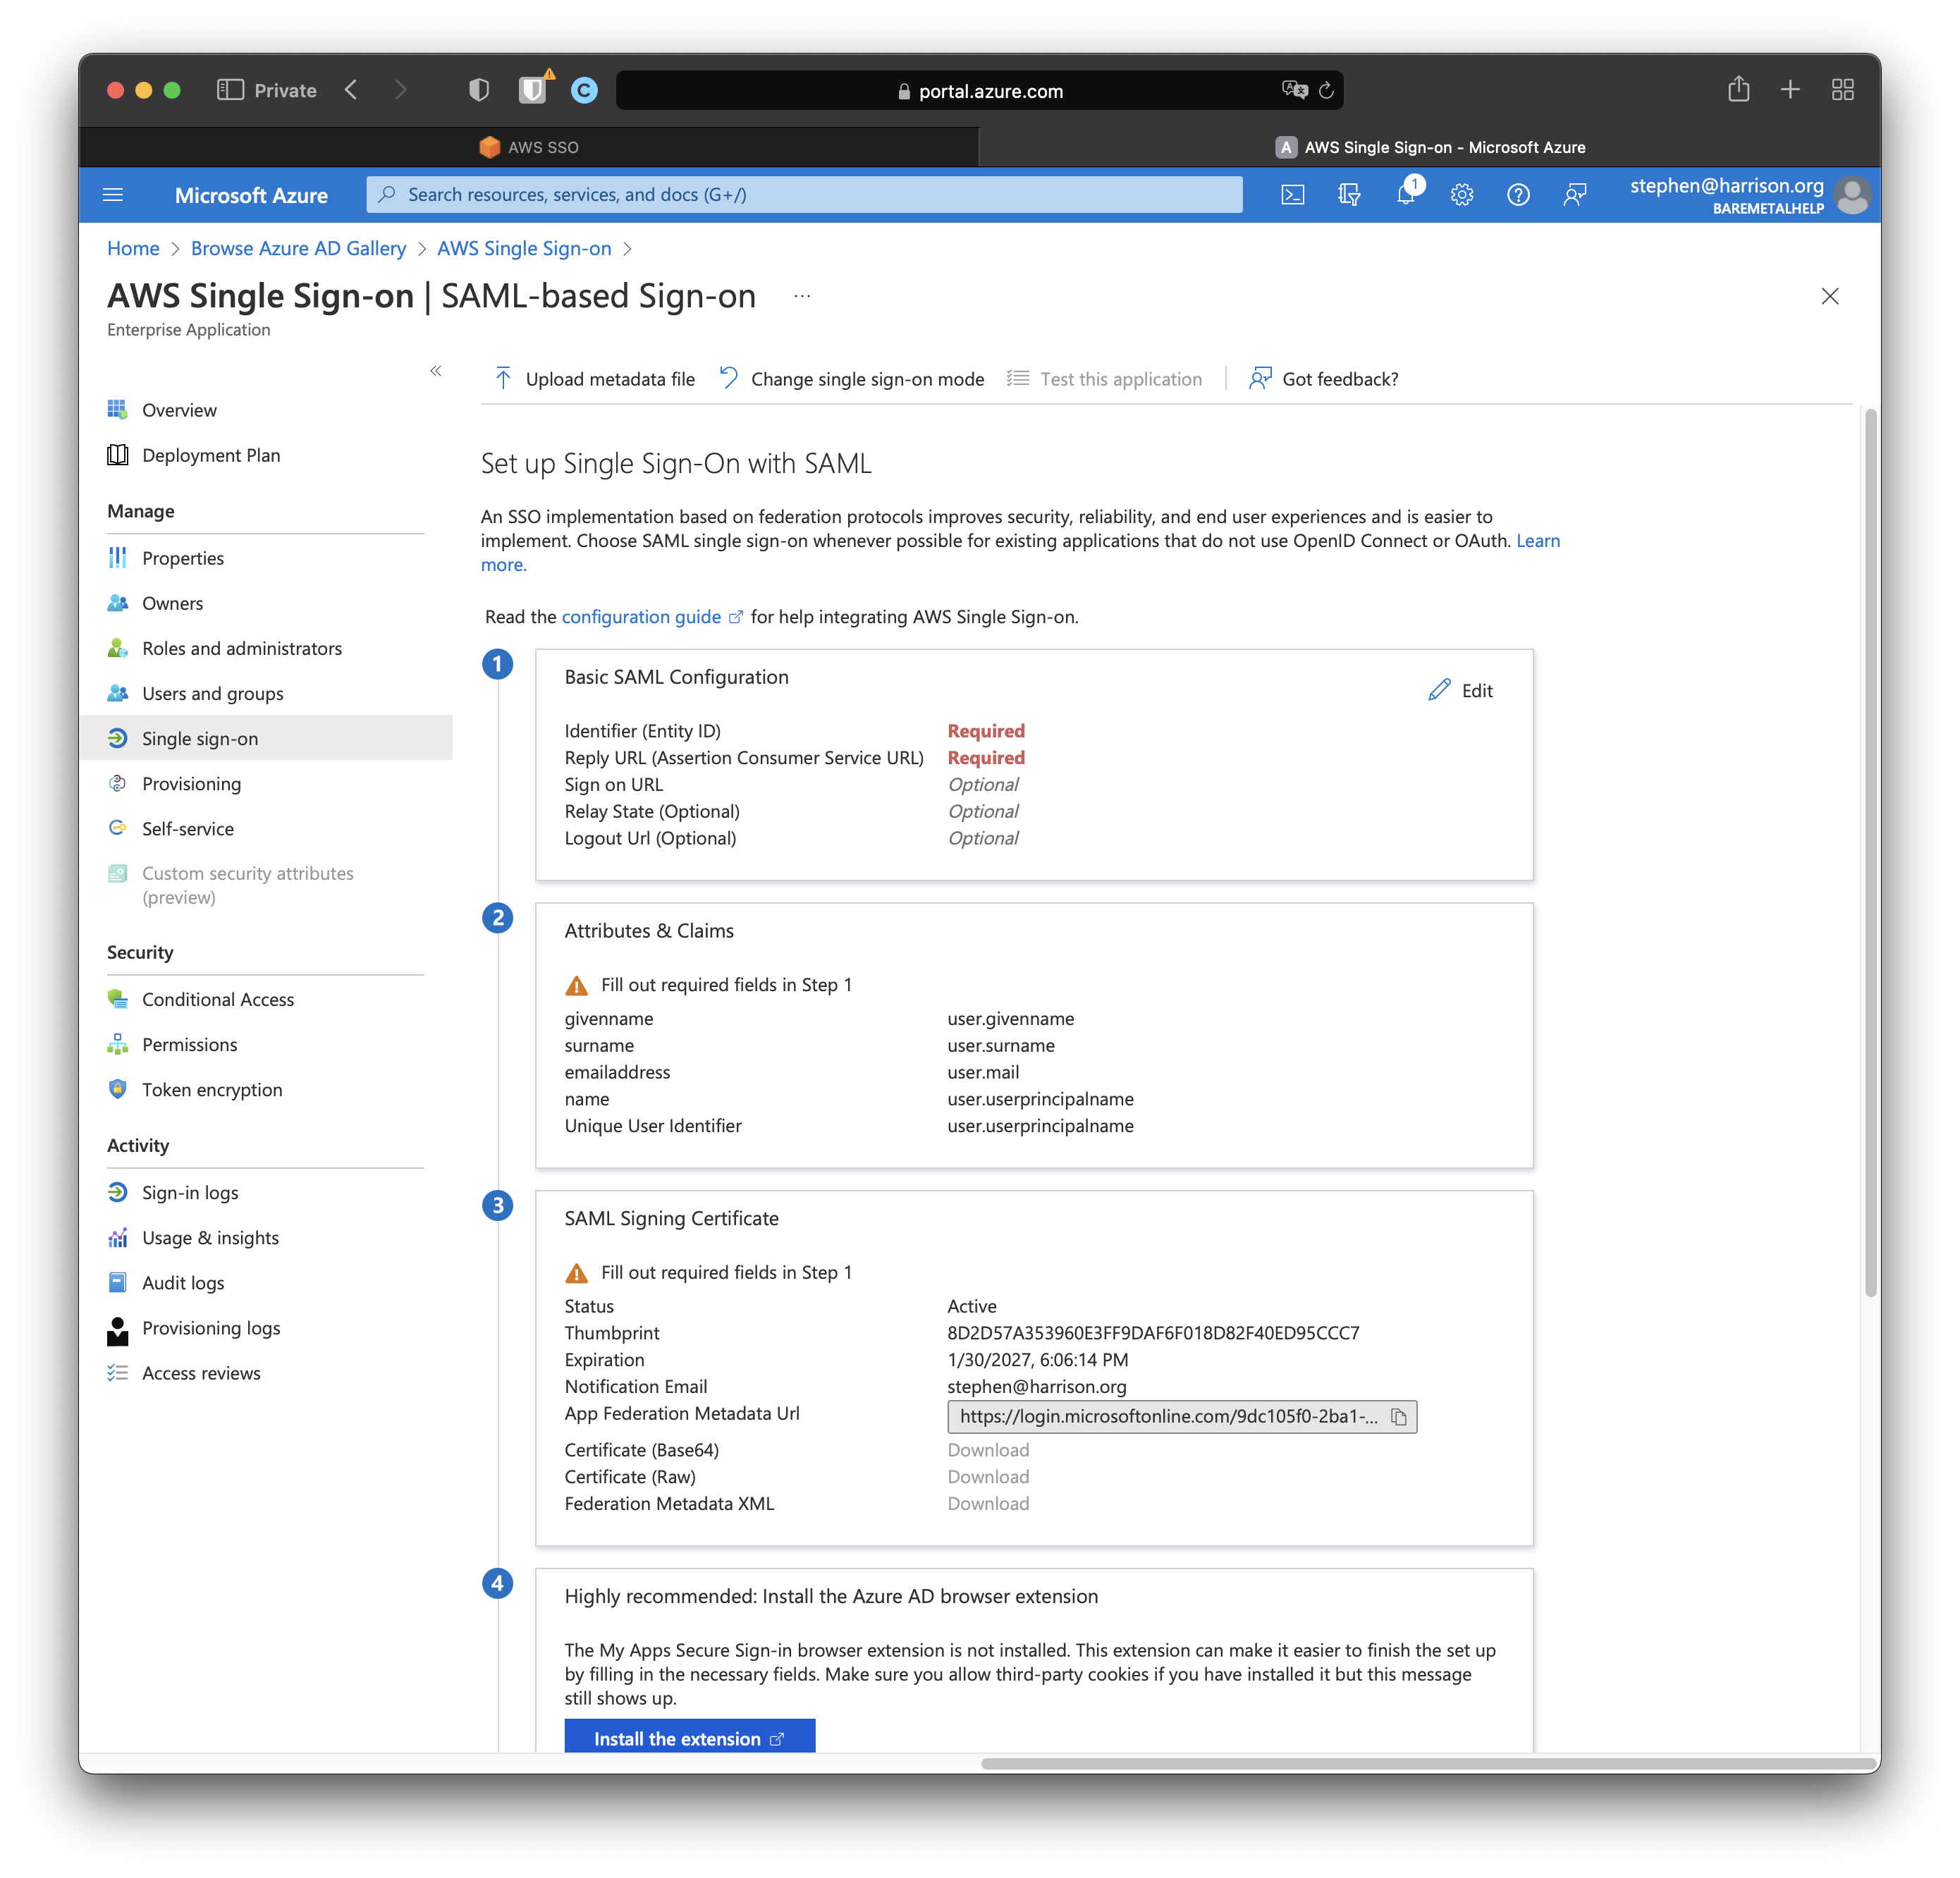
Leave this window open. We're doing to generate some metadata in AWS SSO that we will use to configure this.
Download SSO Metadata from AWS
Go back to the AWS SSO console.
Click "Settings"
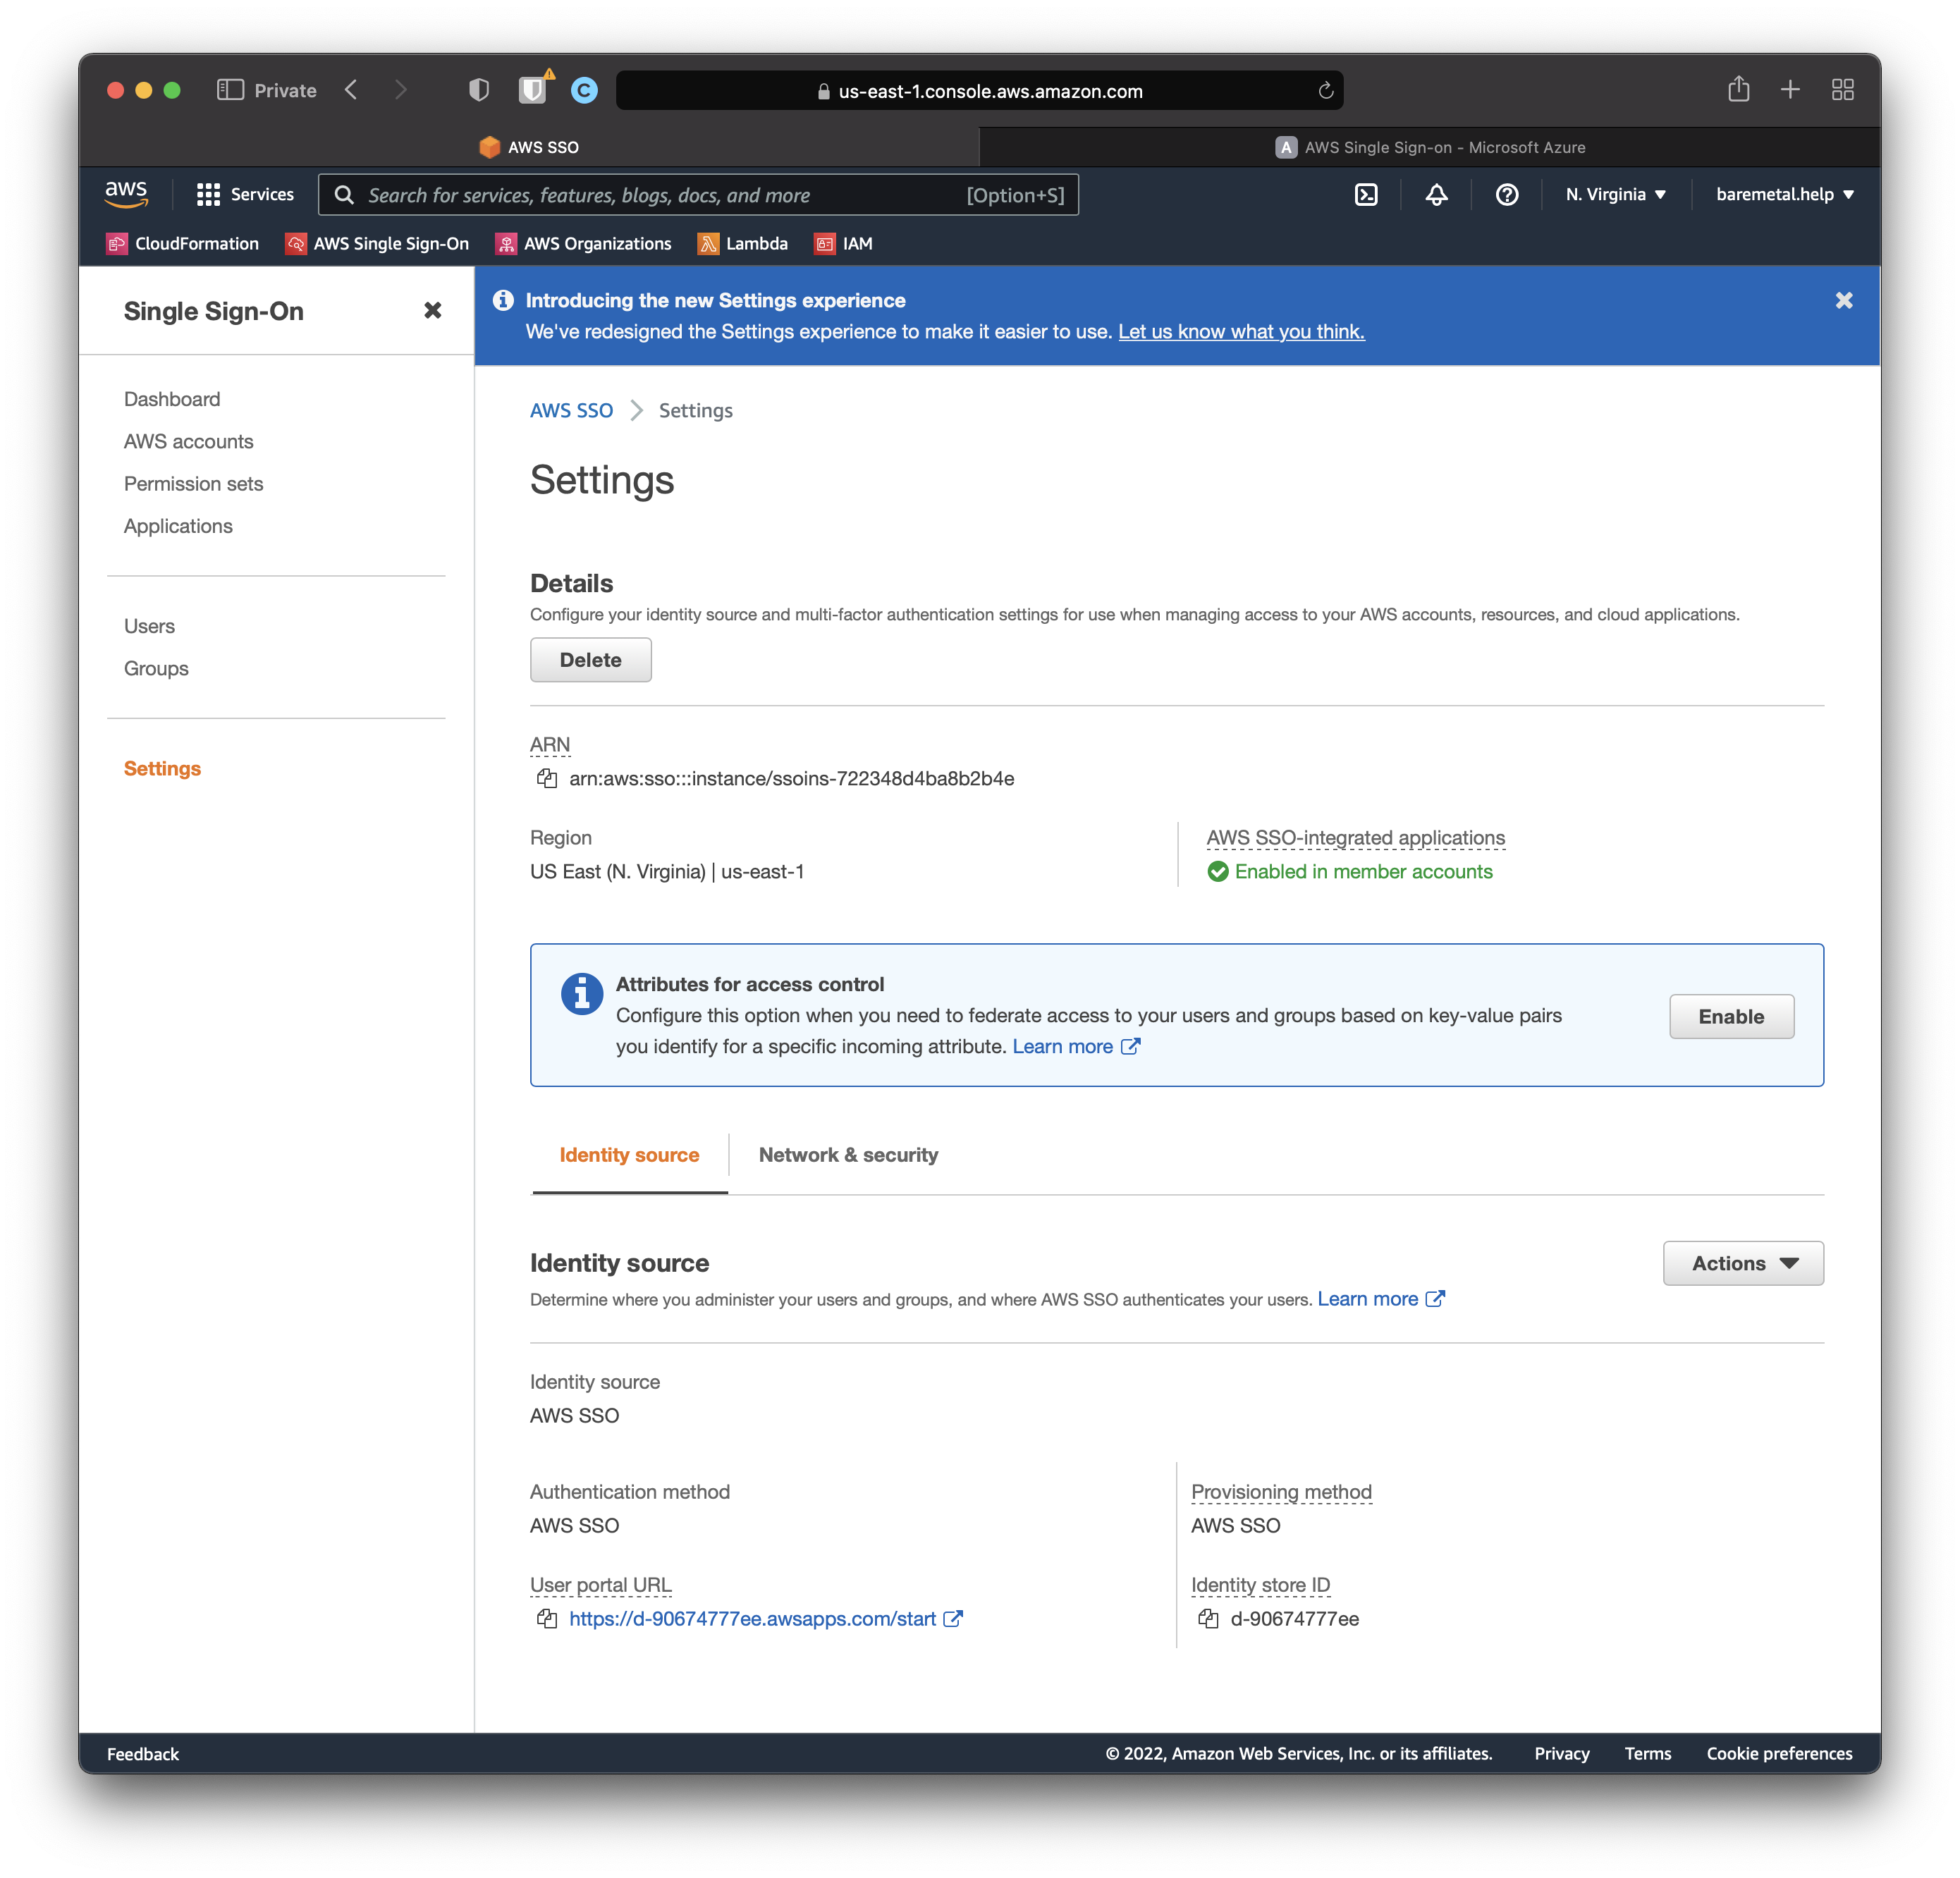
Change the Identity Source.
Click "Actions" menu
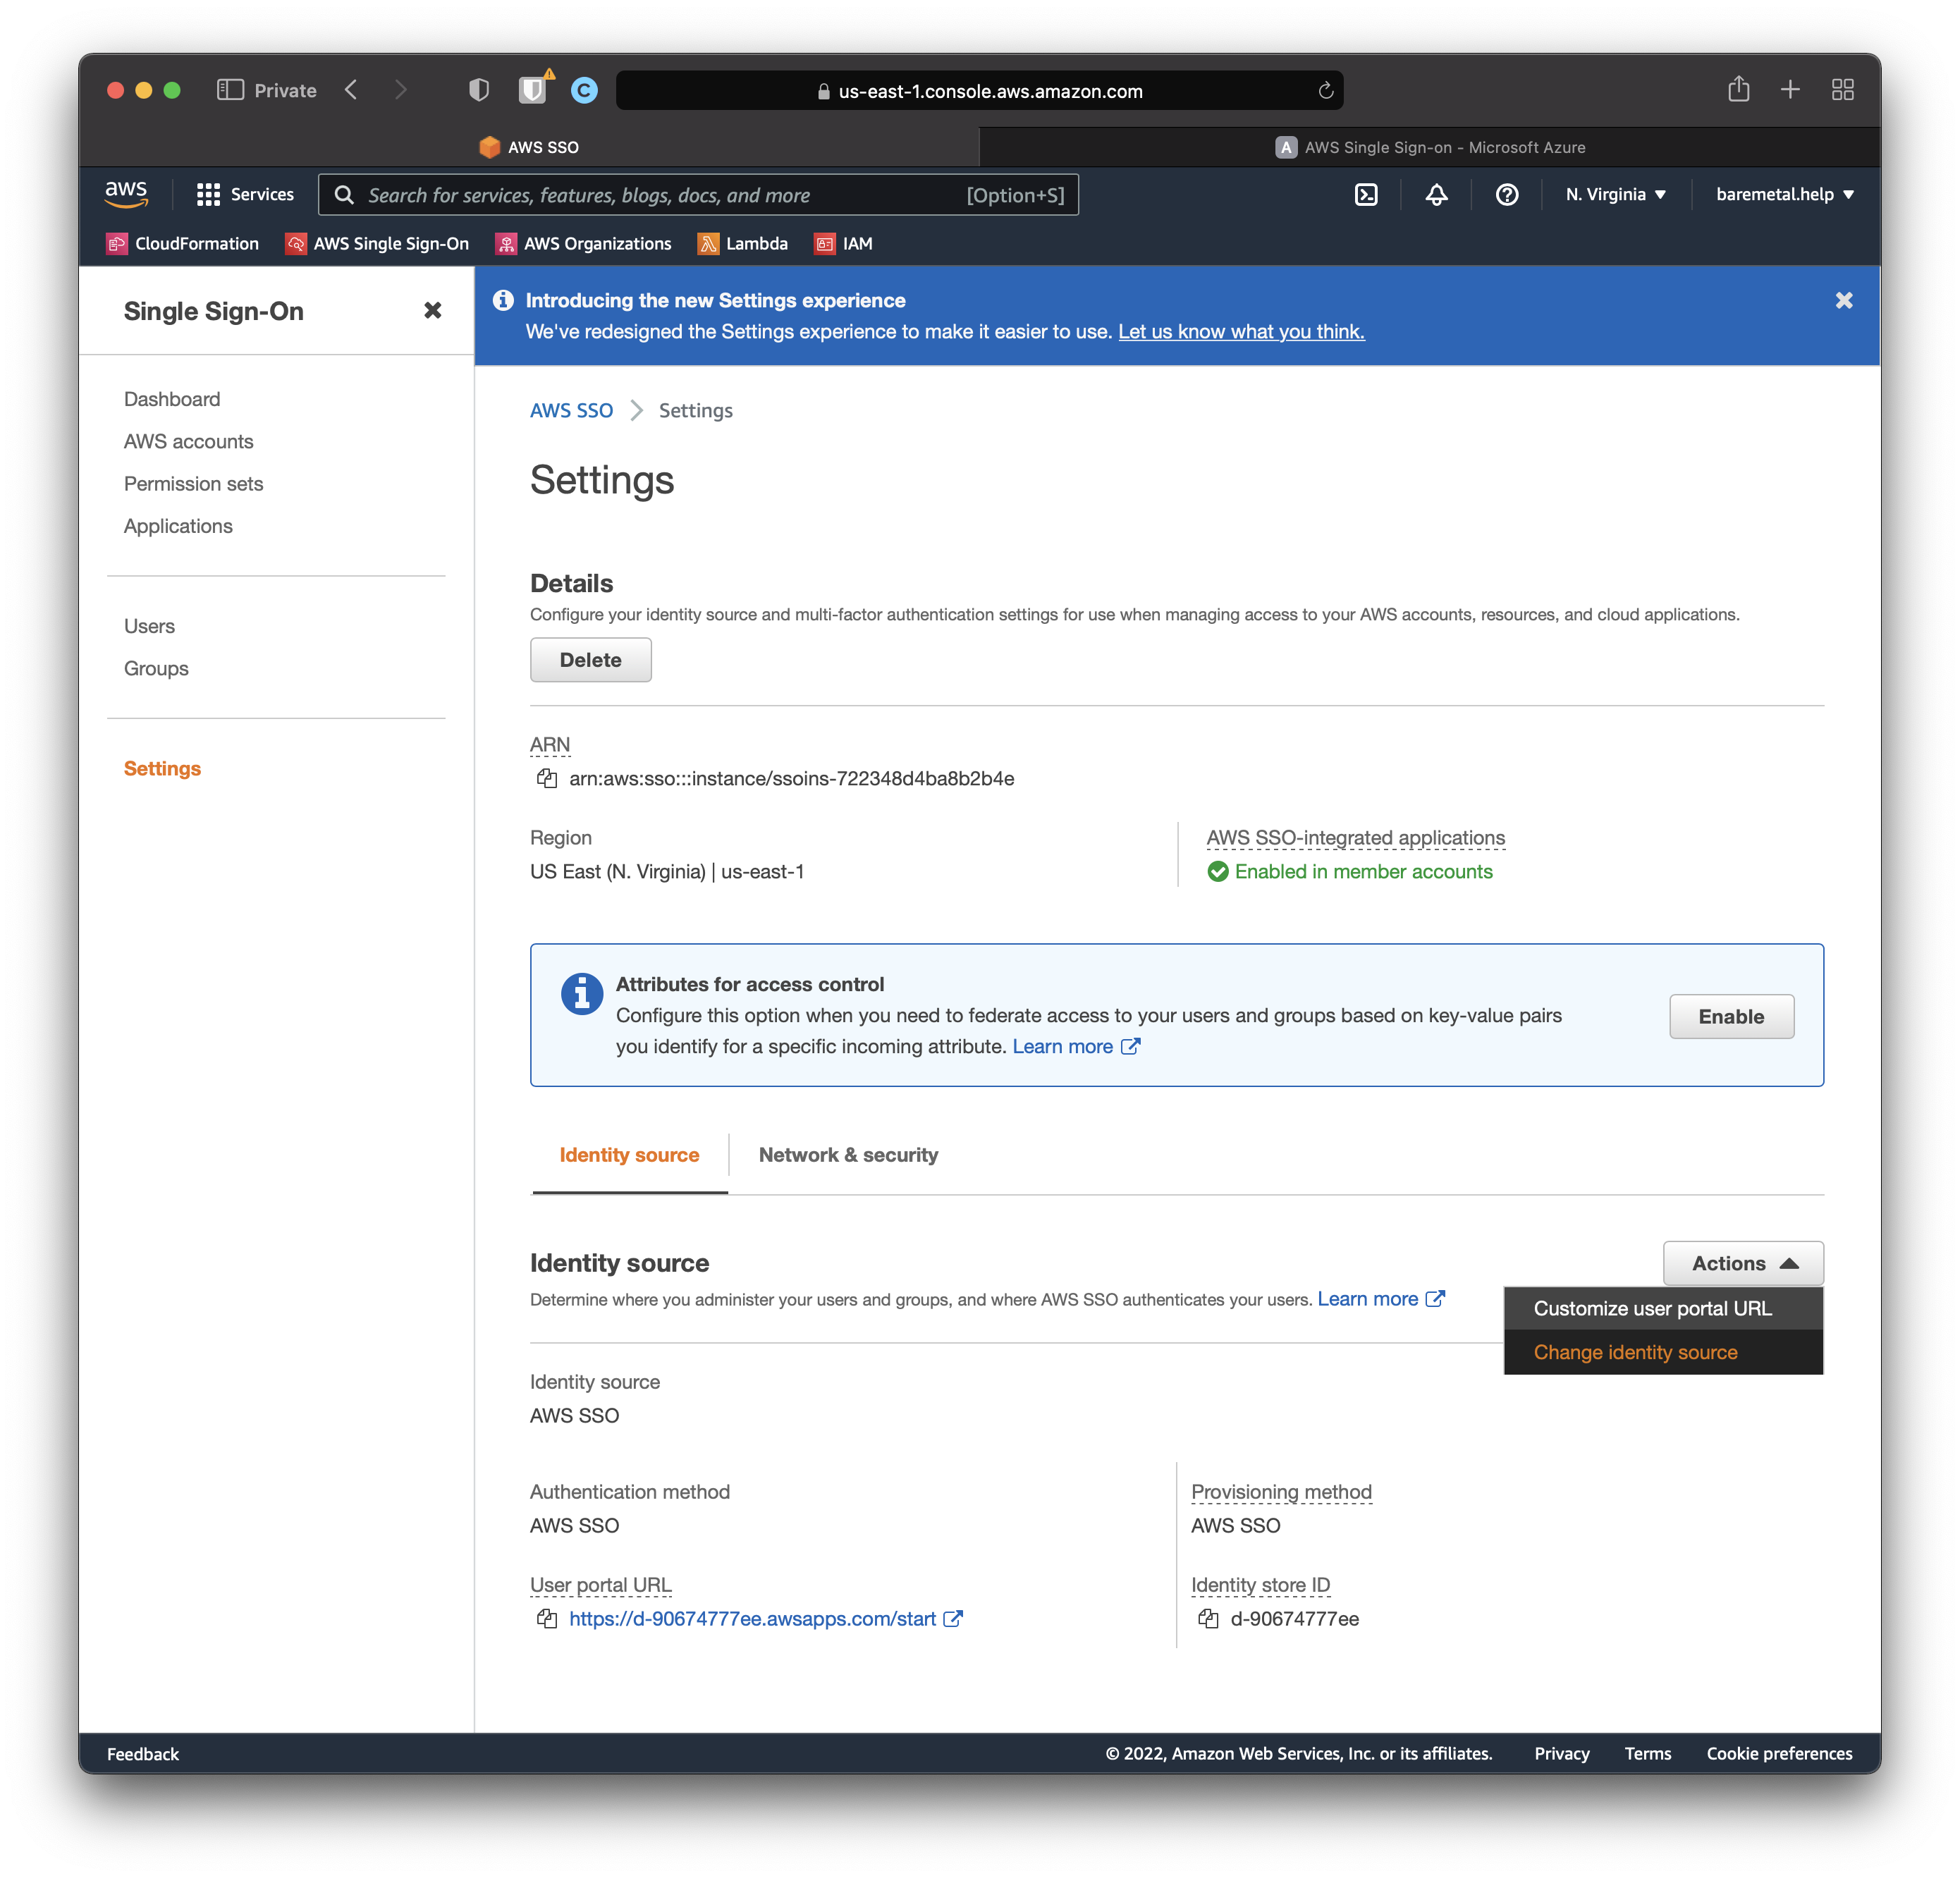
Click "External identity provider". Then "Next".
Click "Download metadata file"
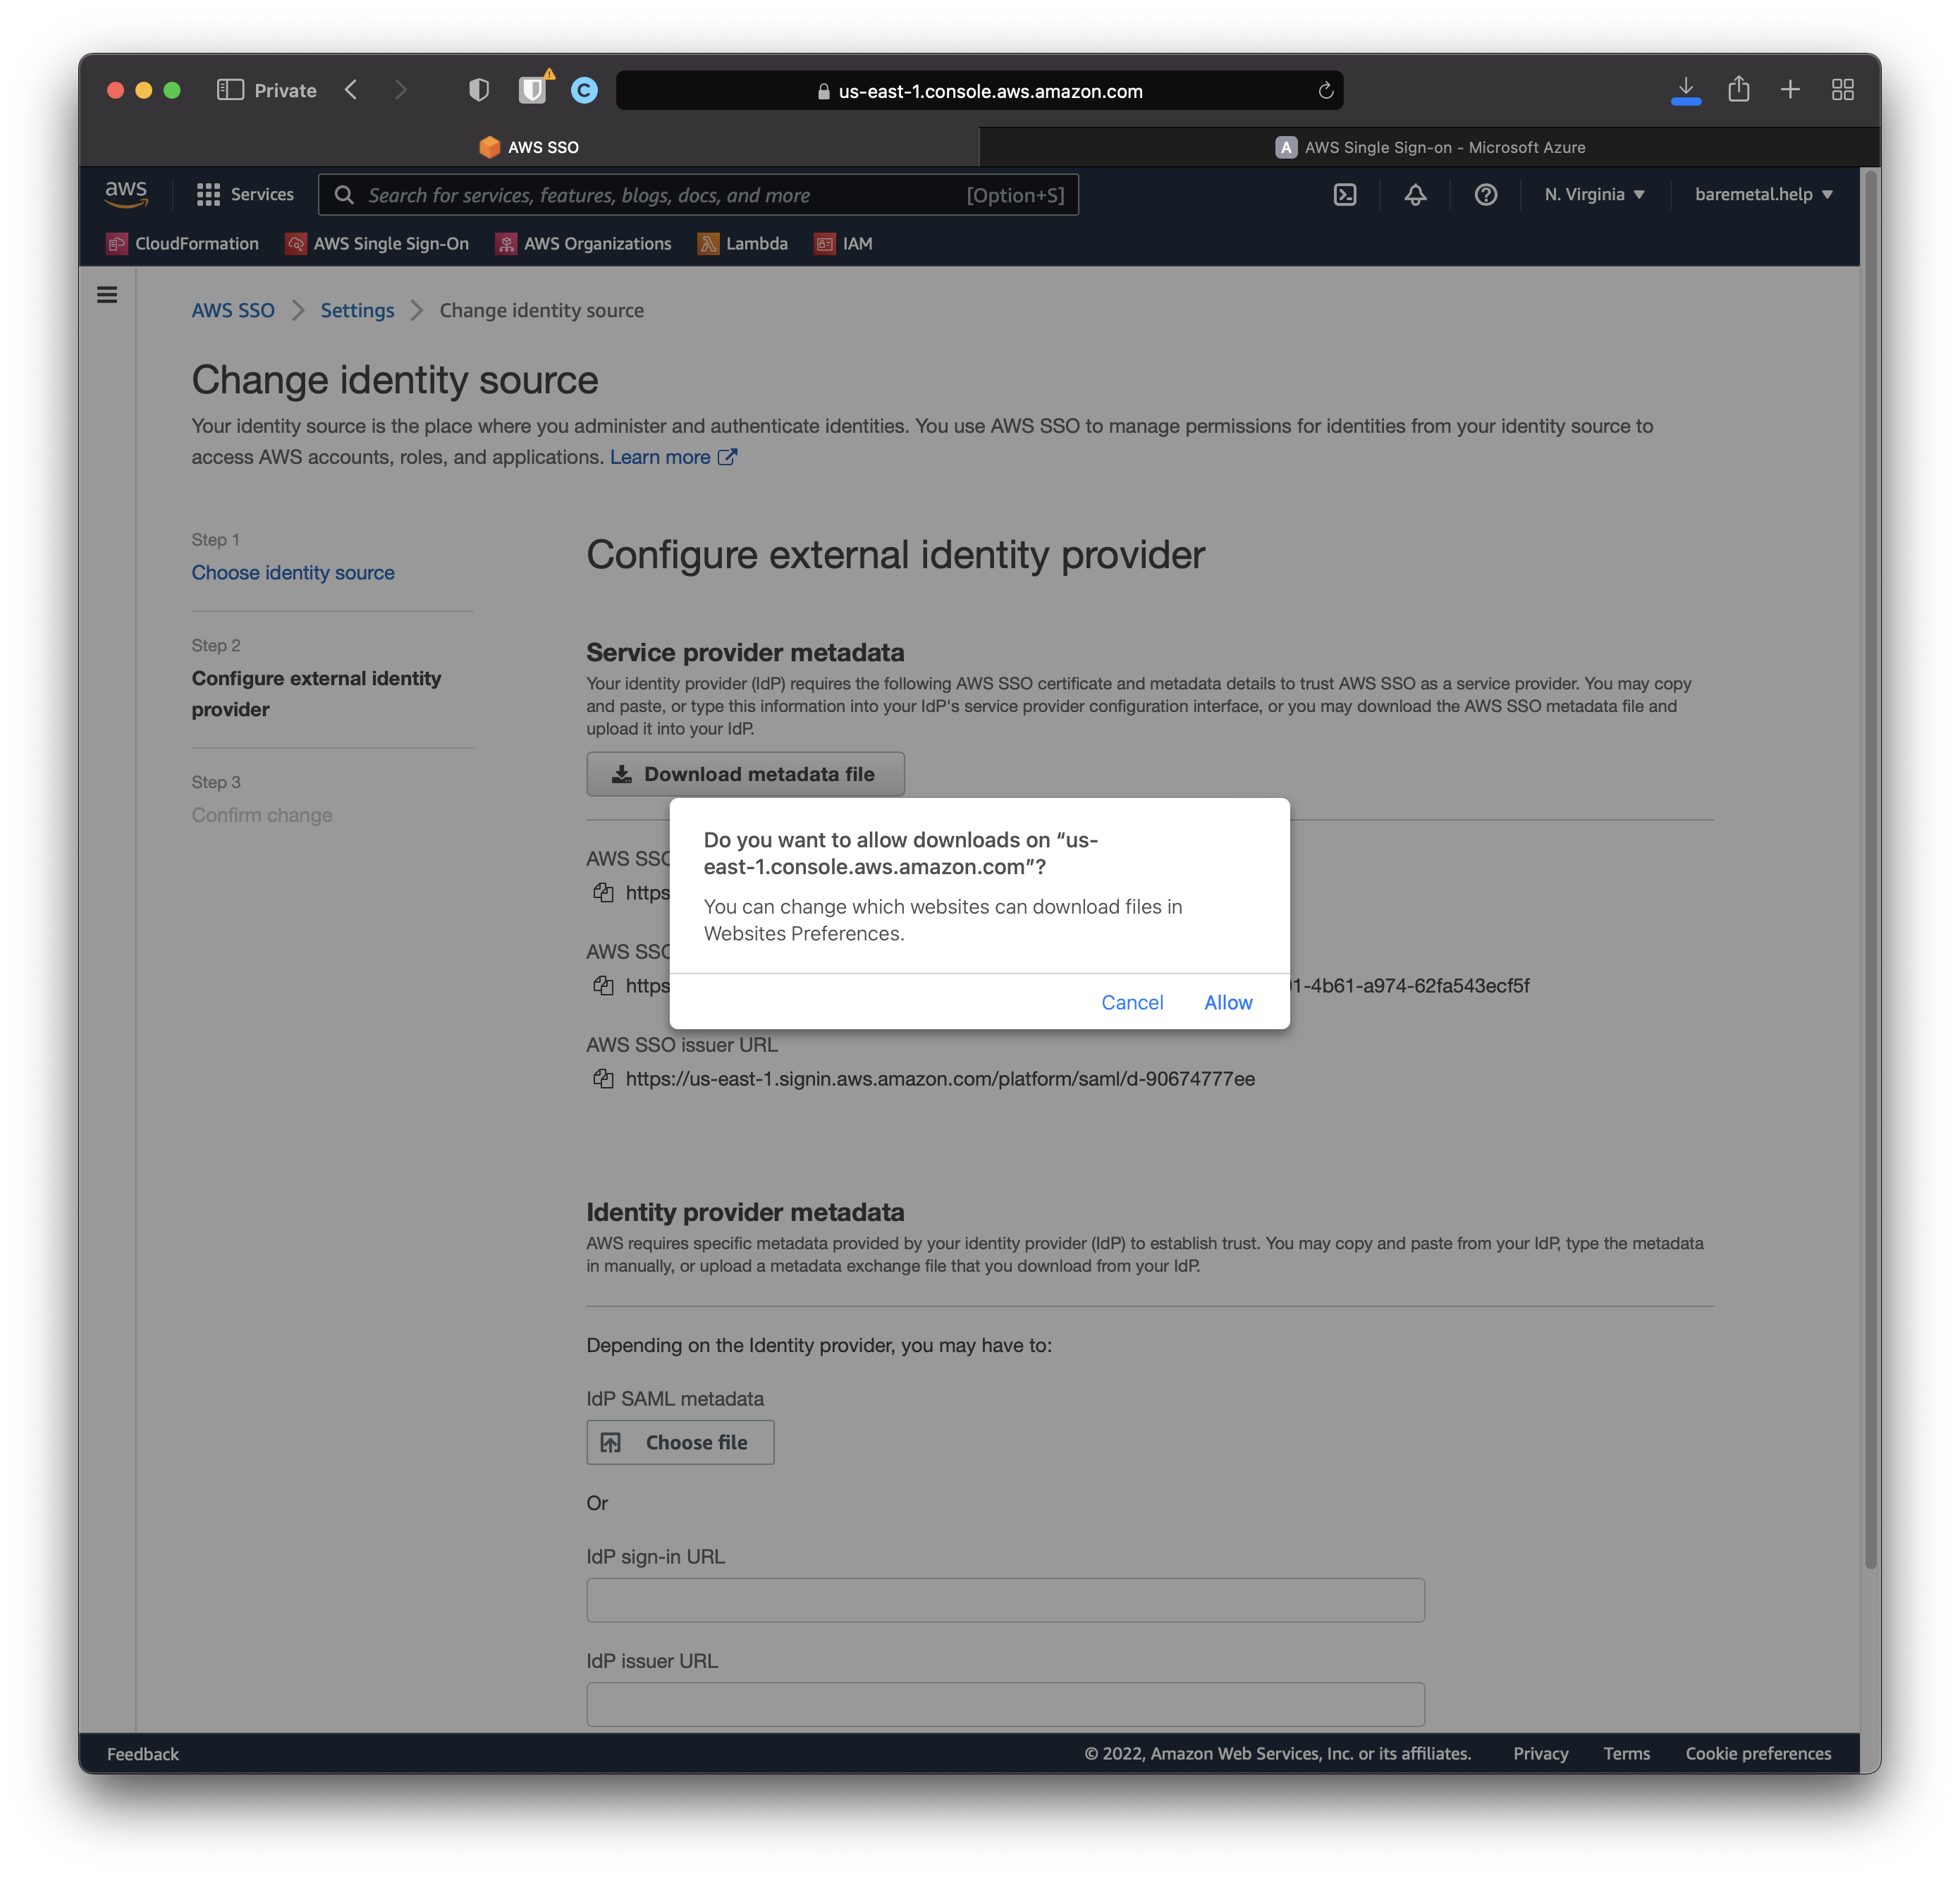
Upload SSO Metadata to AD
Now open the AD window back up.
Click "Upload metadata file", select metadata file you downloaded from AWS, click "Add".
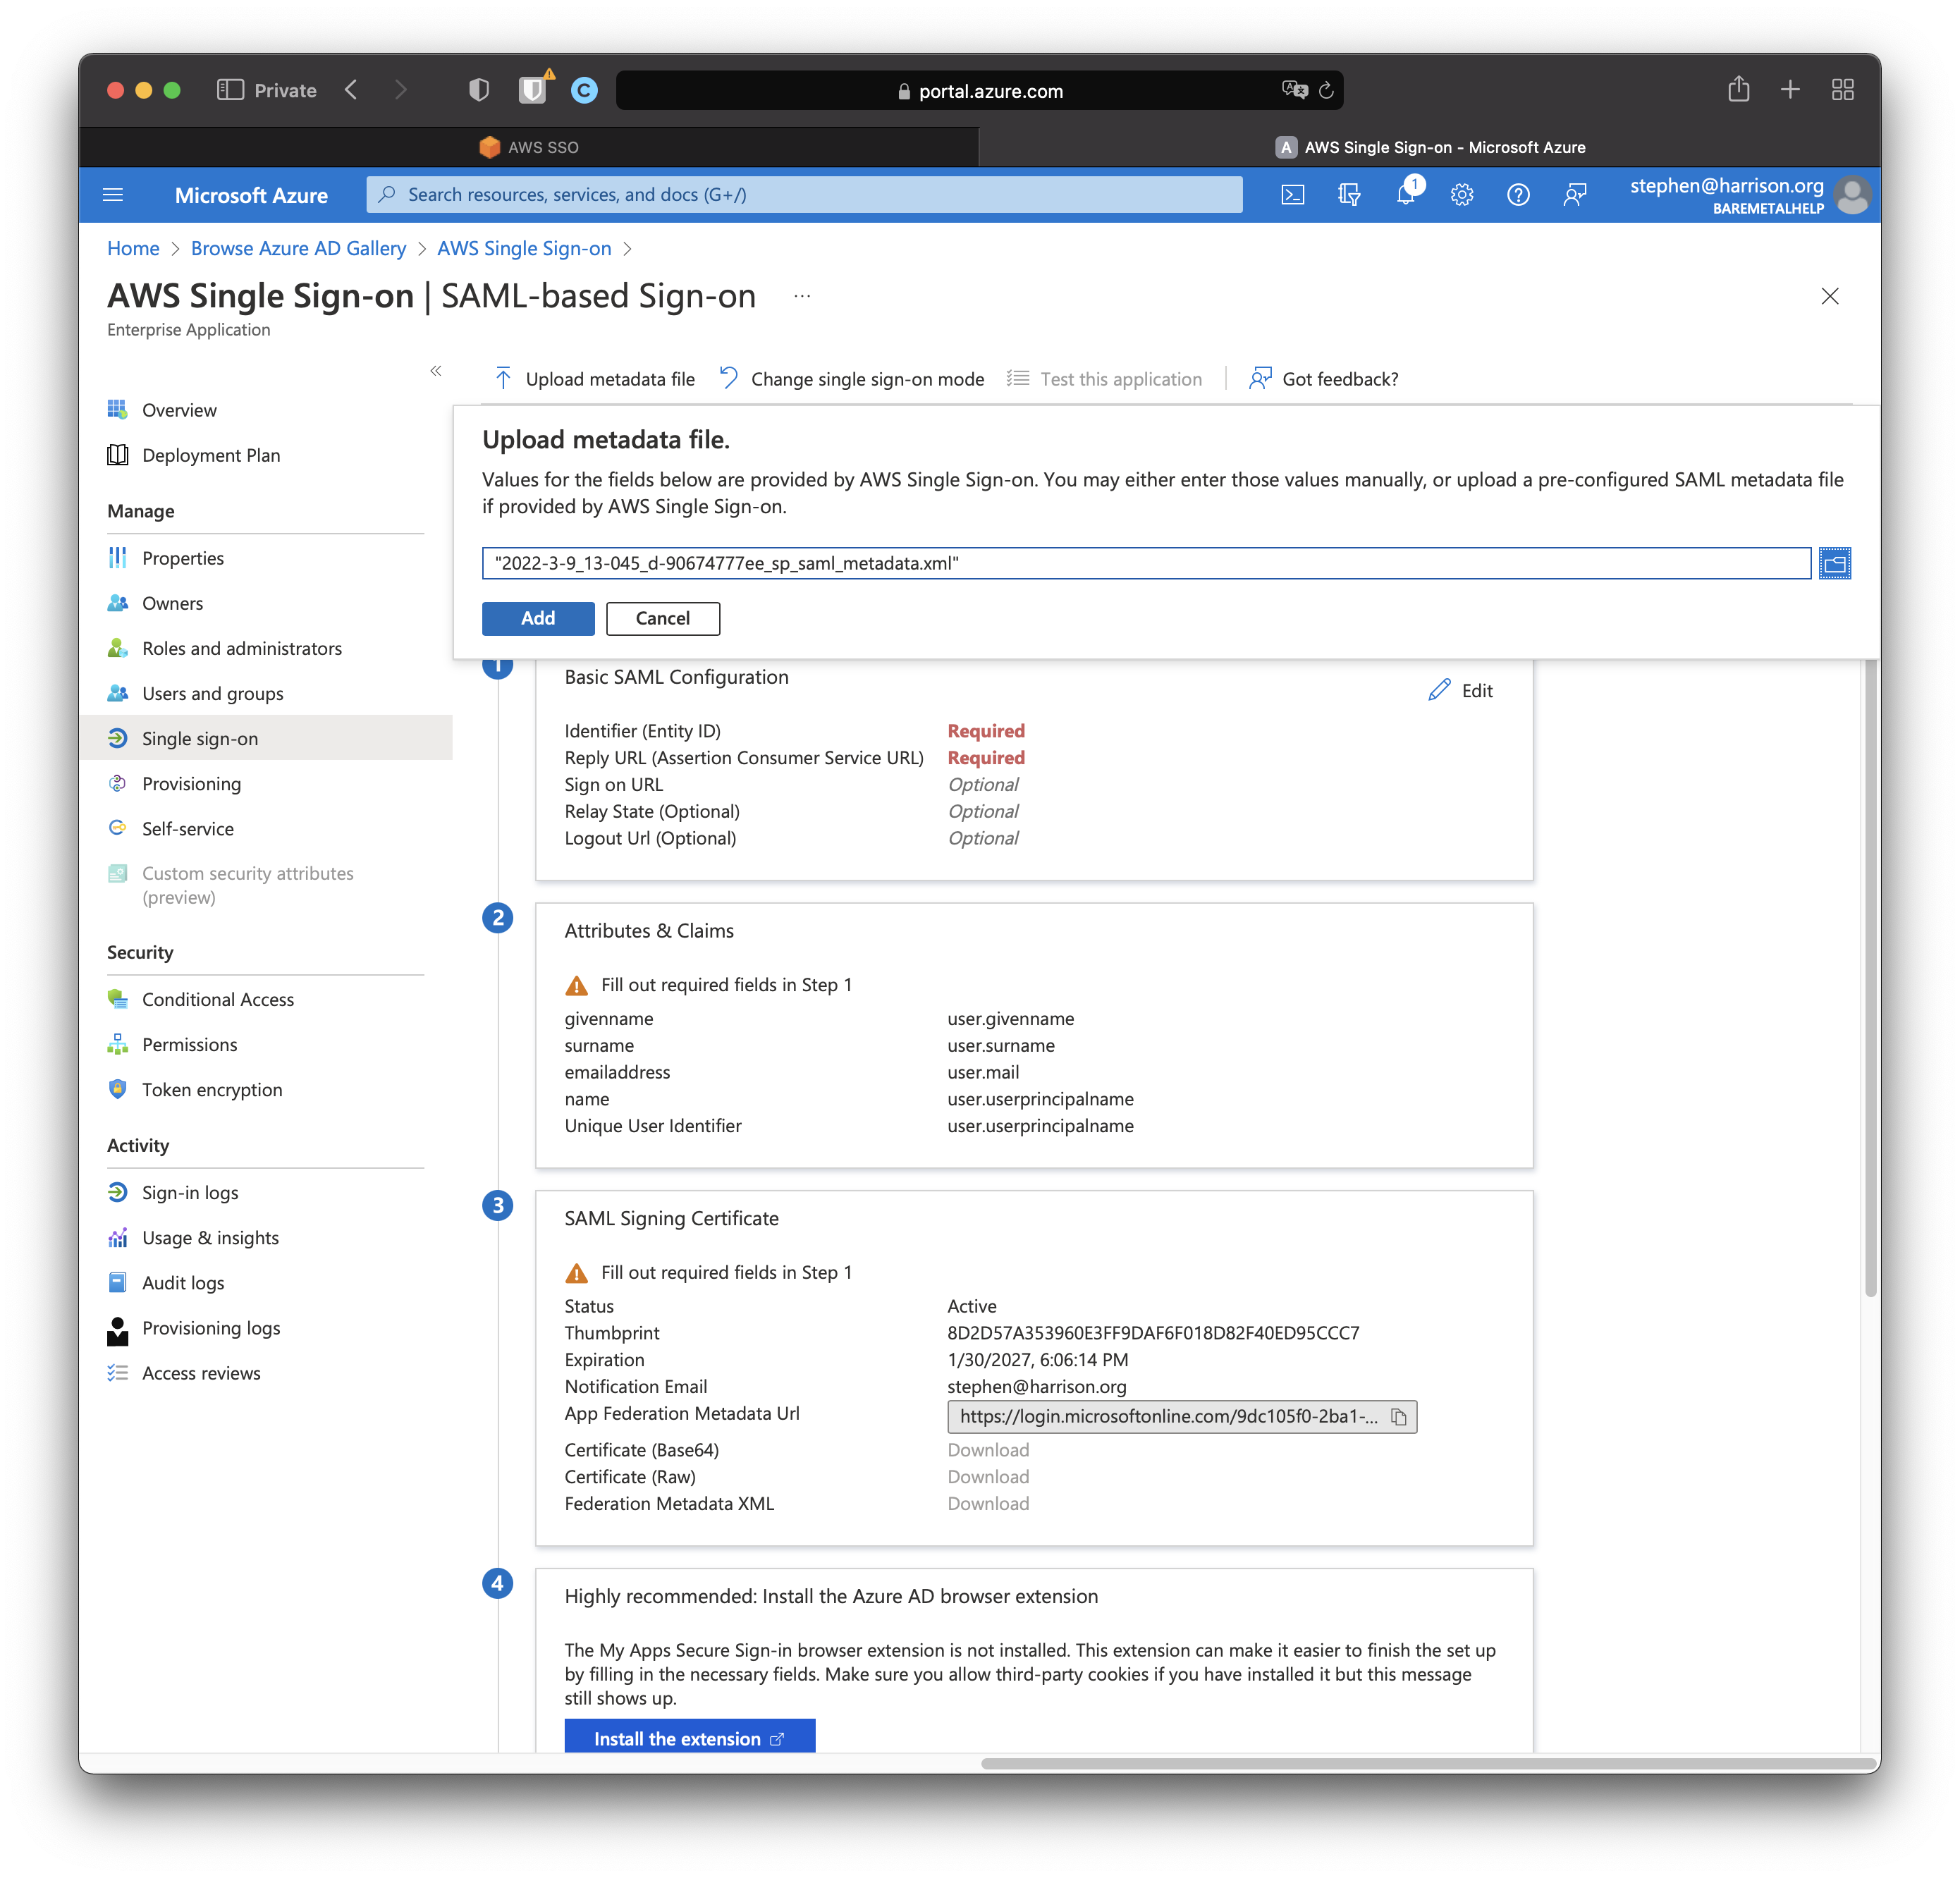
Success looks like this.
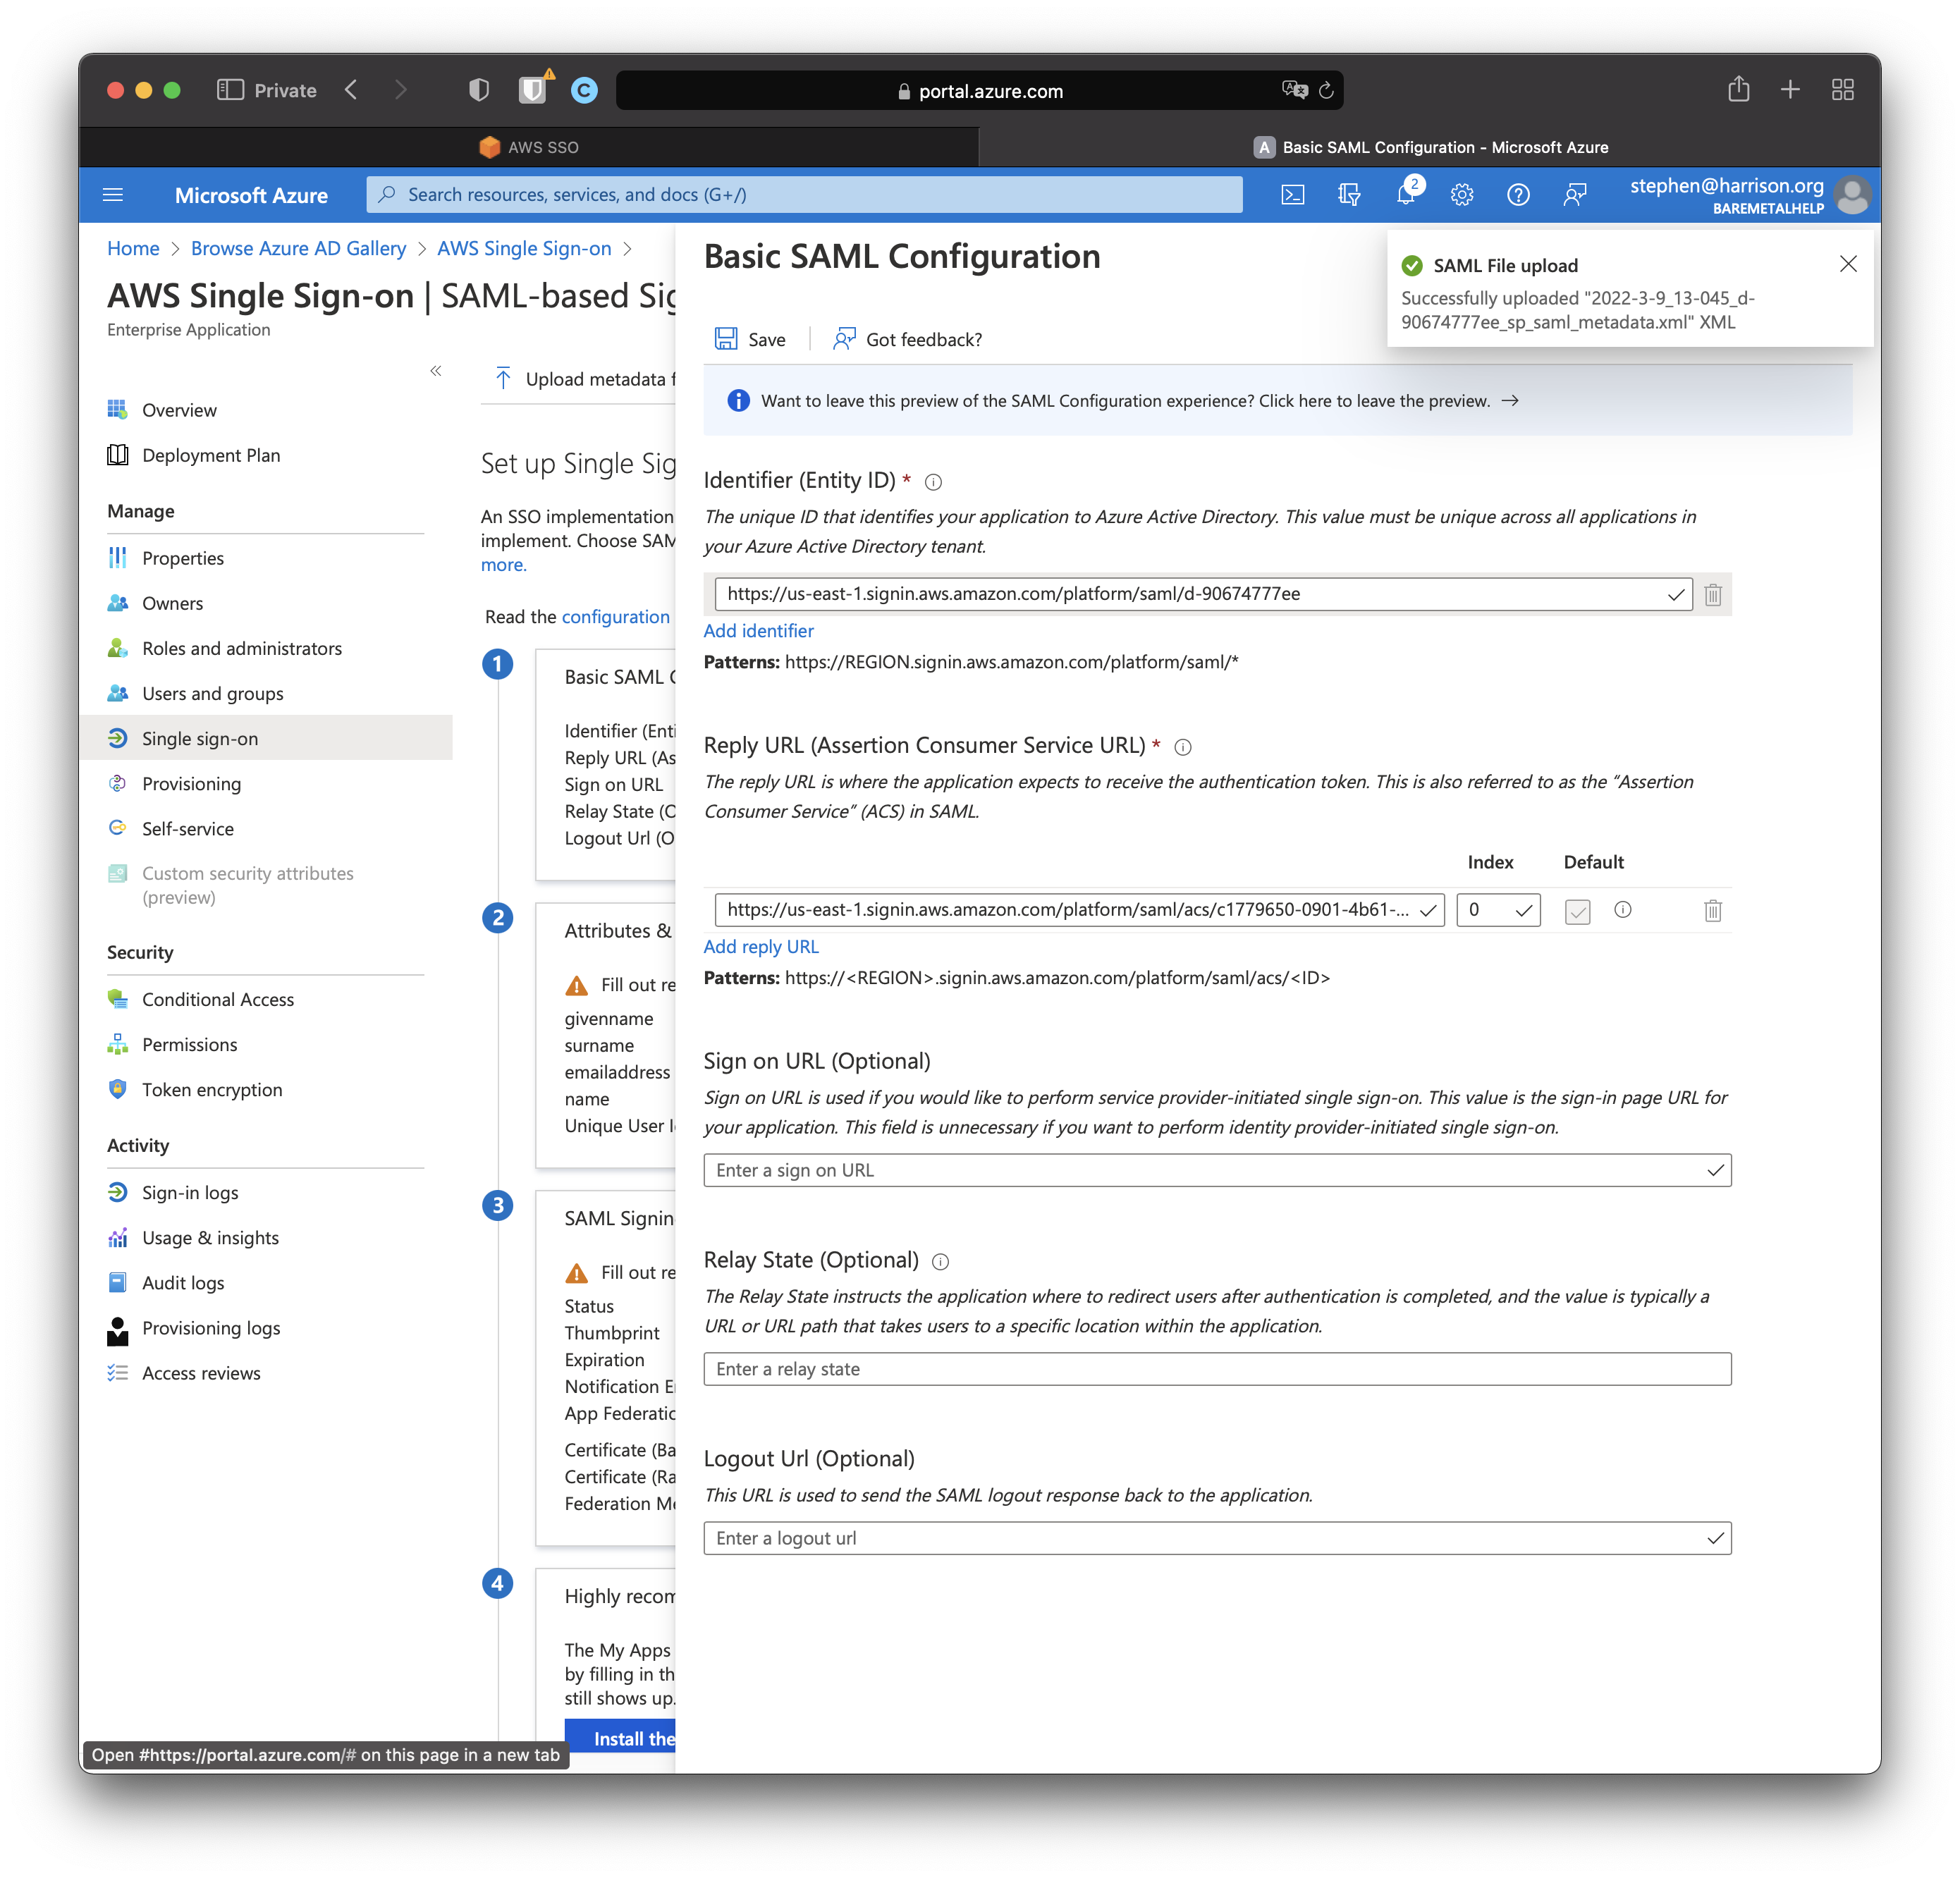
Click "Save".
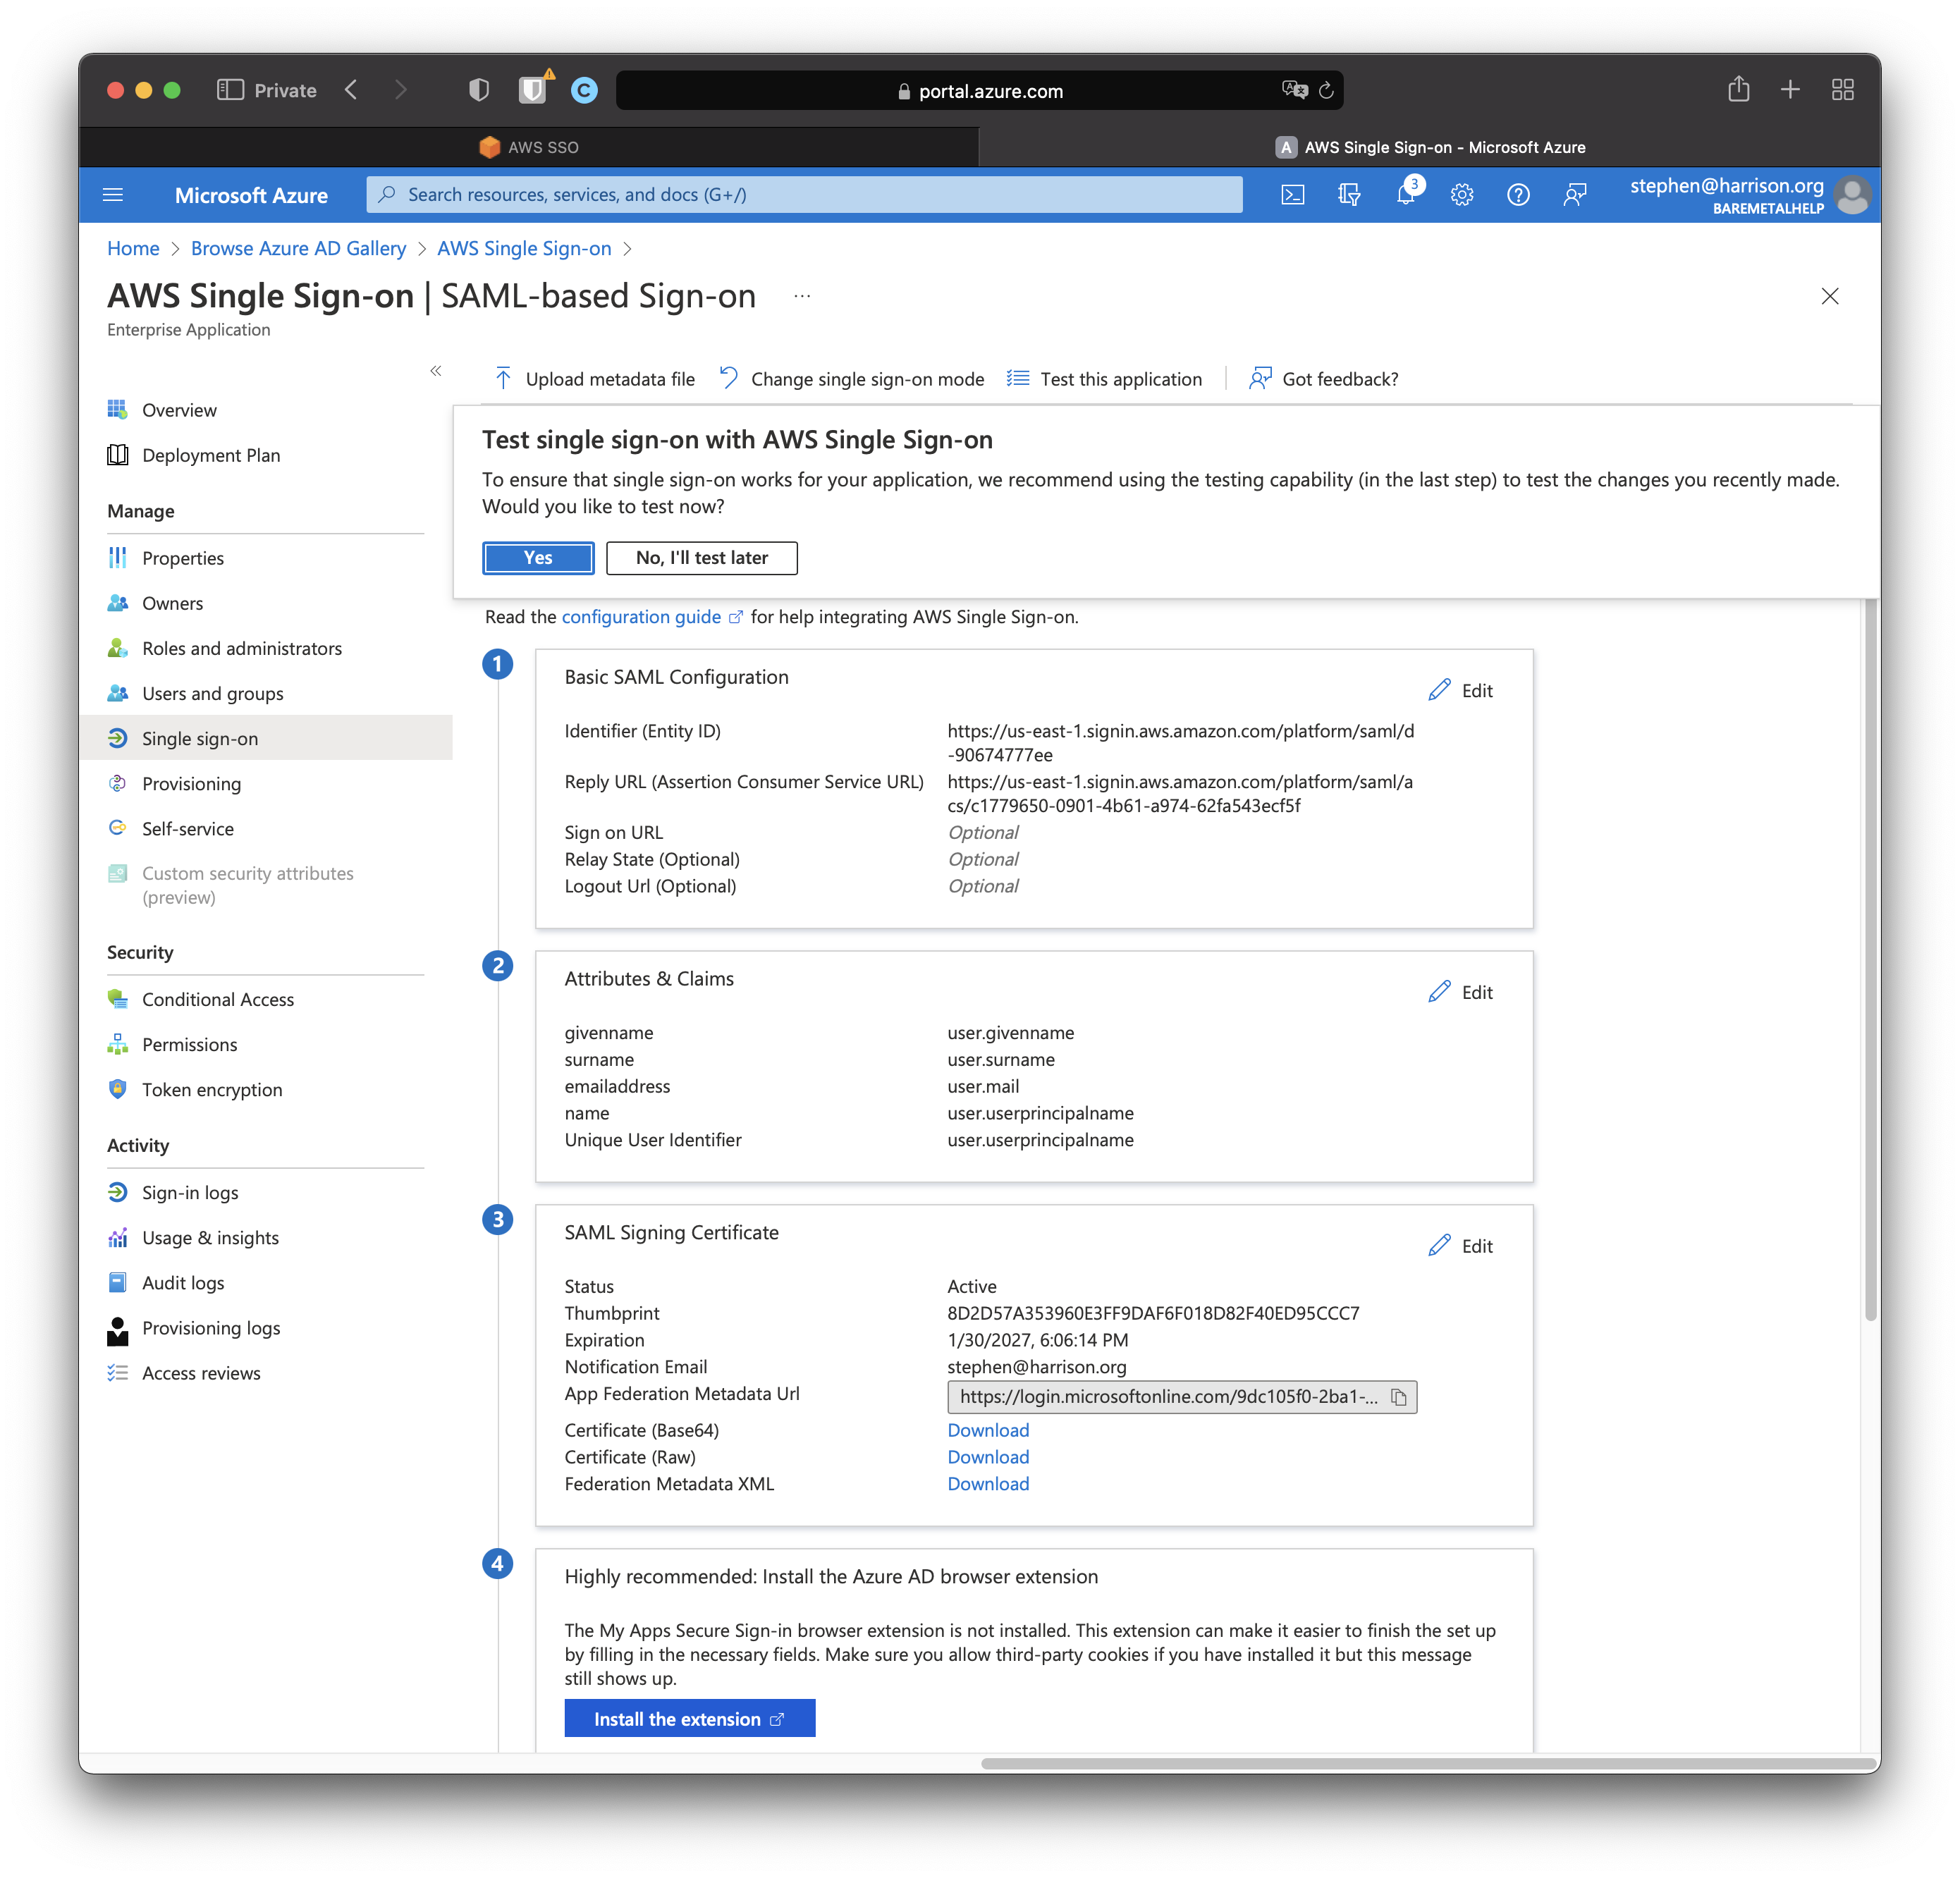
Click "No, I'll test later"
Download SSO Certificate
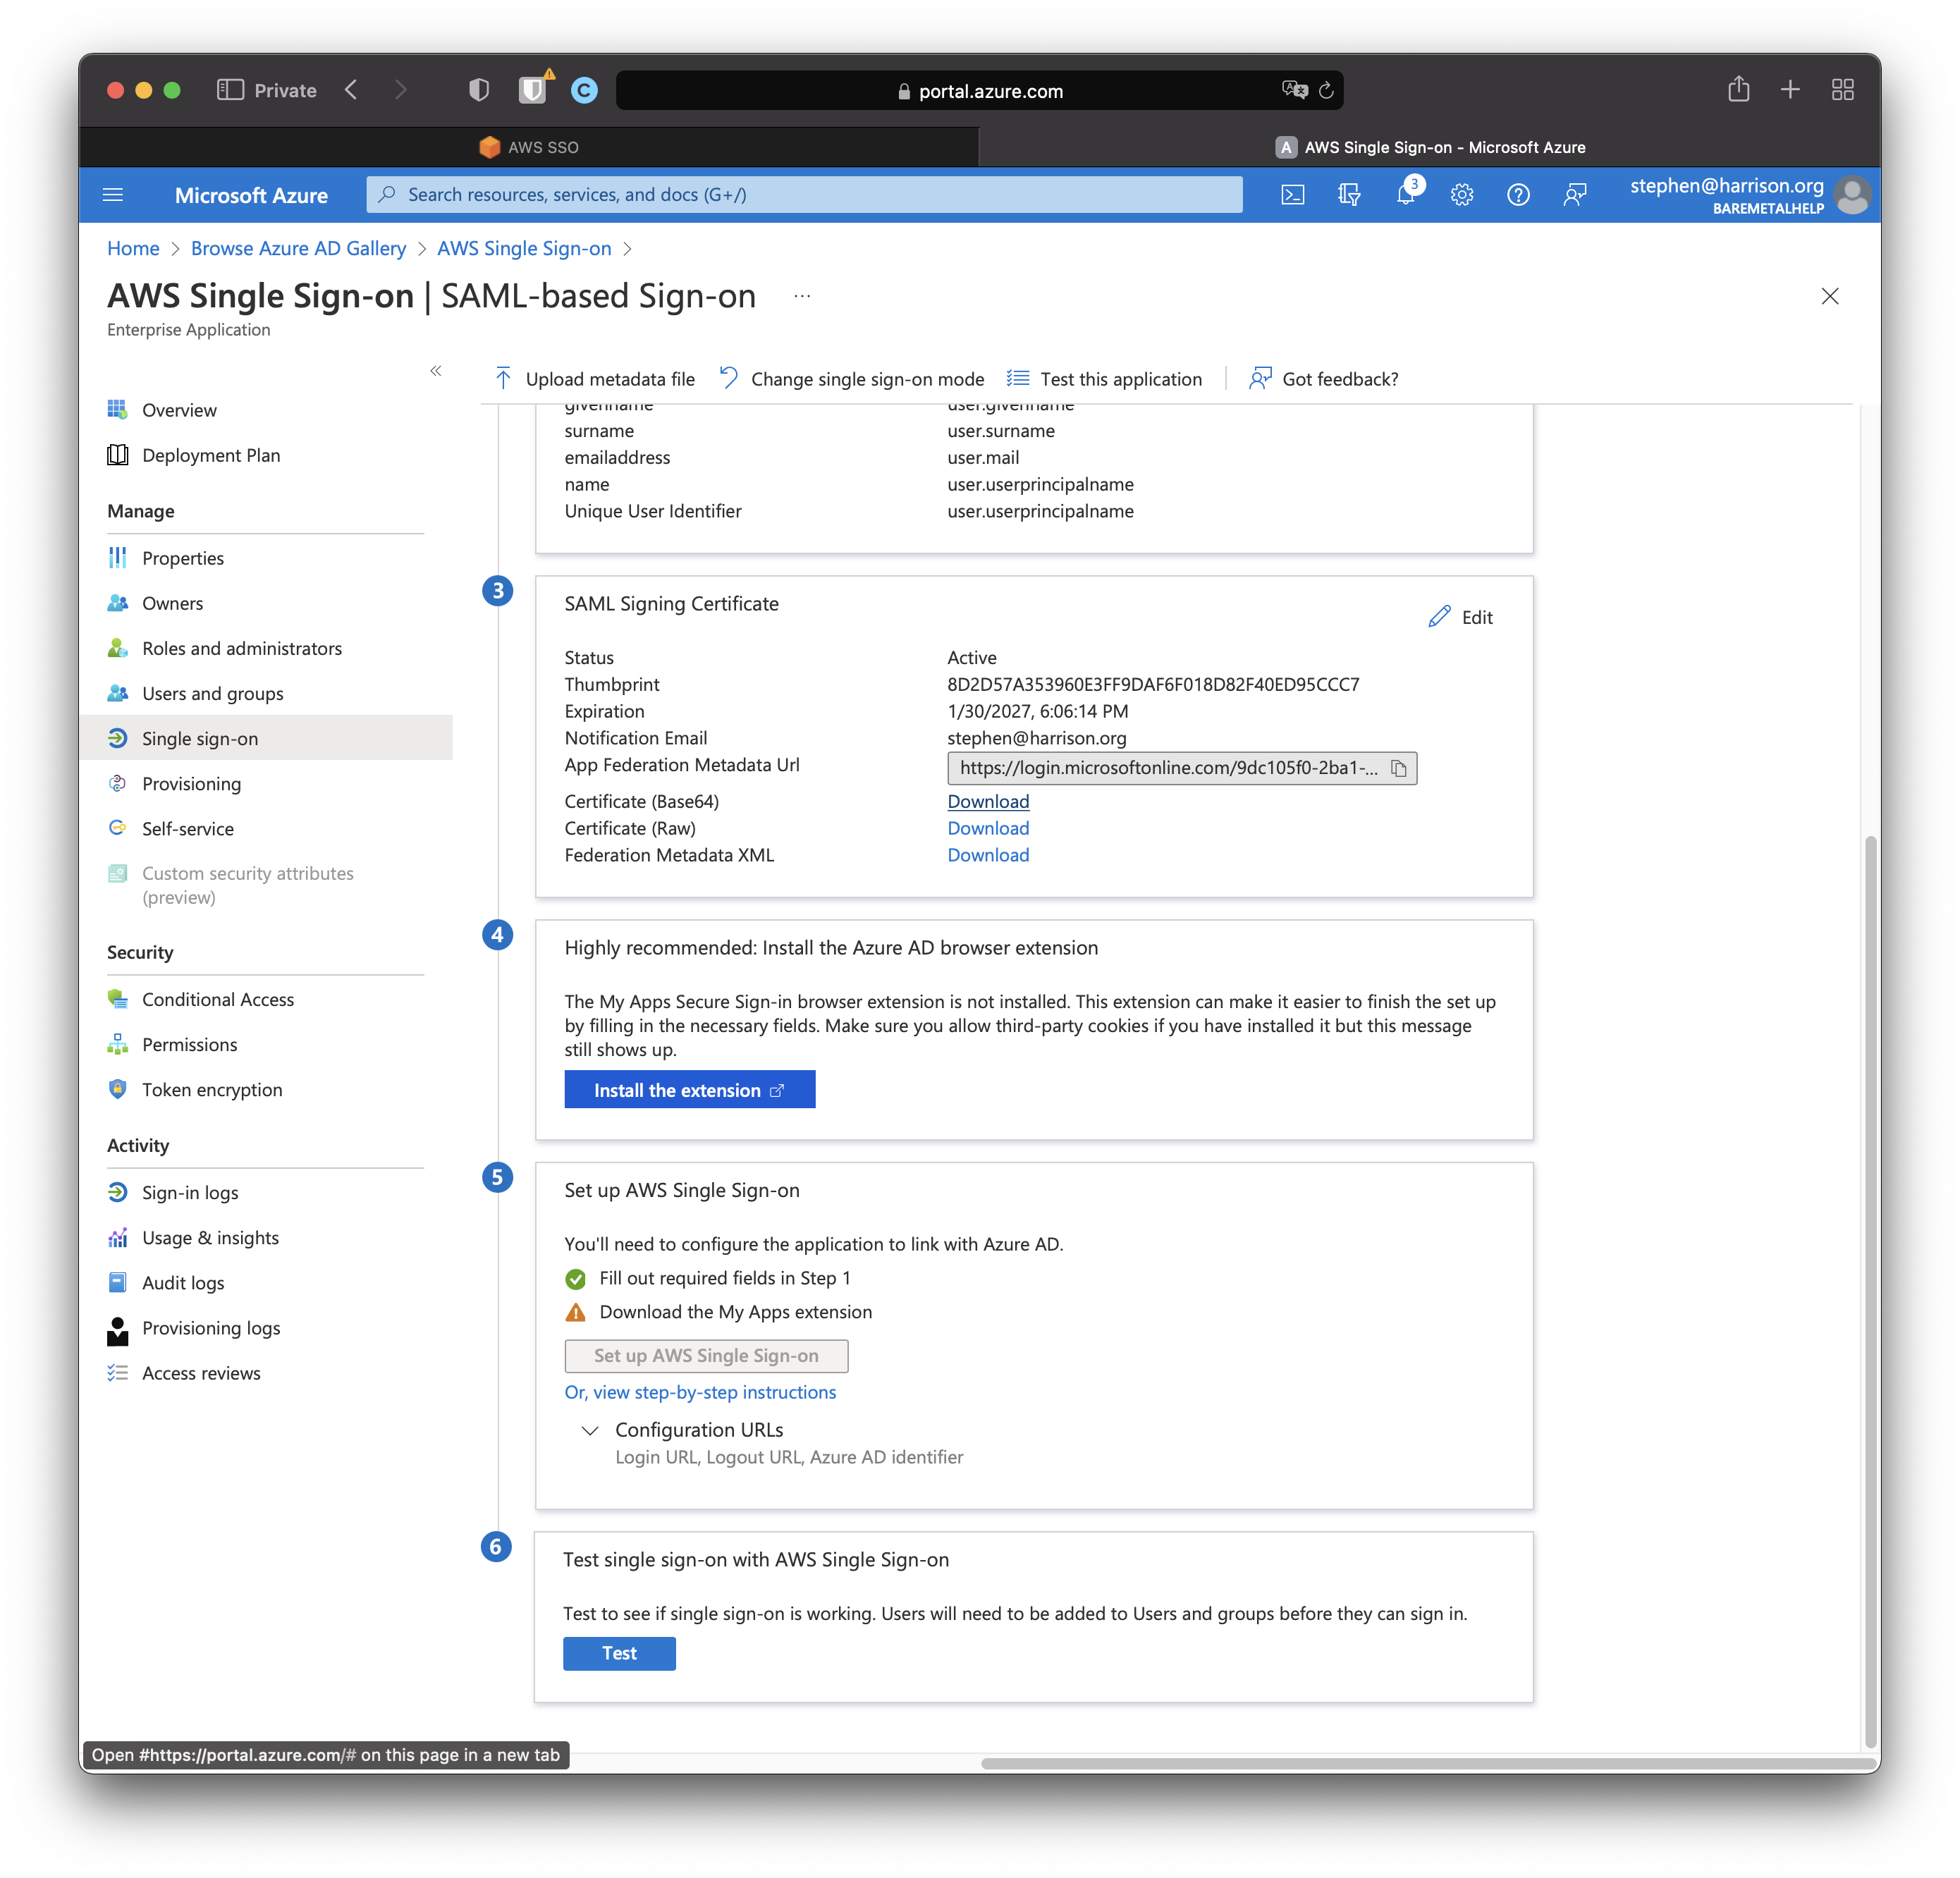
In step 3, click "Download" next to "Certificate (Base64)" to download the SAML signing certificate.
We could not get the Federation Metadata XML download to work. As of this writing, the upload to AWS SSO did not configure things the right way.
It's no big deal. We just need to copy a few fields by hand.
We also did not install the "highly recommended" browser plugin in Step 4. We're not using Chrome, and that's the only browser it supports. Well probably Edge too.
Complete AWS SSO Configuration
In step 5, open "Configuration URLs".
Copy "Login URL" in this Azure window to "IdP sign-in URL" in the AWS SSO window.
Copy "Azure AD identifier" in the Azure window to "IdP issuer URL" in the AWS SSO console.
Still in the AWS SSO console, upload the SAML signing certificate you downloaded from Azure AD.
This is what the AWS SSO console looks like when you're ready to go.
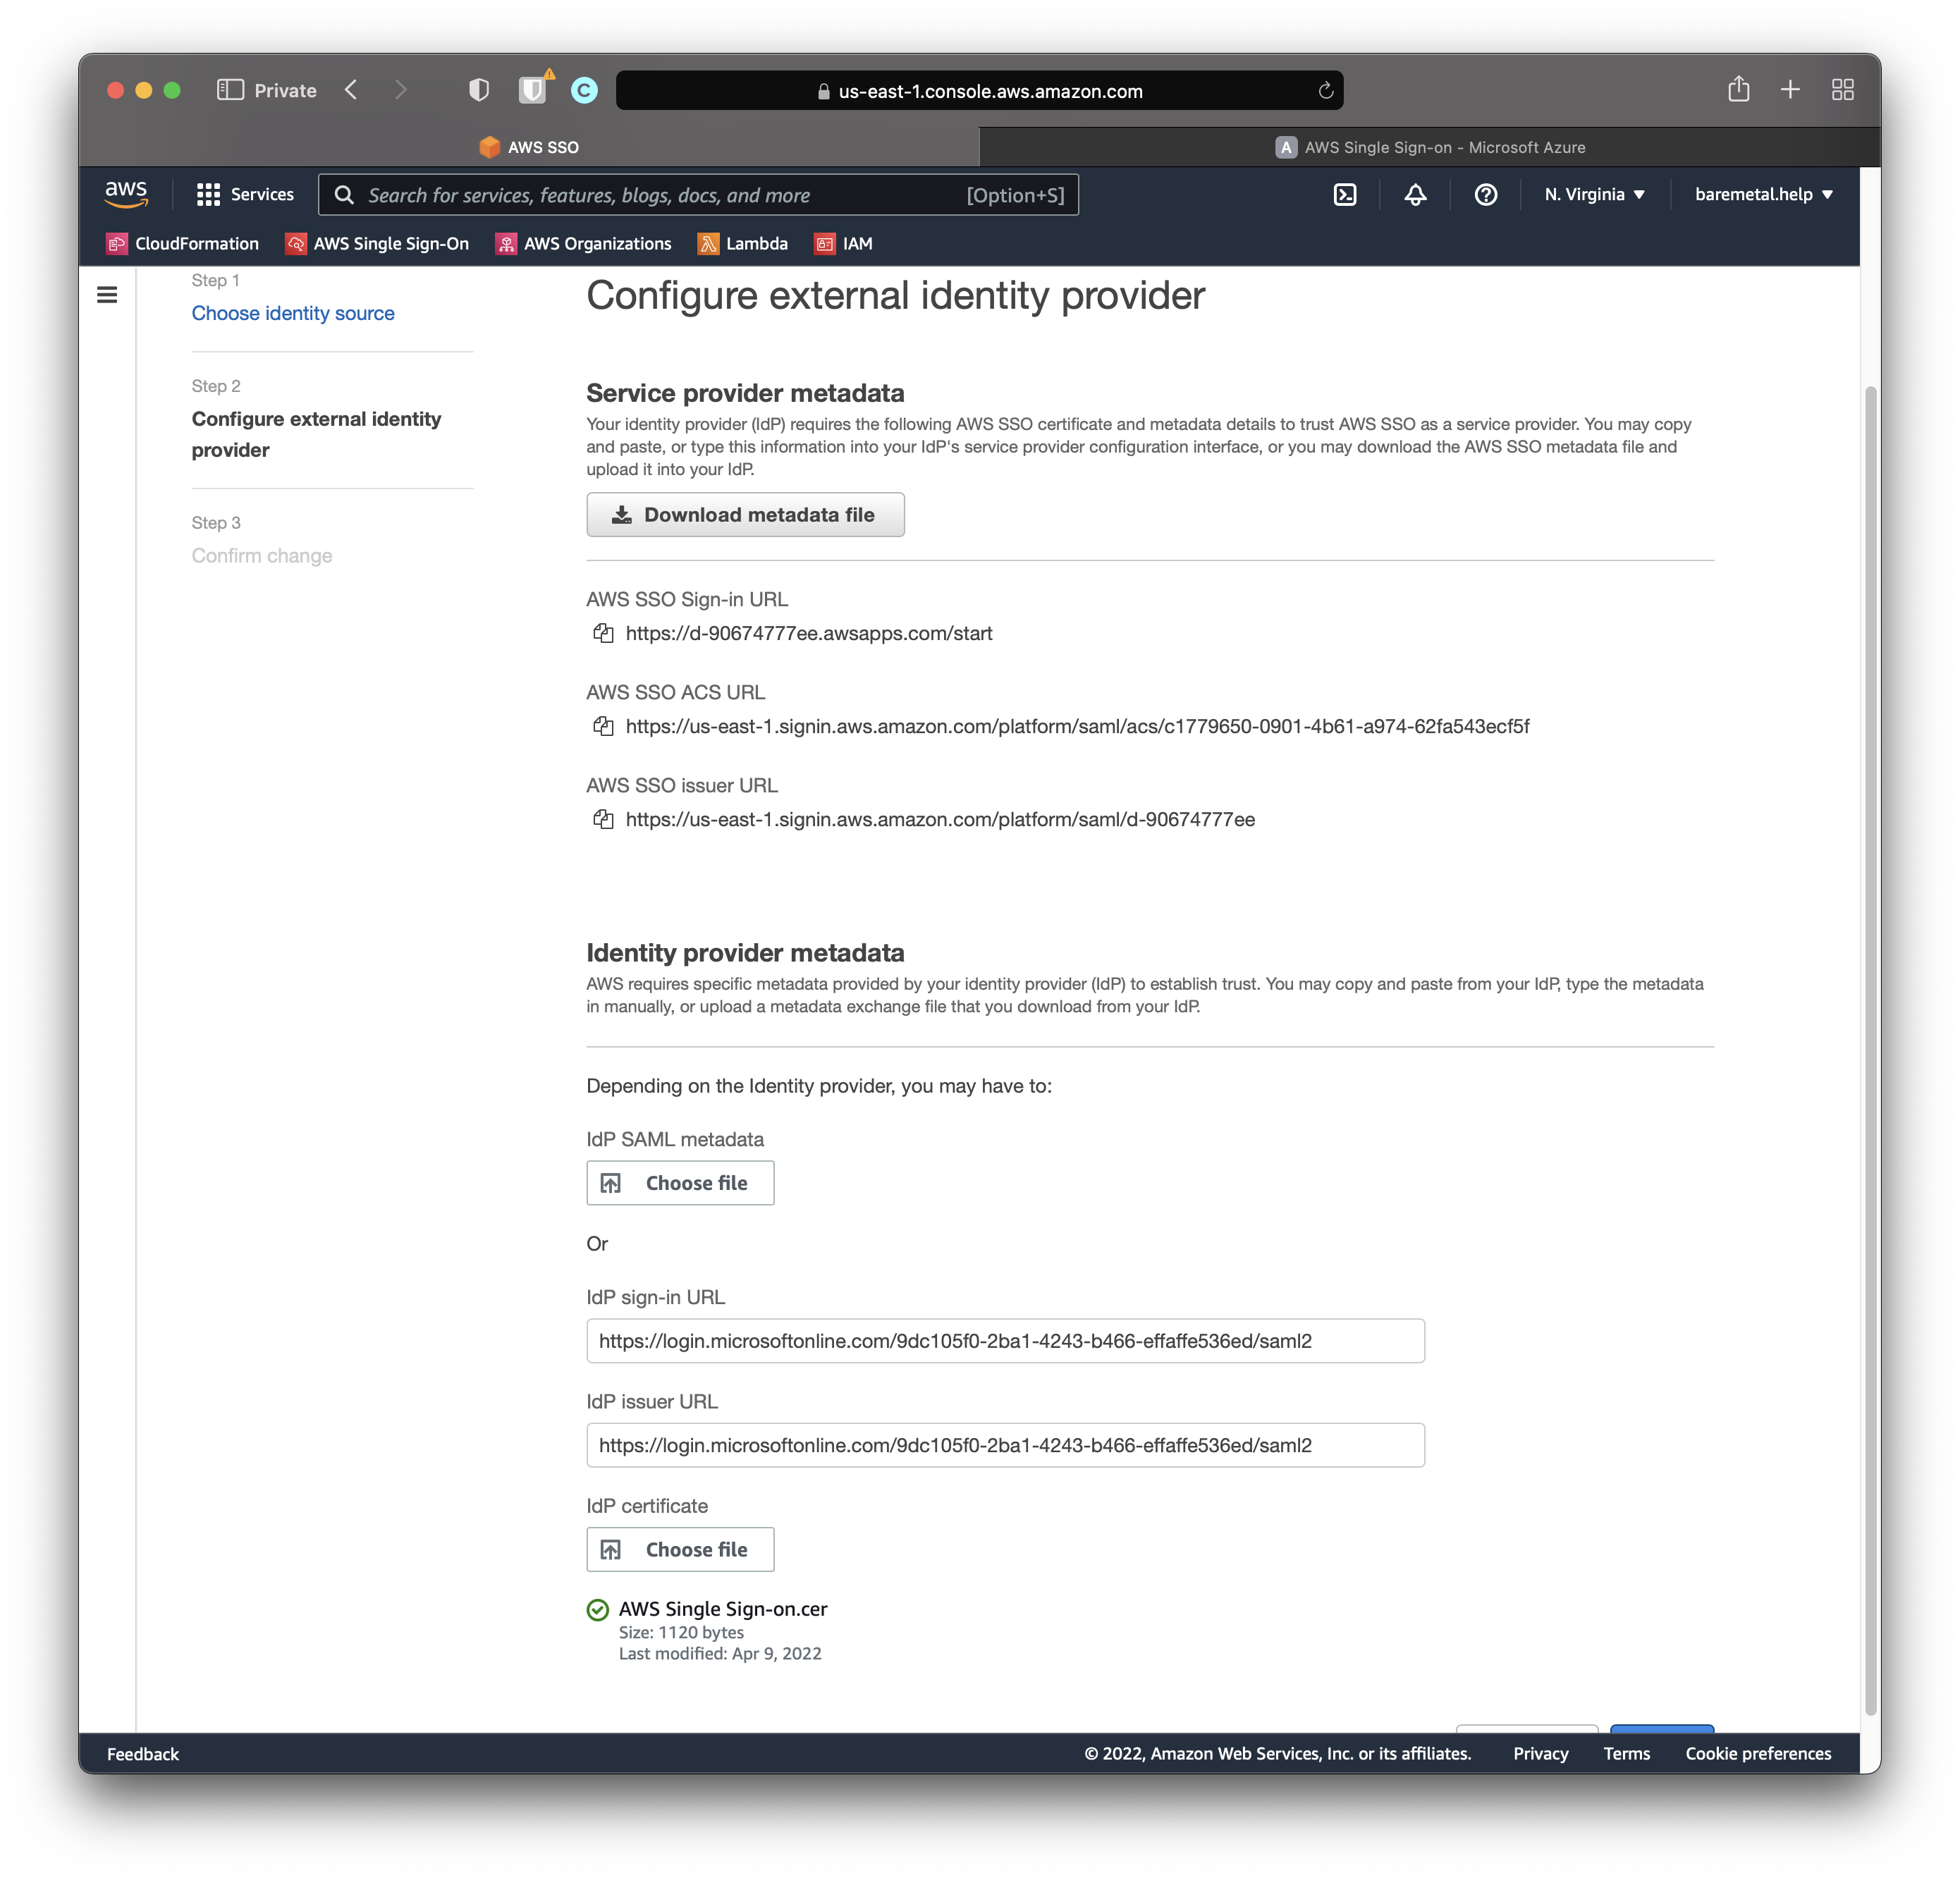
Click "Next".
Review.
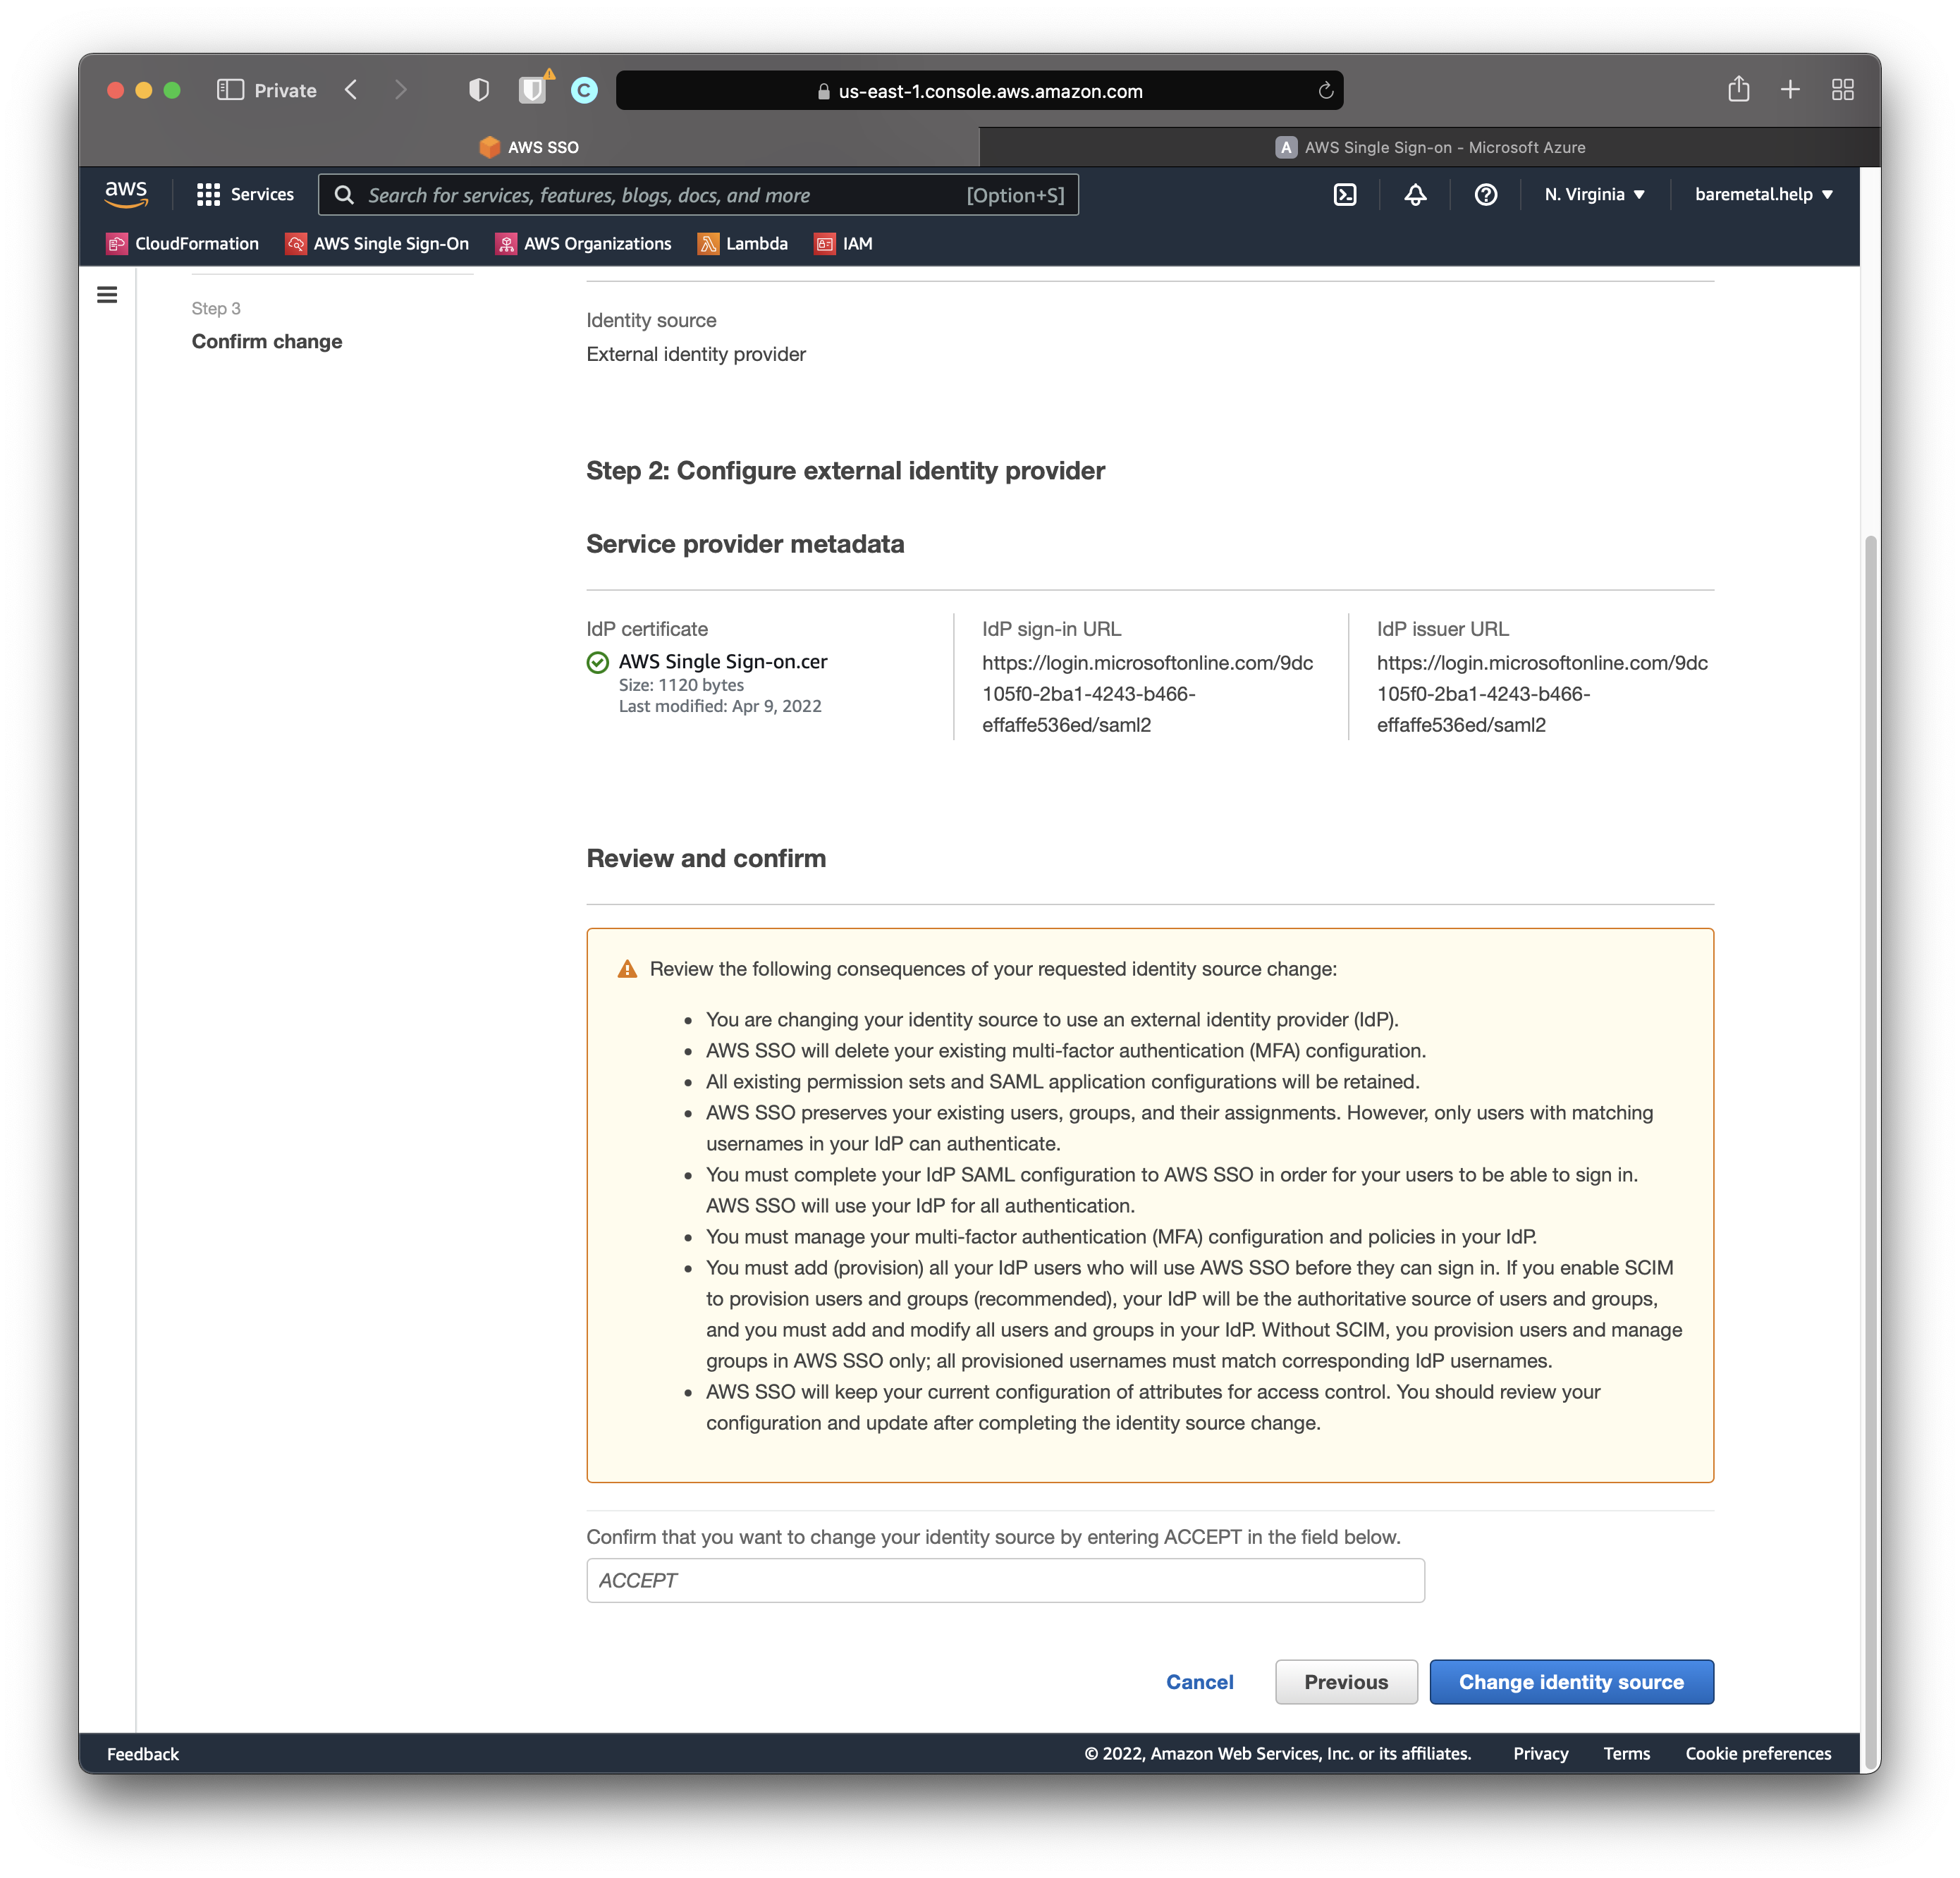
Enter ACCEPT. Click "Change identity source".
This is what success looks like.
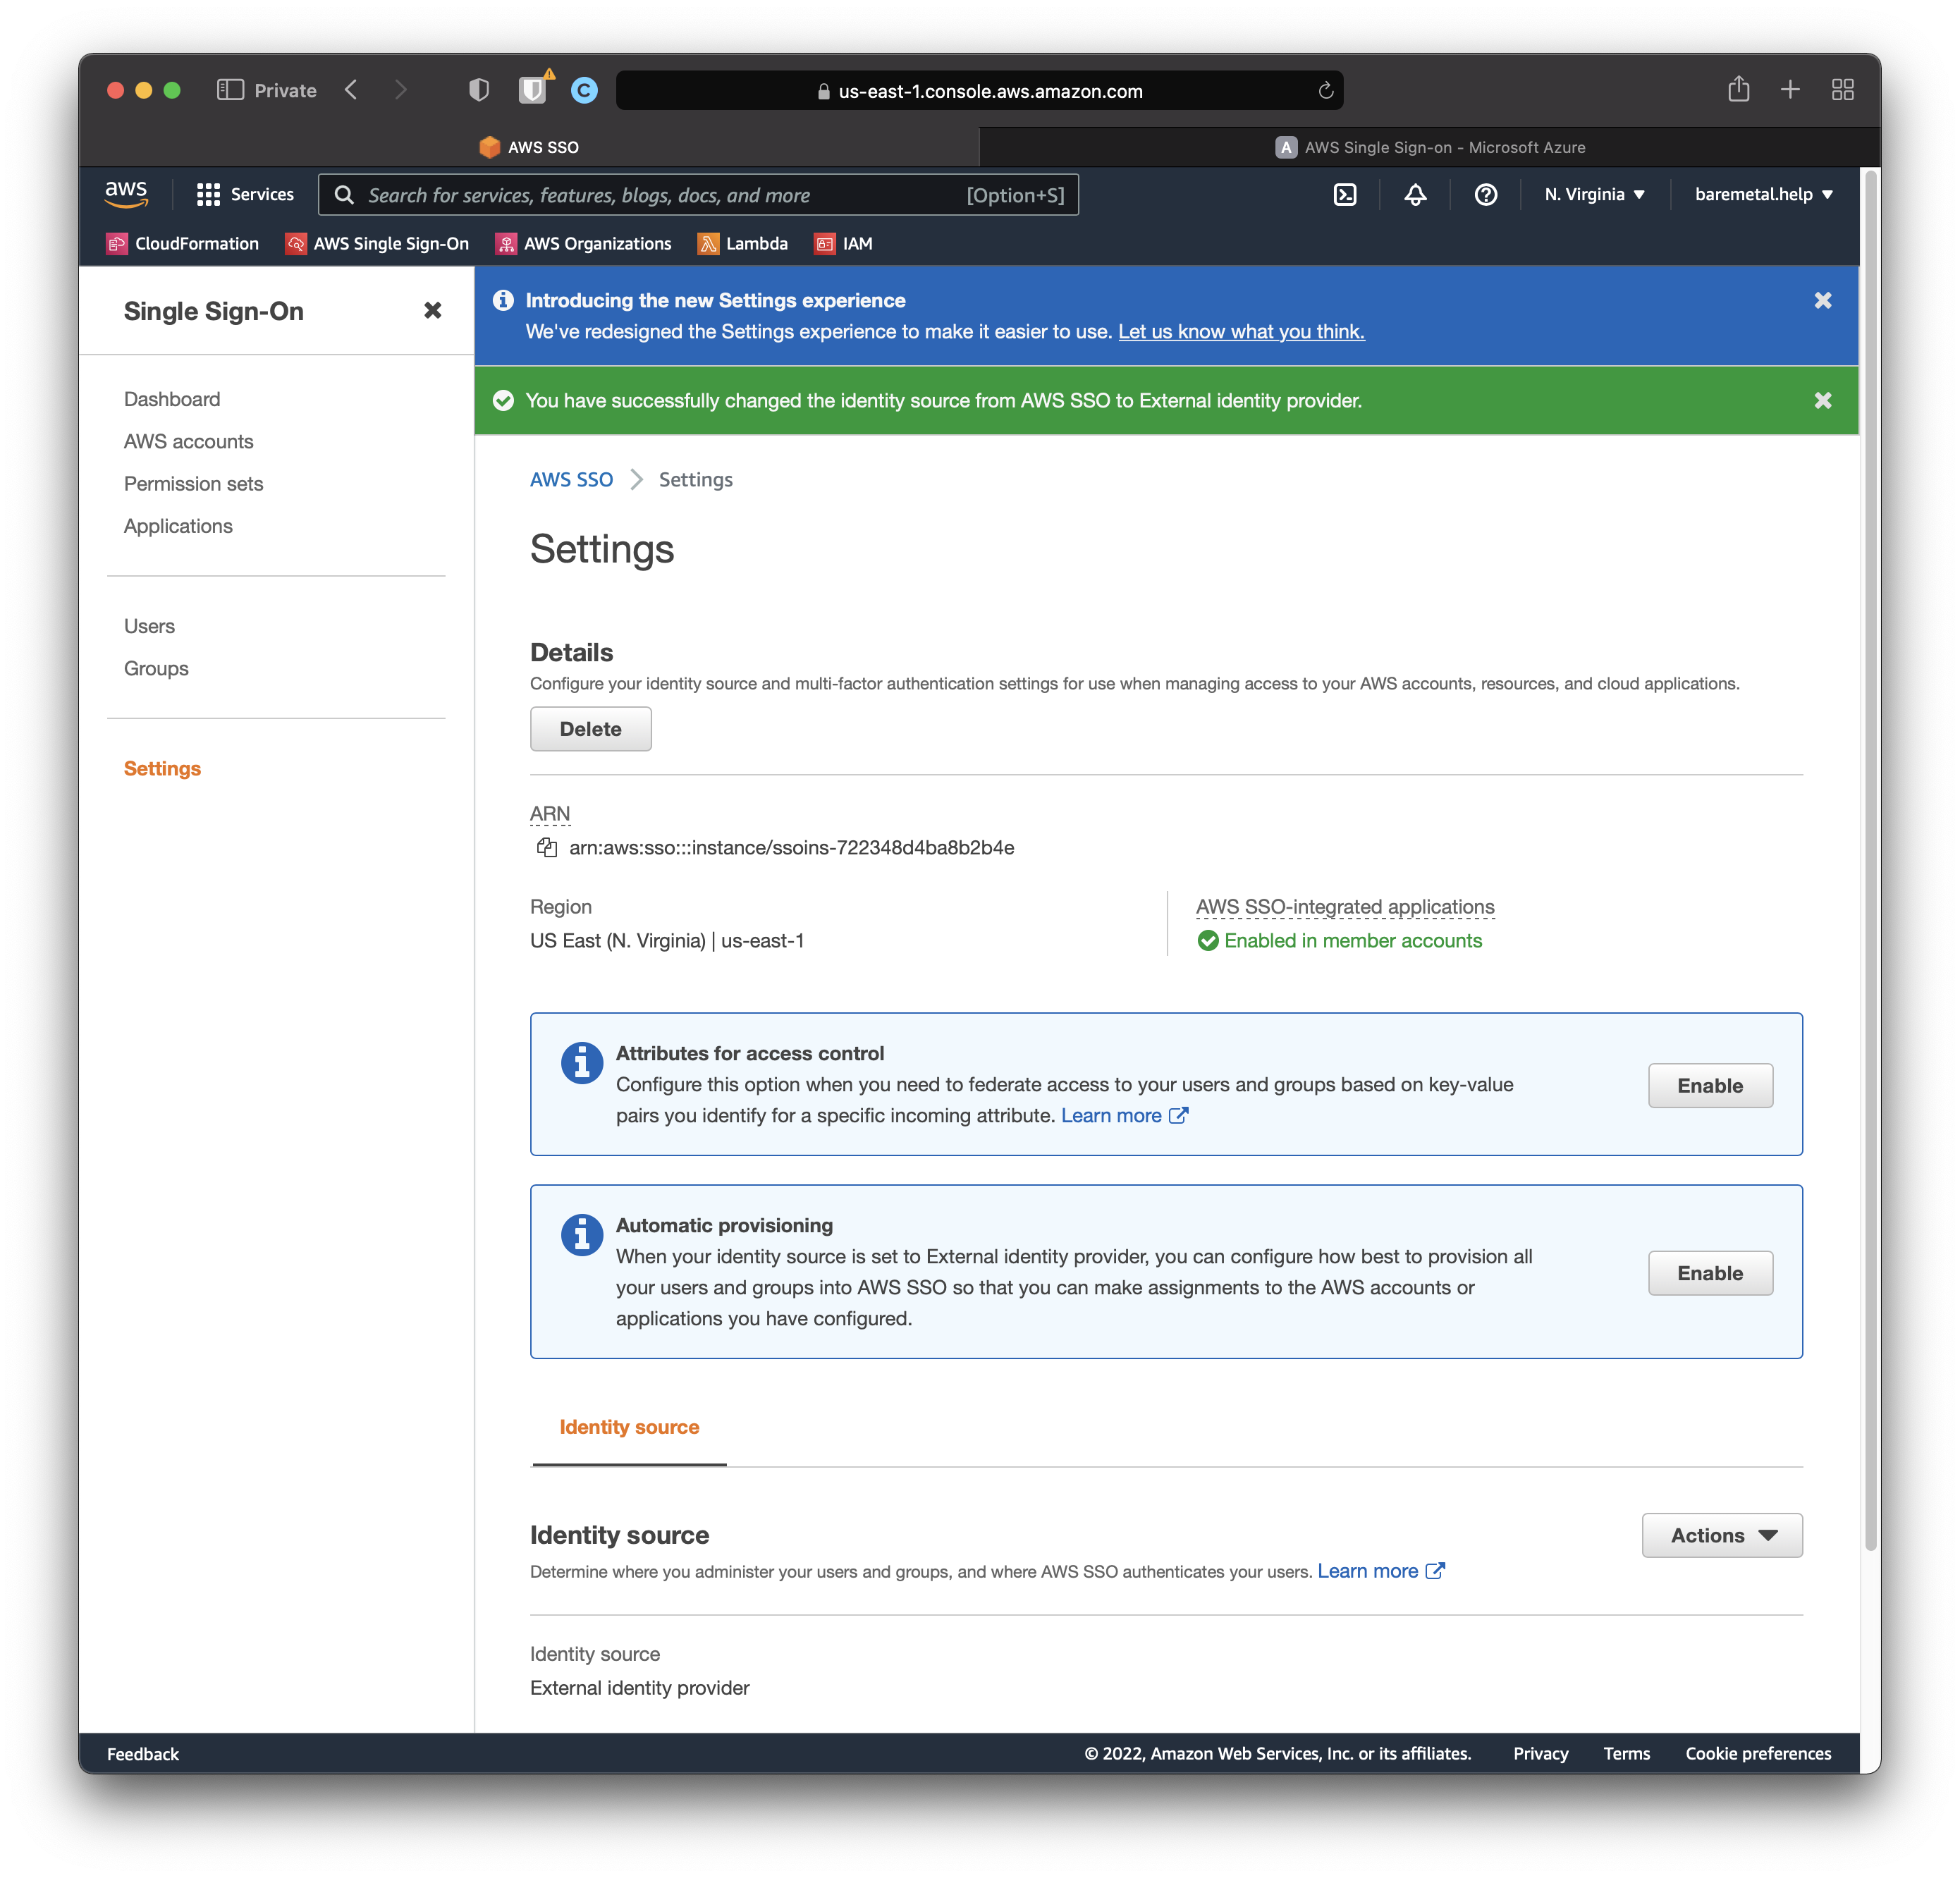
TBD do we need to set up automatic provisioning in here? Not sure how it's different from the provisioning in AD.